Are you a budding artist looking to add a touch of winter magic to your drawings? Whether you’re interested in sketching snowy landscapes, creating frosty scenes, or incorporating snowflakes into your artwork, this blog post is a treasure trove of tips and techniques for drawing snow. From mastering different perspectives to experimenting with various mediums, we’ll cover everything you need to know to bring your snowy visions to life.
In this comprehensive guide, we’ll answer common questions like “Can you eat snow?” and “What kind of paint works on snow?” We’ll also explore creative ideas such as making snow-covered branches and crafting homemade snow paint for kids. Additionally, we’ll delve into the realm of digital art and reveal how you can make snow on the ground using Photoshop. So grab your sketchbook, bundle up, and let’s dive into the enchanting world of drawing snow!
Keywords: Can you eat snow?, How do you make pine cones look snowy?, How do you make snow on the ground in Photoshop?, At what temperature can you build a snow fort?, How do you draw a valley?, What kind of paint works on snow?, How do you make fake snow with Epsom salt?, How do you paint realistic snow?, Is snow a ice?, How do you make homemade snow paint?, How do you make colored snow?, How do you make snow pine cones?, How is snow made?, Is it too cold to snow?, What colors make snow?, How do you make a giant snow fort?, How do you make snow-covered branches?, How do you paint snow for kids?
How to Capture the Magic of Snow with Your Artistry
Winter has arrived, and with it comes the enchanting beauty of snow-covered landscapes. Whether you’re an aspiring artist or simply want to impress your friends with your newfound drawing skills, learning how to draw snow can add an extra flair to your artwork. In this guide, we’ll explore some handy tips and tricks to help you master the art of capturing the essence of snow on paper.
1. Embrace the Whiteness: Snow is Your Canvas
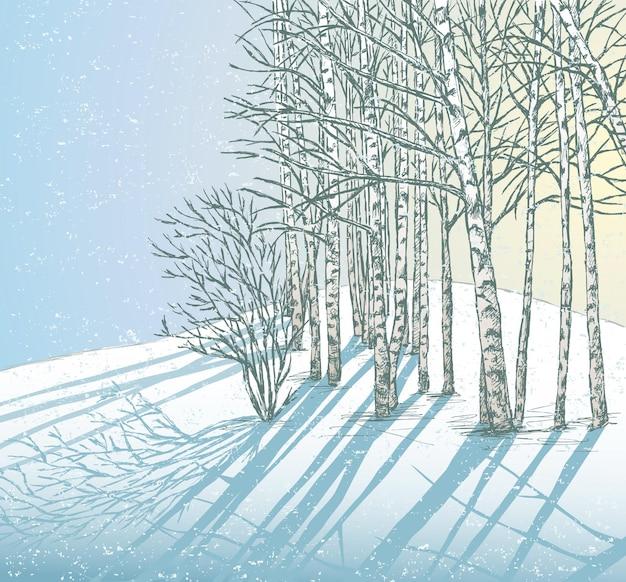
When it comes to drawing snow, embracing the whiteness is key. Treat the white space on your paper as the canvas where you’ll unleash your artistic prowess. Start by sketching the outline of your snow scene using light, delicate strokes. Remember, snow is not a flat surface; it has depth and texture. To capture this, vary the pressure of your pencil, creating an illusion of snowflakes gently piled upon one another. Don’t press too hard, though, or your snow might end up looking like mashed potatoes – not the tastiest artistic outcome!
2. Lighting: The Icing on the Snowflake Cake
To make your snow drawing truly come alive, understanding lighting effects is crucial. Think about the direction of your light source – will it be a warm, cozy indoor light or the cool, silvery glow of moonlight? When light reflects off snow, it creates beautiful shadows and highlights. Add depth to your drawing by shading the shadows with gentle, nuanced strokes. Remember, snowflakes are delicate and unique like fingerprints, so don’t be shy to experiment with different shapes and sizes!
3. Bring on the Textures: More Than Meets the Eye
Snow is more than just a smooth, white blanket. It’s a world of intricate textures waiting to be explored. Use a graphite pencil to create texture by gently crosshatching areas of shadow or adding delicate parallel lines to suggest windblown snow. For a more pronounced effect, you can even sprinkle some salt onto your wet watercolor or ink-drawn snowflakes to mimic the sparkling icy crystals.
4. Colors: From White to Wonderland
While snow may appear white at first glance, it’s anything but monotonous! Adding subtle hints of color to your snow drawing can elevate it to a whole new level. Experiment with soft shades of blue, purple, or even pink to capture the ethereal beauty of a winter sunset or the tranquil glow of a moonlit snowy landscape. Remember to keep the colors delicate and translucent, allowing the whiteness to shine through while hinting at the snow’s hidden spectrum.
5. Mistakes are as Natural as Snowflakes
Let’s face it; even the most seasoned artists make mistakes. But fear not, for mistakes are as natural as snowflakes themselves! Embrace the imperfections by turning them into unique features of your artwork. If you accidentally smudge your pristine snow, incorporate it into the scene as a distant snowy fog or an unexpected snowball fight. Remember, sometimes it’s the flaws that make art truly remarkable and relatable.
Snow drawing is not only about icy landscapes; it’s about capturing the magic and serenity of winter. So grab your pencils, embrace the whiteness, and let your imagination soar on the wings of a snowflake. With these tips in your artistic arsenal, you’re bound to create snowy masterpieces that will warm hearts and bring joy for years to come.
Now, go forth, and may your artistic journey be as enchanting as a snow-covered wonderland!
FAQ: How To Draw Snow
Can you eat snow
Although it may be tempting, you should exercise caution when eating snow. While freshly fallen snow can be safe to consume, it is vital to avoid eating snow from polluted or contaminated areas. Moreover, the texture and flavor may not be as appetizing as you expect. So, it’s better to stick to snowball fights and snowman building rather than snacking on ice-cold flakes!
How do you make pine cones look snowy
To give your pine cones that picturesque snowy appearance, you can follow this simple and fun DIY technique. First, gather some pine cones from your backyard or local park. Then, spray them lightly with white spray paint, ensuring they’re evenly coated. While the paint is still wet, sprinkle some iridescent glitter on top to mimic the glistening effect of real snow. Once dry, you’ll have amazingly realistic snow-covered pine cones perfect for various craft projects.
How do you make snow on the ground in Photoshop
Creating a winter wonderland in Photoshop is a fantastic way to turn any scenery into a snowy spectacle. Here’s a quick step-by-step guide to achieve that frosty effect:
- Open your image in Photoshop.
- Click on the “New Layer” button to create a new layer.
- Select the “Brush” tool with a soft brush and set its color to white.
- Adjust the brush size and opacity as desired.
- Start painting over the areas where you want the snow to appear.
- Experiment with different brush sizes and opacities to add depth and variation.
- To enhance the snow effect, try applying the “Add Noise” filter and adjusting the settings to create a subtle texture.
- Voila! Your image will now be adorned with a beautiful blanket of snow.
At what temperature can you build a snow fort
The temperature range for building the perfect snow fort depends on various factors. Generally, you need the temperature to be below freezing (32°F or 0°C) to ensure the snow sticks together. However, it’s essential to note that the quality of the snow is just as important as the temperature. Moist, packable snow is ideal for fort construction, while dry, powdery snow is less suitable. So, when the mercury drops and the snow starts falling, gather your tools and get ready to build an epic snow fortress!
How do you draw a valley
Drawing a beautiful valley is an exciting artistic challenge. Here’s a step-by-step guide to help you bring that picturesque landscape to life:
- Sketch the outline of the valley using light, gentle pencil strokes.
- Add curved lines to indicate the slopes of the hillsides surrounding the valley.
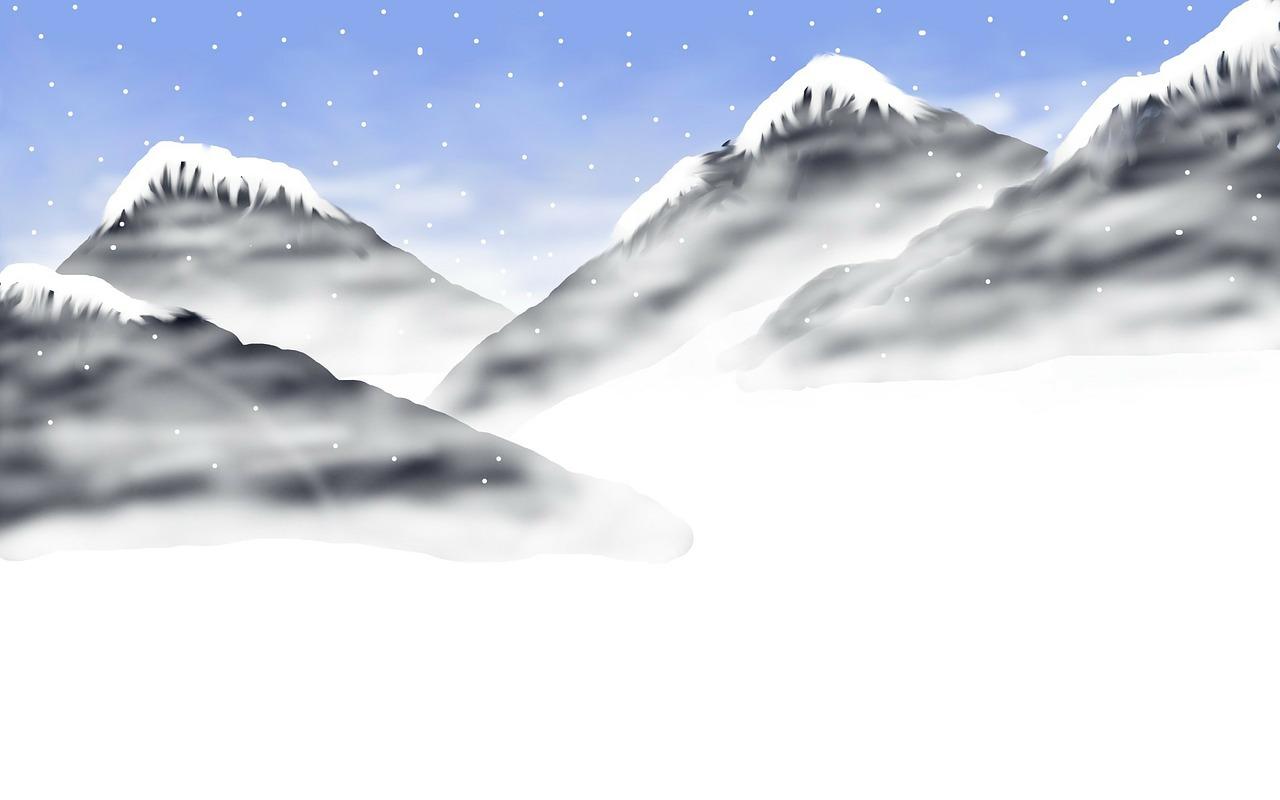
- Use horizontal wavy lines to depict the layers of distant mountains.
- Draw a winding river or stream through the center of the valley. Make it narrow and gradually broaden it as it moves into the distance.
- Add trees and vegetation along the hillsides and near the riverbank.
- Shade the hillsides and mountains using varying tones to create depth.
- Use a technique called “cross-hatching” to add texture and details to the trees and foliage.
- Finally, bring the valley to life by adding shadows and highlights to give it a realistic three-dimensional appearance.
With practice and a little patience, you’ll soon be able to capture the beauty of a valley with your artistic skills.
What kind of paint works on snow
When it comes to painting on snow, acrylic paint is your best friend. It’s versatile, easy to work with, and provides vibrant colors that stand out against the white canvas. Acrylic paint adheres well to snow, allowing you to create beautiful designs and patterns. Just grab your brushes, mix your favorite colors, and let your creativity shine as you transform the snowy landscape into a work of art!
How do you make fake snow with Epsom salt
Creating fake snow with Epsom salt is a fantastic way to add a touch of winter magic to your crafts and decorations. Follow these simple steps:
- Gather the following ingredients: Epsom salt, water, and a mixing bowl.
- Pour Epsom salt into the bowl, filling it about halfway.
- Slowly add water while stirring the mixture with a spoon. Aim for a slushy consistency, adding more water or salt as needed.
- Once you achieve the desired texture, you’re ready to use your homemade fake snow for various projects.
- Whether you want to sprinkle it on holiday displays or create snow-covered landscapes for miniature scenes, the possibilities are endless!
How do you paint realistic snow
Painting realistic snow requires attention to detail and an understanding of light and shadow. Here are some tips to help you achieve that magical winter wonderland effect:
- Start with a white canvas and sketch the outline of your scene lightly in pencil.
- Apply a thin wash of pale blue or gray to establish the overall color tone of the snow.
- Use a variety of brush sizes to create different snow textures, such as tiny dots for fresh snow or broader strokes for compacted areas.
- Add shadows using shades of cool blues or purples to create depth and contrast.
- Use white highlights to capture the glistening effect of sunlight reflecting off the snow.
- To enhance realism, consider incorporating additional elements such as footprints or small animal tracks.
- Step back regularly to assess your work and make adjustments as needed.
- With practice and experimentation, you’ll soon be able to paint snow so realistic, you’ll want to reach out and touch it!
Is snow a type of ice
Yes, snow is a type of ice formed by the crystallization of water vapor in the atmosphere. Unlike ice cubes or glaciers, which are made up of compacted frozen water, snow forms intricate ice crystals that are unique and beautiful.
How do you make homemade snow paint
Creating your own snow paint is a fun and creative way to add a pop of color to your snowy landscape. Here’s an easy recipe:
- In a mixing bowl, combine equal parts white school glue and shaving cream. The amount will depend on how much snow paint you want to make.
- Stir the mixture gently until it reaches a smooth consistency.
- Add a drop or two of food coloring to achieve the desired hue. Alternatively, you can use powdered tempera paint for more vibrant colors.
- Mix well until the color is evenly distributed.
- Grab a brush, dip it into your homemade snow paint, and let your imagination run wild as you decorate the snow with colorful designs and patterns.
- Remember to dress warmly and have a blast creating your very own winter masterpiece!
How do you make colored snow
Creating colored snow can be a fun and whimsical activity, especially for kids. Follow these steps to turn your snow into a vibrant canvas:
- Fill a few spray bottles with water.
- Add a few drops of liquid food coloring to each bottle, choosing your desired colors.
- Screw on the spray bottle lids tightly and give them a good shake to mix the color thoroughly with the water.
- Head outside to your snowy canvas, and spray the colored water onto the snow.
- Get creative by layering different colors or creating patterns and designs.
- Let the colored snow dry, and enjoy your beautiful snowy masterpiece!
How do you make snow pine cones
Snow-covered pine cones make charming decorations during the winter season. Follow these steps to make your very own:
- Collect pine cones from your backyard, a park, or a local craft store.
- Clean the pine cones by shaking off any loose debris or insects.
- In a bowl, mix together equal parts white craft glue and water.
- Dunk each pine cone into the glue mixture, ensuring it is fully coated.
- Remove the pine cone from the glue and shake off the excess, allowing any drips to fall back into the bowl.
- Sprinkle artificial snow or iridescent glitter all over the pine cone while the glue is still wet, ensuring it is evenly coated.
- Place the pine cones on a sheet of wax paper or a drying rack to let them dry completely.
- Once dry, you’ll have beautiful snow-covered pine cones that you can use to create stunning winter arrangements or hang as decorations.