Welcome to our comprehensive guide on how to upload voice recordings to YouTube! Whether you want to share a podcast, a song, or a voiceover, YouTube provides a fantastic platform for reaching a wide audience. In this blog post, we’ll walk you through the process, answering common questions like how to attach a voice memo to an email, upload voice memos to Google Drive, and create an audio file. We’ll also explore options for recording your voice online for free and saving audio files to Google Drive.
Google Drive, iMovie, YouTube, and various online tools are at your disposal, making the process of sharing your voice with the world easier than ever. We’ll even cover how to convert audio formats and export voice memos for seamless sharing. So, if you’ve ever wondered how to upload voice recordings to YouTube, this is the ultimate guide for you!
Let’s dive in and unlock the possibilities of sharing your voice with the world through YouTube.

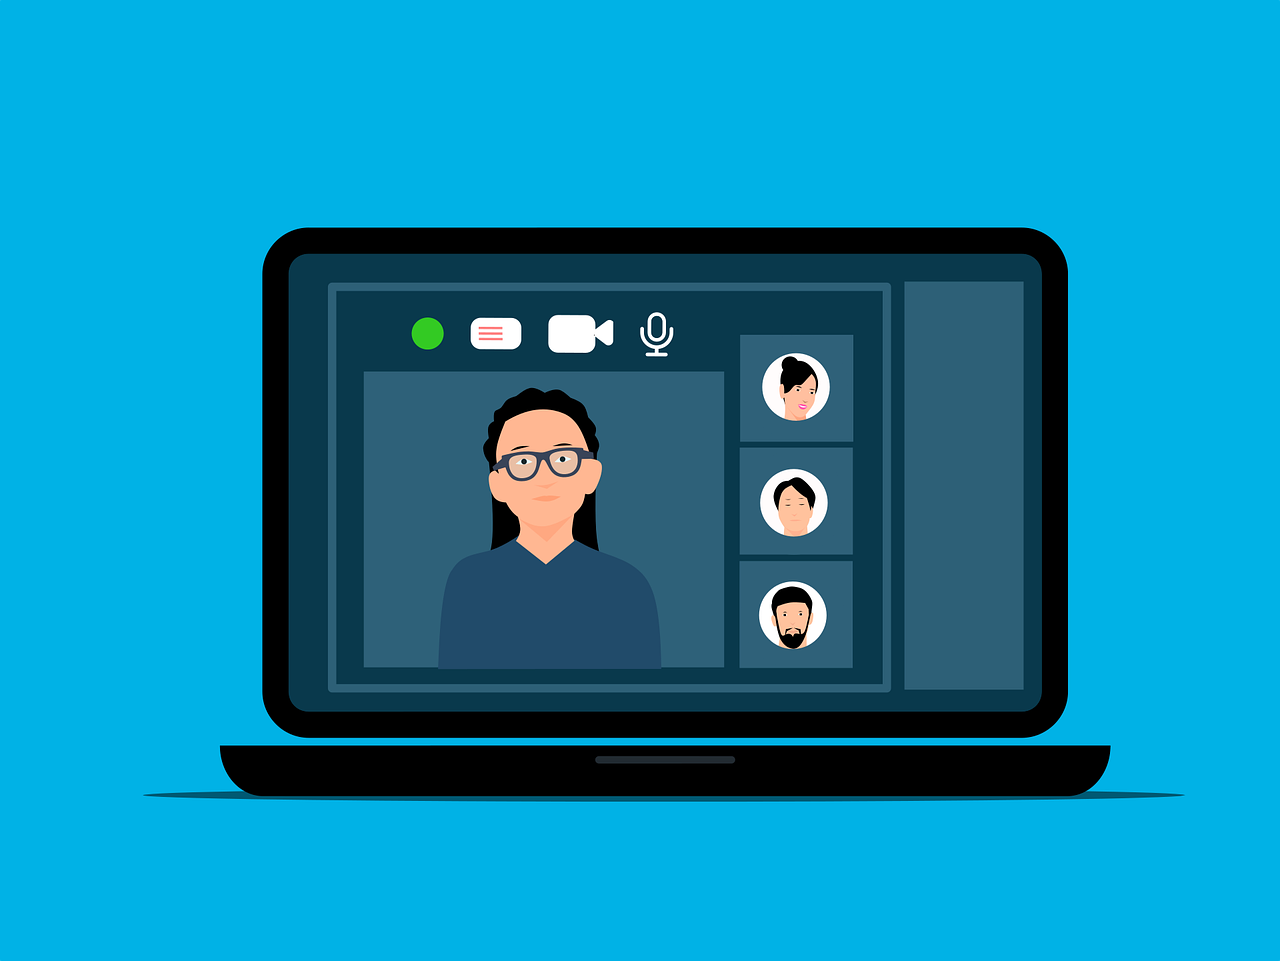
How to Easily Upload Your Voice Recording to YouTube
So, you’ve just recorded a killer voiceover or an amazing podcast episode, and you can’t wait to share it with the world on YouTube. But how exactly do you upload a voice recording to YouTube? Don’t worry, we’ve got you covered! In this guide, we’ll walk you through the process step by step, so you can get your voice heard in no time.
Choose the Right Format for YouTube
Before we dive into the uploading process, let’s make sure your voice recording is in the right format for YouTube. YouTube supports various audio formats such as MP3, WAV, AAC, and FLAC. Remember, compatibility is key! So, make sure to convert your file if it’s in an unsupported format.
Prepare Your Voice Recording
Before you upload your voice recording to YouTube, it’s essential to ensure that it’s polished and ready to impress your audience. Use a reliable audio editing software to remove any background noise, adjust the volume levels, and make any necessary enhancements. You want your voice to sound crisp and clear, captivating your viewers from the first listen.
Convert Your Voice Recording to a Video Format
YouTube primarily caters to video content, so converting your voice recording into a video format is the trick to uploading it. Don’t worry; you don’t need any fancy video editing skills for this. There are plenty of online tools and software available that can help you create a simple video with a static image or a slideshow of relevant visuals to accompany your audio.
Access Your YouTube Account
If you’re planning to upload your voice recording to YouTube, you probably already have a YouTube account. If not, creating one is a breeze. Simply head over to the YouTube website, click on the “Sign In” button, and follow the prompts to create your account. Once you’re signed in, you’re ready to go.
Upload Your Voice Recording
Now comes the fun part! To upload your voice recording, locate and click on the “Upload” button at the top-right corner of your YouTube page. Select the video file you created in the previous step, and let YouTube work its magic. While your video is uploading, you can add a title, description, tags, and select appropriate privacy settings.
Optimize Metadata for Discoverability
To ensure your voice recording reaches as many people as possible, it’s crucial to optimize the metadata associated with your video. Craft a catchy title that entices viewers to listen, write a compelling description encapsulating what your content offers, and strategically use relevant keywords throughout. This will help YouTube’s algorithm understand your content and recommend it to interested users.
Utilize YouTube Enhancements
Once your voice recording is uploaded, take advantage of YouTube’s enhancement features to further enhance your content. Trim the video to remove any unnecessary silence at the beginning or end, add captions or subtitles to make it accessible to a wider audience, and use cards and end screens to promote your other content or encourage viewers to subscribe to your channel.
Share and Promote Your Voice Recording
Congratulations! Your voice recording is now live on YouTube. But the journey doesn’t stop here. Promote your video on your social media platforms, embed it on your website or blog, or even collaborate with other content creators to gain more exposure. Remember, the more you promote your voice recording, the more likely it is to reach a wider audience and make an impact.
By following these simple steps, you can easily upload your voice recording to YouTube and share it with the world. So, go ahead, let your voice be heard, and start making waves in the vast sea of YouTube content. Happy uploading!
FAQ: How to Upload Voice Recording to YouTube
In this FAQ-style guide, we’ll answer some of the most common questions about uploading voice recordings to YouTube. Whether you want to attach a voice memo to an email or share your amazing singing talents with the world, we’ve got you covered!
How do I Attach a Voice Memo to an Email
Attaching a voice memo to an email is as easy as pie! Just follow these simple steps:
- Open your email client and create a new email.
- Click on the attachment icon (usually a paperclip) in the email composition window.
- Browse your computer or device for the voice memo file.
- Select the desired voice memo and click “Attach” to include it with your email.
- Compose the rest of your email, hit send, and voila! Your voice memo is on its way!
Can You Upload Voice Memos to Google Drive
Absolutely! Uploading voice memos to Google Drive is a breeze. Just do the following:
- Open Google Drive in your web browser or launch the Google Drive app on your device.
- Create a new folder or open an existing folder where you want to store your voice memo.
- Click on the “+ New” button and select “File upload” from the drop-down menu.
- Locate the voice memo file on your computer or device.
- Select the voice memo and click “Open” to start the upload.
- Once the upload is complete, your voice memo will be safely stored in your Google Drive.
How do You Create an Audio File
Creating an audio file is simpler than you might think. Just follow these steps:
- Open any audio recording software or app on your computer or device.
- Click on the “Record” button to start capturing your voice or any other sounds.
- Speak or perform whatever you want to record into your microphone.
- Click on the “Stop” button to end the recording.
- Save your audio file in a desired format (such as MP3 or WAV) and location on your computer or device.
- Voila! You have successfully created an audio file.
How can I Record my Voice Online for Free
If you don’t have any audio recording software or apps on your device, no worries! There are plenty of free online options available. Follow these steps to record your voice online for free:
- Open your web browser and search for “free online voice recorder.”
- Choose one of the many reputable online voice recording tools available.
- Grant permission for the website to access your microphone.
- Click on the “Record” button and start speaking or performing.
- Click on the “Stop” button when you’re done.
- Preview your recording, and if you’re happy with it, download the audio file to your computer or device.
How do I Save an Audio File to my Google Drive
Saving an audio file to your Google Drive is a piece of cake. Just follow these simple steps:
- Open Google Drive in your web browser or launch the Google Drive app on your device.
- Create a new folder or open an existing folder where you want to save your audio file.
- Click on the “+ New” button and select “File upload” from the drop-down menu.
- Locate the audio file on your computer or device.
- Select the audio file and click “Open” to start the upload.
- After the upload finishes, you can find your audio file safely stored within your Google Drive.
How do I Record Audio from YouTube on Android
Recording audio from YouTube on your Android device can be a useful trick. Here’s how you can do it:
- Install a reliable third-party screen recording app from the Google Play Store.
- Open the YouTube app and find the video with the audio you want to record.
- Open the screen recording app and set it to record the device’s audio.
- Start the screen recording and play the YouTube video.
- Stop the screen recording when the desired audio has been captured.
- Now, you’ve successfully recorded the audio from YouTube on your Android device.
Which is the Best App for Voice Recording
When it comes to voice recording apps, there are plenty of options to choose from. Here are a few highly recommended ones:
-
Voice Recorder & Audio Editor: This app offers a simple and intuitive interface with useful features like the ability to trim and edit your recordings.
-
Easy Voice Recorder: As the name suggests, this app is user-friendly and offers excellent audio quality, making it a popular choice.
-
Smart Voice Recorder: With its automatic gain control and noise reduction features, this app ensures your recordings sound professional.
-
Voice Memos: If you’re an iPhone user, you’re in luck! This built-in app provides a seamless and reliable voice recording experience.
How do I Make an MP3 File from YouTube
Creating an MP3 file from a YouTube video is easier than you might think. Just follow these steps:
- Copy the URL of the YouTube video you want to convert to MP3.
- Open a new tab in your web browser and search for “YouTube to MP3 converter.”
- Choose a reliable converter website from the search results.
- Paste the YouTube video URL into the converter’s designated field.
- Select the desired output format (MP3) and quality, if available.
- Click on the “Convert” or “Download” button.
- Once the conversion is complete, you can download the MP3 file to your computer or device.
How do I Make an MP3 Recording
Creating an MP3 recording is a breeze with the right tools. Here’s what you need to do:
- Use an audio recording software or app that allows you to save your recordings in MP3 format.
- Follow the software’s or app’s instructions for recording and saving the file.
- Choose the MP3 format as the output or export format.
- Select the desired quality and settings if applicable.
- Save your recording, and voila! You now have an MP3 recording ready to be shared or enjoyed.
How do I Add an Audio File to Google Drive
Adding an audio file to Google Drive is a simple process. Follow these steps:
- Open Google Drive in your web browser or launch the Google Drive app on your device.
- Create a new folder or open an existing folder where you want to store your audio file.
- Click on the “+ New” button and select “File upload” from the drop-down menu.
- Locate the audio file on your computer or device.
- Select the audio file and click “Open” to start the upload.
- Once the upload is complete, your audio file will be safely stored in your Google Drive.
How do You Get a Voice Memo into iMovie
To get a voice memo into iMovie, follow these simple steps:
- Connect your iPhone or iPad to your computer using the appropriate cable.
- On your computer, open iTunes or Finder (on macOS Catalina or later).
- Select your device within iTunes or Finder.
- Go to the “File Sharing” or “File Apps” section.
- Find and select the Voice Memos app from the list of apps.
- Locate the voice memo file you want to import into iMovie.
- Drag the voice memo file from the list onto your computer’s desktop or a desired folder.
- Open iMovie and import the voice memo file from where you saved it.
How do I Convert from M4A to MP3
Converting an M4A file to MP3 format is a piece of cake, and here’s how you can do it:
- Open your web browser and search for an “M4A to MP3 converter.”
- Choose a trustworthy converter website from the search results.
- Upload your M4A file by clicking on the “Select File” or similar button on the website.
- Select “MP3” as the desired output format.
- Customize any additional settings or quality preferences if available.
- Start the conversion process by clicking on the “Convert” or “Download” button.
- Once the conversion is complete, you can download the converted MP3 file to your computer or device.
How do I Export Voice Memos
Exporting voice memos is a breeze once you know the steps. Follow this simple process:
- Find the Voice Memos app on your device and open it.
- Select the voice memo you want to export.
- Look for the share/export icon (usually represented by an arrow pointing out of a box).
- Tap on the share/export icon, and a list of sharing options will appear.
- Choose the method through which you want to export the voice memo, such as email or messaging apps.
- Follow the prompts to complete the export process, and you’re done!
How do I Convert Voice Memos to MP3
Converting your voice memos to MP3 format is a cinch. Here’s what you need to do:
- Find a reliable voice memo converter software or website.
- Upload the voice memo file you want to convert.
- Select “MP3” as the output format.
- If there are any additional settings available, adjust them according to your preferences.
- Initiate the conversion process.
- Once the conversion finishes, download the converted MP3 file to your computer or device.
How do I Send Voice Memos
Sending voice memos is as easy as pie! Just follow these simple steps:
- Open the app or platform you want to use to send the voice memo, such as email or messaging apps.
- Start a new message or compose a new email.
- Locate the attachment icon (usually a paperclip) within the message composition window.
- Click the attachment icon and browse for the voice memo file on your device.
- Select the voice memo and click “Attach” to include it with your message or email.
- Add any additional text or instructions to your message or email, if needed.
- Send the message or email, and your voice memo will be delivered to the desired recipient.
How do I Convert YouTube Audio to Mobile
Converting YouTube audio to a format compatible with your mobile device is a piece of cake. Just follow these steps:
- Copy the URL of the YouTube video with the audio you want to convert.
- Open a new tab in your web browser and search for a “YouTube to mobile audio converter.”
- Choose a reputable converter website from the search results.
- Paste the YouTube video URL into the converter’s designated field.
- Select the desired output format for your mobile device (such as MP3 or M4A).
- If available, adjust any additional settings or quality preferences.
- Click on the “Convert” or “Download” button.
- Once the conversion is complete, you can download the converted audio file to your mobile device.
Where can I Record Audio
You can record audio almost anywhere, as long as you have the right tools! Here are a few common places where you can record audio:
- Home Studio: Set up your own recording studio at home with professional equipment and software.
- Smartphone: Use voice recording apps available on your smartphone to capture audio on the go.
- Computer: Utilize audio recording software on your computer for more extensive recording projects.
- Online Voice Recorders: Access free online voice recording tools from your web browser.
- Professional Studio: Visit a professional recording studio for high-quality recordings and professional guidance.
How do I Share iPhone Recordings
Sharing iPhone recordings is a breeze. Just follow these simple steps:
- Find the Voice Memos app on your iPhone and open it.
- Select the recording you want to share.
- Tap on the share/export icon (usually represented by an arrow pointing out of a box).
- Choose the method through which you want to share the recording, such as messaging apps or email.
- Follow the prompts to complete the sharing process.
- Your iPhone recording is now ready to be enjoyed or analyzed by others!
Can I Upload Voice Memos to YouTube
Yes, indeed! You can upload voice memos to YouTube. Here’s how:
- Open your web browser and go to the YouTube website.
- Sign in to your YouTube account or create a new one if you don’t have one.
- Click on the upload button (usually denoted by an upward arrow) on the YouTube homepage.
- Select the voice memo file you want to upload.
- Add a title, description, and any other relevant information for your YouTube video.
- Choose the visibility settings for your video (public, unlisted, or private).
- Click on the “Upload” button, and YouTube will start uploading your voice memo.
- Once the upload is complete, your voice memo will be available to the world on YouTube.
Spread Your Voice with Confidence!
Now that you have all the answers to your burning questions about uploading voice recordings to YouTube, it’s time to get out there and share your amazing talents, podcasts, or hilarious voice memos with the world. Follow these simple steps, unleash your creativity, and let your voice be heard!