Updating the look of your home can be a fulfilling project, and one area that often gets overlooked is the stair railing. Over time, stair railings can accumulate dirt, scratches, or even layers of old paint. But fear not, because sanding your stair railing can rejuvenate it and give it a fresh new appearance. Whether you’re preparing it for painting or just aiming for a smoother, more polished finish, this blog post will walk you through the process of sanding your stair railing.
In this comprehensive guide, we’ll answer some common questions, such as the cost of sanding stairs, the best way to sand stairs, and the usefulness of a spindle sander. We’ll delve into the preparation required for painting stair spindles, how to smooth a wooden railing, and the tools you can use to sand spindles efficiently. Additionally, we’ll discuss the differences between orbital and palm sanders, helping you choose the best option for your needs. So let’s jump right in and discover how to transform your stair railing to its former glory!
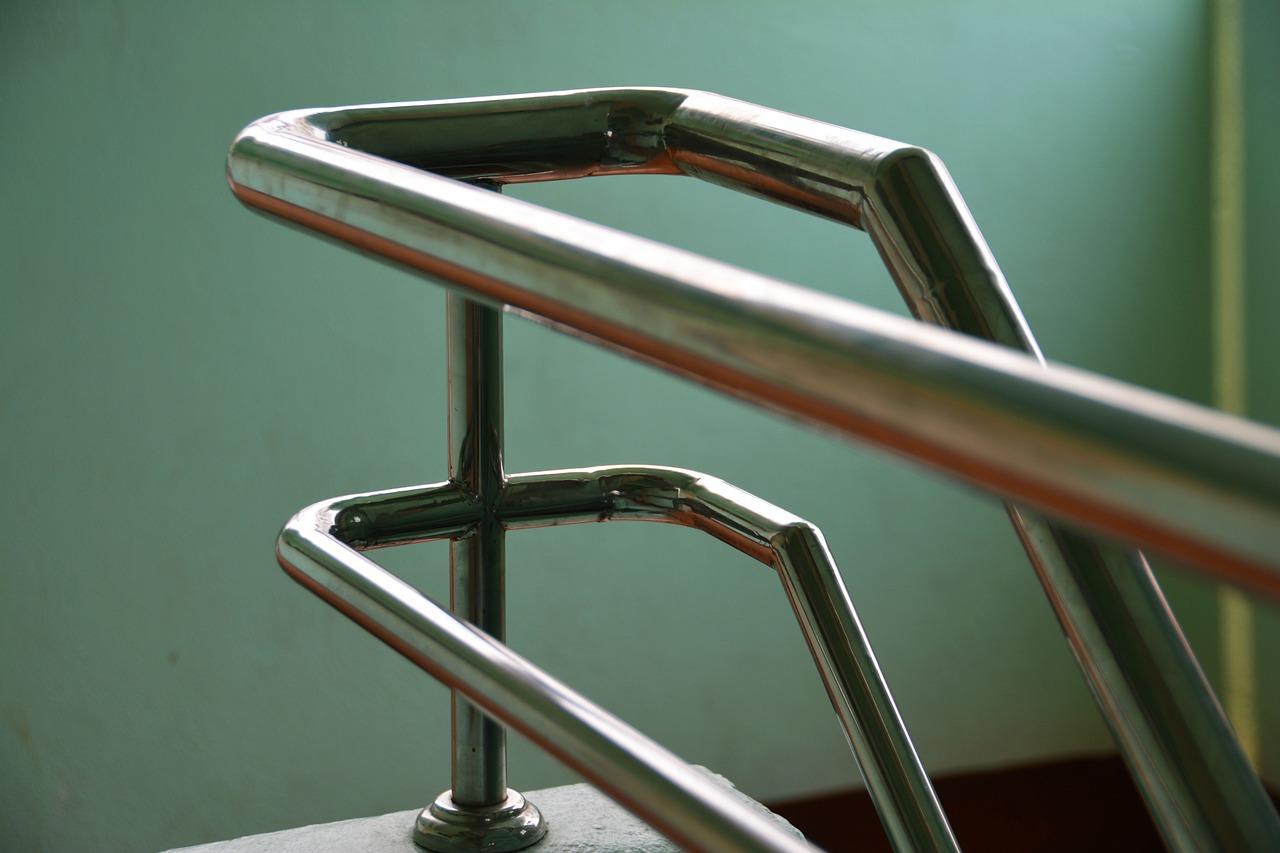
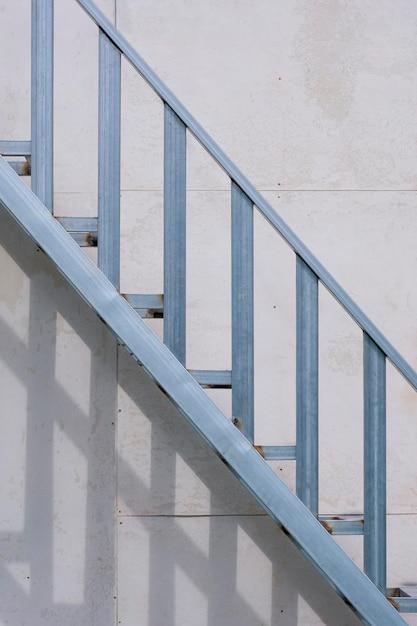
How to Achieve Smooth and Sleek Stair Railings by Sanding
Are your staircase railings looking worn out and rough around the edges? Fear not, for we have the perfect solution to bring back their former glory—sanding! In this guide, we’ll walk you through the step-by-step process of sanding your stair railing like a pro. Get ready to unleash your inner handyman and transform those lackluster railings into smooth, sleek works of art. So grab your sandpaper and let’s dive right in!
Gather Your Tools and Materials
Before you embark on your sanding adventure, make sure you have all the necessary tools and materials at hand. Here’s a rundown of what you’ll need:
- Sandpaper – Get yourself a selection of various grits, including coarse, medium, and fine. This will allow you to start with aggressive sanding and gradually work towards a smoother finish.
- Sanding Block – A sanding block will provide you with a sturdy grip and even pressure while sanding, ensuring consistent results.
- Safety Gear – Protect your eyes with safety goggles and shield your hands with a pair of sturdy gloves. Safety first, folks!
- Drop Cloth – Lay down a drop cloth or old sheet to catch any dust and debris that may fall during the sanding process.
- Vacuum or Broom – Have a trusty vacuum or broom nearby to tidy up the mess once you’re done.
Prepare the Area
Before you start sanding, it’s crucial to prepare the area to avoid any unnecessary mess. Nobody wants to find drifts of sawdust in their morning coffee, right? Here’s what you should do:
- Remove Obstacles – Clear the area around your staircase to ensure you have plenty of space to move around. This will prevent any unplanned collisions and help you maintain your balance while sanding.
- Protect Adjacent Surfaces – Cover any surrounding surfaces, such as walls or flooring, with plastic sheets or masking tape. This will safeguard them from accidental scratches or stray sandpaper marks.
- Ventilate the Area – Open windows or use fans to provide proper ventilation during the sanding process. This will mitigate the accumulation of dust, making the whole experience much more pleasant.
Begin the Sanding Process
Now comes the juicy part—sanding those stair railings to perfection. Let’s get started, shall we?
- Start with Coarse Grit – Begin by using the coarse sandpaper to remove any stubborn paint, varnish, or imperfections on the railing’s surface. Apply even pressure and sand in the direction of the grain for optimal results.
- Switch to Medium Grit – Once you’ve smoothed out the rough edges with the coarse grit, move on to the medium sandpaper. Continue sanding in the direction of the grain until you achieve a consistent and even surface.
- Finish with Fine Grit – Now it’s time to give your railings that extra touch of finesse. Grab the fine grit sandpaper and gently sand the surface until it feels silky smooth to the touch. Marvel at the transformation!
Clean and Protect
It’s time to bid farewell to the dust and debris that have accumulated along your sanding journey. Here’s how to wrap up the process with a clean and protected finish:
- Wipe Down the Railings – Use a soft cloth or tack cloth to carefully wipe away any remaining dust particles from the surface of your railings. Ensure every nook and cranny is free from debris.
- Apply a Protective Finish – Protect your newly sanded railings by applying a wood sealant or stain of your choice. This will not only enhance the natural beauty of the wood but also provide a protective barrier against future wear and tear.
- Step Back and Admire – Take a moment to appreciate your hard work. Your stair railings have undergone a stunning transformation, and you deserve a pat on the back for a job well done!
And there you have it, folks—a comprehensive guide on how to sand your stair railings like a seasoned pro. With a little elbow grease and a sprinkle of DIY magic, your railings will become the envy of the neighborhood. So go forth, embrace the sandpaper, and let your staircase shine!
FAQ: How To Sand Stair Railing
Welcome to our comprehensive FAQ-style guide on how to sand stair railing. Whether you’re a seasoned DIY enthusiast or a newbie looking to spruce up your staircase, we’ve got you covered. In this section, we’ll answer some of the most frequently asked questions about sanding stair railing with a touch of humor and a whole lot of helpful information. So, let’s jump right in!
How do You Sand Stair Spindles
Sanding stair spindles can be a tedious task, but fear not, we’ve got a few tips to make it easier for you. Start by wrapping sandpaper around a small cylindrical object like a dowel or a pencil. This makeshift spindle sander allows you to maneuver into those hard-to-reach places. Take your time and sand carefully, ensuring you smooth out any rough edges. It may take some patience, but the end result will be well worth it!
How much Does it Cost to Sand Stairs
Ah, the age-old question: how much will it cost? The answer, my friend, depends on several factors, such as the size of your staircase, the condition of the railing, and whether you choose to hire a professional or tackle it yourself. As a rough estimate, DIY sanding materials can range from $50 to $100, whereas hiring a professional may cost anywhere from $200 to $500. Remember, though, DIY sanding comes with the perks of an arm workout and a sense of accomplishment!
What is the Best Way to Sand Stairs
When it comes to sanding stairs, there are a few different approaches you can take. If you’re working with unfinished wood, start with a coarse-grit sandpaper to remove any existing finish or imperfections. Gradually work your way up to finer-grit sandpaper to achieve a smooth surface. For painted or varnished stairs, consider using a chemical stripper to remove the existing coating before sanding. Always remember to wear protective gear like goggles and a dust mask to keep yourself safe from flying debris. Safety first, stair sanding second!
Is a Spindle Sander Useful
Absolutely! A spindle sander is like a superhero for sanding stair spindles. This nifty tool spins a cylindrical sanding sleeve, allowing you to effortlessly sand those curvy, intricate details. If you have a lot of spindles to tackle, investing in a spindle sander will make your life much easier. Trust us, once you go spindle sander, you’ll never want to go back!
How do You Prepare Stair Spindles for Painting
Painting stair spindles requires some prep work to ensure a flawless finish. Start by sanding the spindles to create a smooth surface for the paint to adhere to. Once sanded, wipe away any dust with a damp cloth. Next, apply a primer specifically designed for wood surfaces. This step helps the paint adhere better and ensures an even finish. After the primer dries, it’s time for the fun part – paint away! Remember to choose a paint color that complements your staircase and personal style. Let your creativity shine!
How do You Smooth a Wooden Railing
Ah, the touch and feel of a smooth wooden railing – truly satisfying! To achieve this coveted smoothness, start by sanding the railing with a coarse-grit sandpaper. Follow up with progressively finer grits until the wood feels as smooth as silk. Once sanded, wipe away the dust and consider applying a wood conditioner to nourish and protect the wood. If you’re feeling extra fancy, finish off with a coat of varnish or paint for added durability and aesthetic appeal. Voilà, a smooth wooden railing awaits your admiring touch!
Is There a Tool to Sand Spindles
Absolutely! Meet your new best friend: the spindle sander. This handy tool specializes in sanding those pesky spindles, making your life so much easier. Its oscillating action allows for precise sanding, reaching all the nooks and crannies with ease. So wave goodbye to hand cramps and bring on the spindle sander!
Which is Better: Orbital or Palm Sander
It’s time for a sander showdown! In the battle between the orbital and palm sander, who emerges victorious? Well, it depends on the task at hand. The orbital sander is a versatile powerhouse, ideal for larger surfaces like the stair treads or railing. On the other hand, the palm sander is a compact multitasker, perfect for reaching small nooks and crannies such as stair spindles. So, it’s not about which one is better; it’s about choosing the right tool for the job. May the sanding force be with you!
Which is the Best Sander
Ah, the quest for the ultimate sander! While there isn’t a one-size-fits-all answer to this question, there are a few top contenders worth considering. The belt sander is known for its efficiency in removing material quickly, while the random orbital sander excels at producing a smooth, swirl-free finish. The detail sander, as its name suggests, is fantastic for intricate details and hard-to-reach areas. It ultimately boils down to your specific needs and preferences. So, grab your sanding armor and choose the sander that fits your sanding kingdom!
How do You Sand a Stair Rail
Sanding a stair rail doesn’t have to be a Herculean task. Start by removing the rail if possible, as this makes sanding more manageable. Lay the rail on a sturdy work surface and begin sanding with a coarse-grit sandpaper, gradually working your way to finer grits. Be sure to sand in the direction of the wood grain for a smooth and even finish. If removing the rail isn’t an option, wrap sandpaper around a sanding block to navigate those curves and angles. Remember to take breaks, stay hydrated, and embrace the sanding prowess within you!
Can You Paint Over Stained Wood Without Sanding
Ah, the allure of skipping sanding – we’ve all been there. While it may be tempting to dive straight into painting over stained wood, we recommend a bit of prep work for better results. Sanding the stained surface lightly helps roughen it up, allowing the paint to grip more effectively. You can also use a deglosser or liquid sandpaper to prepare the surface without the elbow grease. So, to ensure a long-lasting and flawless finish, a little sanding goes a long way!
Does Liquid Sandpaper Remove Paint
Liquid sandpaper, the magical elixir of paint preparation! While its name suggests it can remove paint, liquid sandpaper’s primary role is to degloss or dull the surface. It removes the glossy finish, creating a more suitable surface for paint adhesion. If you’re looking to remove existing paint entirely, traditional sanding methods are your best bet. So, grab that liquid sandpaper and let it work its mesmerizing deglossing powers!
Do I Have to Sand My Stairs Before Painting
Ah, the eternal question of whether to sand or not to sand. While sanding may seem like an extra step, it is crucial for achieving a professional and long-lasting paint finish. Sanding creates a smooth and clean surface, free from imperfections. It also helps remove any existing finishes and prepares the surface for the primer and paint. So, embrace the sandpaper and sand away for fabulous, paint-ready stairs!
What is the Best Sander for Sanding Stairs
Choosing the best sander for sanding stairs is crucial for achieving optimal results with minimal effort. When it comes to sanding stairs, the detail sander and the random orbital sander are often the go-to choices. The detail sander takes the crown for intricately shaped stair elements, such as spindles and corners. On the other hand, the random orbital sander is a versatile workhorse, suitable for larger areas like the stair treads and railing. So, gear up with the right sander, and let the sanding adventure unfold!
How do You Sand Old Wooden Stairs
Ah, the charm and character of old wooden stairs! When it’s time to freshen them up, start by assessing their condition. If they’re painted, consider using a chemical stripper to remove the existing paint. For textured surfaces, opt for a wire brush or sanding sponge to tackle stubborn areas. When sanding, a combination of hand sanding and power sanding may be required, depending on the intricacies of your stairs. Be patient, take your time, and let those old wooden stairs shine once again!
How do You Strip Wood Spindles
Stripping wood spindles can be a time-consuming task, but trust us, the end result is worth it. Start by applying a chemical stripper formulated for wood surfaces. Allow it to sit and work its magic, softening the existing finish. Once the finish starts to bubble, gently scrape it off using a plastic scraper or a putty knife. For any hard-to-reach areas, consider using steel wool or a toothbrush to remove the remaining finish. Rinse the spindles with water and let them dry before moving on to the sanding phase. Remember, patience is the key to successful stripping!
What is the Best Paint for Bannisters
When it comes to choosing the best paint for bannisters, durability and aesthetics take center stage. Opt for a high-quality paint designed specifically for interior wood surfaces. Look for paints with a semi-gloss or satin finish, as they offer both durability and ease of maintenance. These finishes also tend to stand up well against scuffs and stains, ensuring your bannisters retain their beauty for years to come. So, kiss your bannisters with a paint that dazzles and protects!
Do I Have to Sand Spindles Before Painting
While the allure of skipping sanding may tempt you, it’s best not to shortchange your spindles. Sanding them before painting ensures a smooth surface, allowing the paint to adhere properly. Lightly sand the spindles to remove any rough spots, imperfections, or existing finishes. This step ensures that your paint job looks flawless and has the staying power to withstand daily wear and tear. So, grab that sandpaper and give your spindles the love they deserve before they rock their new paint coats!
How do You Smooth a Handrail
Ah, handrails, an essential element of every staircase. To achieve a smooth handrail, start by sanding the surface with a coarse-grit sandpaper. Gradually move to finer-grit sandpapers as you make your way to a silky-smooth finish. Ensure that you sand in the direction of the wood grain to avoid scratches and achieve an even appearance. Once the sanding is complete, wipe away any dust and consider applying a protective finish like varnish or polyurethane for added smoothness and longevity. Now your handrail will feel like gliding on a cloud!
And there you have it—a collection of FAQ-style questions and answers to guide you through the exciting world of sanding stair railing. So, grab your sandpaper, don your sanding cape, and let your staircase renovation journey begin! Remember, sand with confidence, laugh along the way, and enjoy the satisfaction of a beautifully sanded stair railing in your own domain. Happy sanding!