Renovating your bathroom can be an exciting project, but the thought of removing those stubborn shower tiles can be a daunting task. You may have concerns about damaging the tiles or the underlying drywall in the process. But fret not! In this comprehensive guide, we will walk you through the step-by-step process of removing shower tiles without breaking them.
We’ll answer common questions like whether you can tile on top of existing tiles, if you need to replace drywall after removing the tiles, and how to remove wall tiles without causing any damage. We’ll also share tips on how to smooth the walls and replace tile trim effortlessly. So, grab your tools and get ready to give your bathroom a fresh new look without the headache!
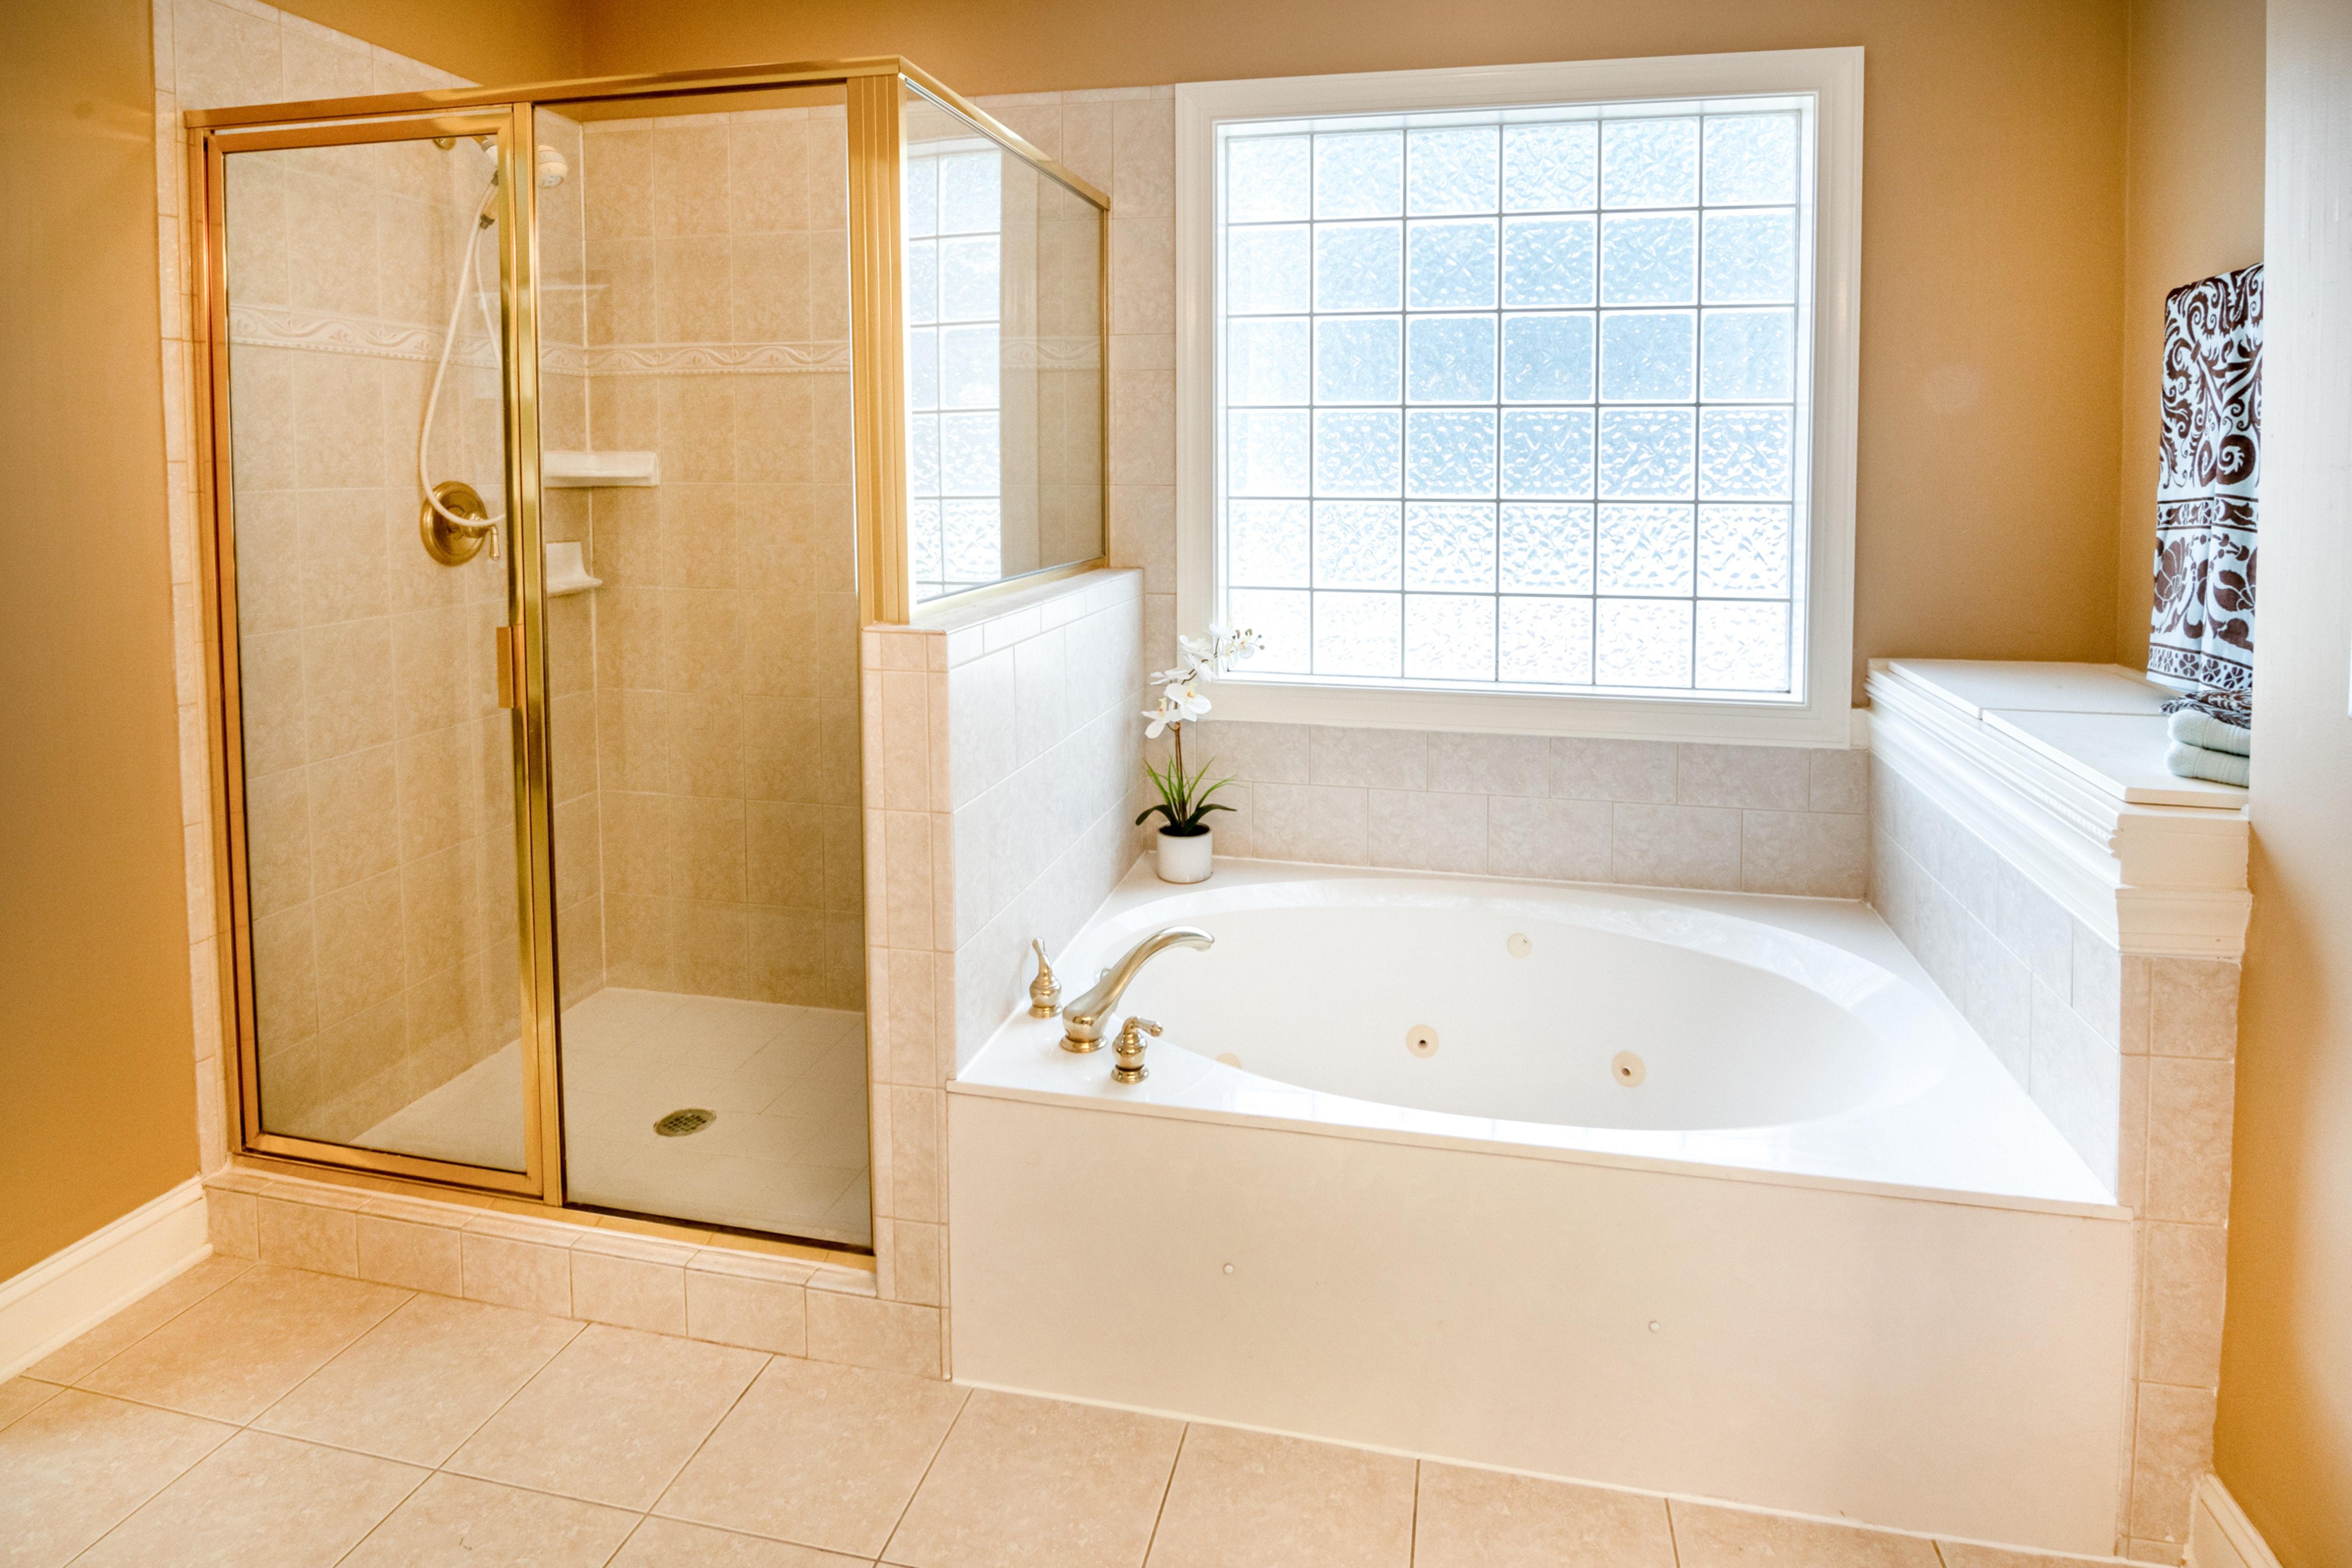
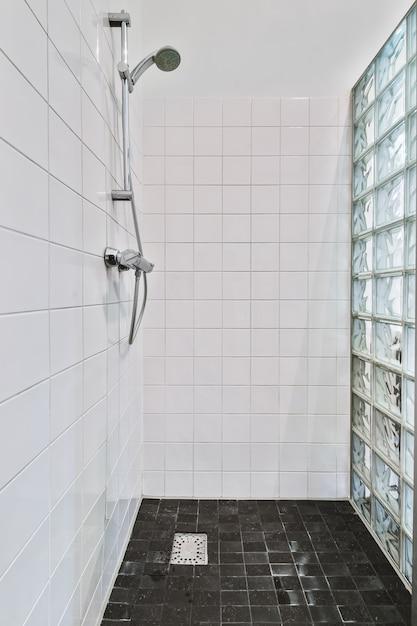
How Can You Remove Shower Tiles Without Smashing Them
Preparing for Tile Liberation: Gather Your Tools and Supplies
Before embarking on this daring mission to liberate your shower tiles from their ceramic prison, it’s essential to gather your tools and supplies. Arm yourself with the following:
Find Your Inner Demolition Expert
Now, before we begin, it’s important to remember that even though we’re going to approach this task with humor and a hint of irreverence, we still need to take safety seriously. So put on your safety goggles, gloves, and maybe even a hard hat if you want to go all out. After all, you never know what tiles are plotting against you behind that seemingly innocent bathroom facade.
Assess the Situation: Determine Tile Vulnerability
Now that you’re donned in your demolition gear, it’s time to assess the situation. Take a careful look at the tiles you want to remove. Are they fragile and ready to crumble at the mere sight of a pry bar? Or are they holding on for dear life, refusing to let go of the wall like a petulant child? Understanding the enemy is the first step to victory.
Channel Your Inner Negotiator
If your tiles seem reluctant to budge, it’s time to put your negotiation skills to the test. Find the grout lines, those delightful little spaces between the tiles, and start gently persuading the tiles to abandon their post. A putty knife or a small chisel can be your best friends in this delicate operation. Just be sure to speak kindly to the tiles; they have feelings too, you know.
The Art of Extraction: Liberating Tiles Without Destruction
Now that you’ve sweet-talked your tiles, it’s time for the grand finale. How do you remove them without inflicting unnecessary pain and destruction? Fear not, intrepid tile liberator, for we have the answers you seek.
Meet the Low-Impact Extraction Technique
To avoid sending your tiles to the great tile graveyard in the sky, you’ll need to master the art of low-impact extraction. Start by gently prying the tiles loose from the bottom using your trusty putty knife or chisel. Apply a little pressure, but be kind and patient. Remember, this is a non-violent revolution.
A Dash of Hot Water Magic
If the tiles still cling to the wall like scared little barnacles, bring some hot water into the equation. Heat up a pot of water, but not so much that you create a mini volcano in your bathroom. Pour the hot water along the edges of the tiles, allowing the warmth to work its magic on the adhesive beneath. The tiles will begin to loosen up, realizing that a life outside the shower is beckoning.
Salvaging the Fallen: Handling Broken Tiles
Alas, not every tile may emerge from this battle unscathed. But fear not! We have a protocol for handling these fallen comrades.
Navigating the Aftermath
If you discover a broken tile amidst the chaos, take a moment to mourn its warrior spirit. Then, gather the fallen pieces and dispose of them properly. Place the broken shards in a sturdy bag, sealing it tightly to avoid any accidental scrapes or cuts. Remember, even in defeat, these tiles deserve a respectful farewell.
With these ingenious strategies and a touch of finesse, you can now remove shower tiles without breaking them (well, most of the time). May your liberation mission be successful, your tiles unbroken, and your bathroom remodel filled with laughter and joy. Happy tile hunting!
Frequently Asked Questions: How Do You Remove Shower Tiles Without Breaking Them
How do you remove stubborn tiles
Stubborn tiles can be a real pain in the you-know-where, but fear not! Here’s a trick to tackle those stubborn tiles: Start by heating up the adhesive beneath the stubborn tile using a heat gun. Once it’s nice and toasty, carefully pry the tile off using a putty knife or a flat-edged tool. Just remember to wear gloves and goggles to protect yourself from flying tile fragments – safety first!
Can you tile on top of tiles
Ah, the age-old question. While it may seem tempting to slap some new tiles on top of the old ones and call it a day, I’ve got some news for you: it’s not the best idea. If you want to avoid future headaches (and a potential tile avalanche), it’s best to remove the existing tiles before laying down the new ones. Trust me, your future self will thank you.
Do you have to replace drywall after removing tile
Good news! You may not have to replace the entire drywall after removing tile. If the drywall is still in good shape and hasn’t suffered any major damage, you can save some time and money by repairing it instead. Just patch up any holes or damage with some joint compound, sand it down smooth, and you’re good to go. Easy peasy lemon squeezy!
How do you remove a shower tile without breaking it
Ah, the delicate dance of tile removal. If you want to remove a shower tile without breaking it, here’s the secret: patience. Grab your trusty putty knife or a similar tool, and gently work your way around the edges of the tile. Wiggle it back and forth, ever so gently, until you feel it loosening up. Once it’s loose enough, you can carefully pry it off without causing any casualties. Just be gentle, like you’re handling a newborn kitten – no tile casualties allowed!
How do you smooth walls after removing tile
Now that you’ve successfully removed those stubborn tiles, it’s time to smooth things over. Start by sanding down any remaining adhesive or grout on the walls using some sandpaper or a sanding block. Once you’ve eliminated the rough patches, fill in any gaps or holes with some joint compound, smoothing it out with a putty knife. Give it a little sanding after it dries, and voila – smooth as a baby’s bottom!
How hard is it to remove tile
Well, my friend, removing tile can be a bit of a workout, but it’s definitely doable. It requires a bit of elbow grease, some patience, and the right tools. With a little determination, you’ll have those tiles flying off the walls like a magician pulling rabbits out of a hat. It may not be a piece of cake, but hey, you’ll get your daily dose of exercise while getting the job done!
Can you remove tile without damaging drywall
Absolutely! With the right approach, you can remove tile without causing any harm to your precious drywall. Start by scoring the grout lines using a grout saw or a rotary tool with a grout removal attachment. Once the grout is removed, gently pry the tiles off using a flat-edged tool. Just keep your cool and take it slow – no need to go all Hulk on those tiles. Your drywall will thank you for the gentle treatment!
How do you remove wall tiles without breaking them
Ah, the delicate art of tile removal. If you want to remove wall tiles without breaking them like a bull in a china shop, here’s the secret: strategy. Start by heating up the adhesive behind the tiles with a heat gun. This will soften up the glue and make it easier to remove the tiles without causing any casualties. Once they’re nice and warm, carefully pry them off using a putty knife or a similar tool. Just remember to handle them with care – they’re delicate little things.
Is back buttering tile necessary
Ah, the age-old debate – to back butter or not to back butter. Back buttering, my friend, is the act of spreading adhesive on the back of each tile before placing it on the wall. While it may sound like extra work, it actually helps ensure proper adhesion and reduces the risk of tile failure. So, if you want your tiles to stay put and avoid any unexpected surprises, I highly recommend giving them a little back buttering love.
Is it easy to replace tile trim
Replacing tile trim can be a breeze if you know what you’re doing. Start by removing the old trim using a putty knife or a pry bar. Once it’s out of the way, grab your new trim and measure it to fit the space. Cut it to the right size using a saw, then apply adhesive to the back and press it into place. With a little finessing and some patience, you’ll have your shower looking sleek and trim in no time!
Can you replace a single shower tile
Ah, the joy of having a single tile that just doesn’t fit in with the rest. The good news is that you can absolutely replace a single shower tile without ripping out the entire wall. Start by removing the grout around the tile using a grout removal tool. Once the grout is out of the way, carefully pry the offending tile off using a putty knife or a similar tool. Clean up the area, apply some fresh adhesive, and pop in the new tile. Ta-da! Problem solved.
Can you remove tiles and reuse them
Ah, the ultimate recycling question. While it may be tempting to salvage those beautiful tiles, the truth is that removing them without causing any damage can be a bit of a challenge. The adhesive used during installation can be pretty stubborn, and trying to remove the tiles without breaking them or damaging the backing is like trying to solve a Rubik’s Cube blindfolded. It’s best to tread carefully and accept that sometimes, things are meant to be left in their original place.
What is the best tool for removing ceramic tile
When it comes to removing ceramic tile, there are a few tools that can be your ultimate allies. The jackhammer may seem like the obvious choice, but unless you want your bathroom to look like a construction site, let’s explore some better alternatives. A grout saw or a rotary tool with a grout removal attachment can help you start by freeing the tiles from the embrace of the grout. Once you’ve done that, a putty knife or a flat-edged tool can be your go-to for gently prying the tiles off the wall. So, put that jackhammer back in the toolbox and let’s get to work!
What tools do I need to remove tile
To successfully remove tile without pulling your hair out, you’ll need a few trusty tools by your side. Here’s your arsenal:
- Grout saw or rotary tool with grout removal attachment – for freeing the tiles from the grout’s clutches.
- Putty knife or flat-edged tool – for the delicate task of prying the tiles off the wall.
- Heat gun – for when you need to soften up that adhesive and make it more cooperative.
- Gloves and goggles – because safety is cool, and we want to protect those precious hands and eyes.
With these tools in your possession, you’ll be a tile-removing superhero in no time!
What is the cost to remove tile
Ah, the dreaded question of costs. While it’s difficult to provide an exact cost without knowing the specifics of your project, there are a few factors to consider. The size of the area, the type of tile, and the complexity of the job can all influence the cost. If you’re looking to hire a professional, expect to pay anywhere from $3 to $10 per square foot for tile removal. Keep in mind that these prices can vary depending on your location and the contractor you choose. Remember, my friend, good things come at a price – but a beautifully tiled shower is worth every penny!
Can you remove shower tile without damaging the wall
You betcha! With a gentle touch and the right technique, you can remove shower tile without leaving your walls scarred for life. Start by scoring the grout lines using a grout saw or a rotary tool with a grout removal attachment. Once the grout is out of the way, slowly and carefully pry the tiles off using a putty knife or a similar tool. Take your time, be patient, and keep your eye on the prize – a pristine wall, ready for a fresh new look.
How do you remove bullnose tiles
Ah, those fancy bullnose tiles, with their rounded edges and classy charm. To remove bullnose tiles without shedding a tear, start by scoring the grout lines around the tile using a grout saw or a rotary tool. Once the grout is nice and loosened, carefully pry the tile off using a putty knife or a similar tool. Remember, bullnose tiles are delicate creatures, so handle them with love and care. Treat them like the royalty they are!
How do you remove tiles without damaging plaster
Removing tiles without damaging plaster is a delicate art form, my friend. Start by scoring the grout lines using a grout saw or a rotary tool with a grout removal attachment. This will help loosen up the tiles without causing too much disruption. Once the grout is out of the way, gently pry the tiles off using a putty knife or a similar tool. Take it slow, be gentle, and let the tiles know you mean no harm. Preserve that lovely plaster like it’s a precious work of art – because it is!
And there you have it, folks – a comprehensive FAQ-style guide on how to remove shower tiles without breaking them. Armed with these tips and tricks, you’ll be well-equipped to take on the tile removal challenge like a pro. Just remember to approach each tile with care, patience, and a touch of humor – because laughter is the best tile-removing medicine. Happy tile removing, my friend!