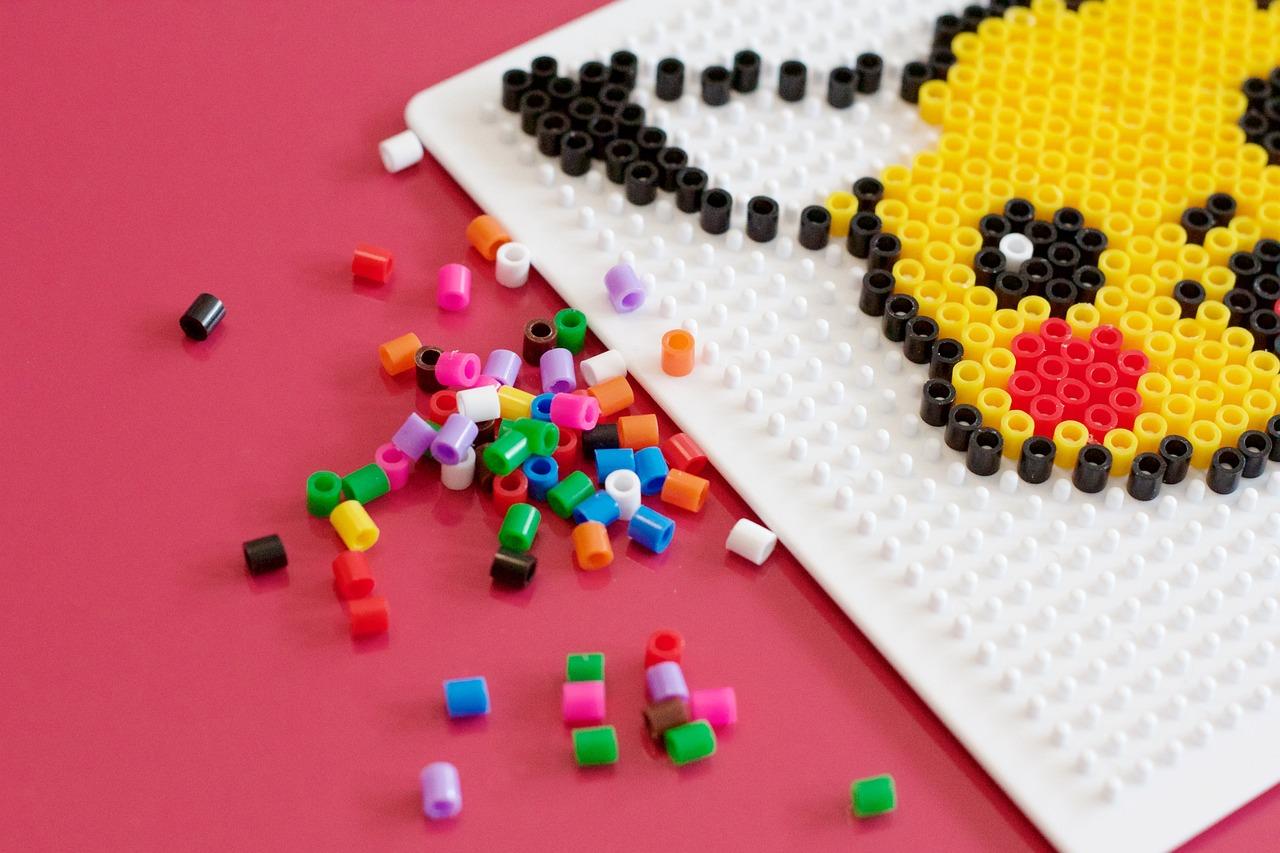
If you’re a fan of crafting, chances are you’ve come across Perler beads at some point. These tiny colorful beads are perfect for creating pixelated designs, and they can be melted together to create beautiful works of art. However, one common challenge when it comes to using Perler beads is the need for a pegboard. The pegboard ensures that the beads stay in place as you arrange them before melting, but what if you don’t have one? In this blog post, we’ll explore alternative methods for making Perler beads art without a pegboard.
When you’re itching to get creative with Perler beads but don’t have a pegboard on hand, don’t worry! There are various alternatives you can use to achieve the same fantastic results. We’ll discuss substitutes for parchment paper, explore different techniques to fuse the beads together, and even touch on questions like safety and age suitability. So, if you’re ready to embark on a Perler beads adventure without a pegboard, keep reading!
Without further ado, let’s dive into the exciting world of Perler beads and discover how you can create stunning artwork even without a traditional pegboard.
How to Create Perler Beads Art Without a Pegboard
We’ve all heard the saying, “Necessity is the mother of invention.” Well, when it comes to creating Perler beads art without a pegboard, this saying holds true. Forget about scrambling to find a pegboard or resorting to other complicated solutions. Let me show you how to make fantastic Perler beads art without a pegboard!
The Irony of Creativity
Who needs a pegboard when you can think outside the box, or in this case, outside the board? Don’t let the lack of a pegboard limit your artistic prowess. Instead, embrace the irony and turn it into an opportunity for innovation! Now let’s delve into some creative alternatives.
Alternative Tools for the Crafty
1. Wax Paper Wonder
Wax paper can be your unexpected ally in the absence of a pegboard. Simply cut a piece of wax paper slightly larger than your desired Perler beads creation. Place it on a flat surface and start arranging your beads directly on top of the wax paper. Once you’re satisfied with your design, cover it with another piece of wax paper and carefully iron it. The heat will fuse the beads together, and voila! Your masterpiece is complete.
2. Strategic Tape Tactics
Tape may seem like an unlikely hero, but it can work wonders in creating Perler beads art without a pegboard. Grab a sturdy piece of tape, such as masking tape or painter’s tape, and lay it sticky side up on a table. Arrange your beads on the tape, creating your desired design. Once you’ve finished, carefully place another piece of tape on top to secure the beads. Finally, iron the tape-covered design to fuse the beads together and remove the tape.
Innovations Beyond Pegboards
1. Cookie Cutter Magic
Who knew that cookies and crafts could intersect in such a delightful way? Grab your favorite cookie cutters, the kind you’d normally use for baking, and place them on a flat surface. Now arrange your beads inside the cookie cutter, creating a fun and unique design. Once you’re satisfied, carefully remove the cookie cutter and fuse the beads together with the help of an iron. This way, you can create Perler beads art in various shapes and sizes!
2. Grid It Your Way
If you’re feeling particularly meticulous, creating a grid using masking tape or washi tape can be a game-changer. Lay strips of tape on a flat surface, creating a grid that matches the size of your desired design. Now place your beads within the grid, following your chosen pattern. Once you’re done, iron the beads together, and watch as your creation comes to life!
Embrace the Crafty Adventurer Within You
Now that you’ve discovered these ingenious ways to create Perler beads art without a pegboard, there’s no limit to your creativity. Embrace the spirit of innovation and let your imagination run wild. Remember, art knows no boundaries, and neither should your Perler beads creations!
So ditch the pegboard, embrace the unexpected alternatives, and let the creativity flow. Happy beading!
Note: This blog post is for informational purposes. Always exercise caution when using hot implements and follow the manufacturer’s instructions for your Perler beads.
FAQ: How To Make Perler Beads Art Without A Pegboard
Perler beads are a fantastic craft activity that allows you to create colorful and pixelated designs. However, what if you don’t have a pegboard? Don’t worry! In this FAQ-style guide, we’ll answer all your burning questions about making Perler bead art without a pegboard. From alternative materials to techniques and safety concerns, we’ve got you covered. So, let’s dive right in!
Substitutes for Parchment Paper
What can you use instead of parchment paper?
If you don’t have parchment paper on hand, don’t fret. There are a few alternatives that work just as well. One option is to use wax paper, which acts as a protective barrier between the iron and the Perler beads. Alternatively, you can also use a silicon baking mat or even plain old printer paper. Get creative with whatever you have lying around!
Can I use baking paper instead of ironing paper?
Absolutely! Baking paper, also known as baking parchment, can work as a substitute for ironing paper when melting your Perler bead creations. Just make sure it’s heat-resistant and non-stick, so your beads don’t get stuck. It’s a convenient alternative that you might already have in your kitchen.
What can I use instead of parchment paper when ironing?
If you don’t have parchment paper within reach, fear not! When ironing your Perler beads without a pegboard, you can use wax paper, a silicone baking mat, or even aluminum foil. The key is to have a non-stick surface to prevent your beads from sticking to the iron or melting too much.
Ironing Techniques and Safety Tips
How do you iron Perler beads with wax paper?
To iron Perler beads with wax paper, first, place the wax paper over your bead design. Then, set your iron to a medium heat setting (around 250-300°F). Gently glide the iron over the wax paper in a circular motion for a few seconds, ensuring even heat distribution. Be careful not to apply too much pressure, as it can smudge the design. Once the beads are fused, let them cool before removing the wax paper. Voilà! Your creation is complete.
Can you use aluminum foil for Perler beads?
While it might be tempting to use aluminum foil for your Perler bead projects, we advise against it. Aluminum foil doesn’t provide the same non-stick properties as parchment paper or wax paper, which can lead to beads getting stuck or uneven melting. Stick to parchment paper or wax paper for the best results.
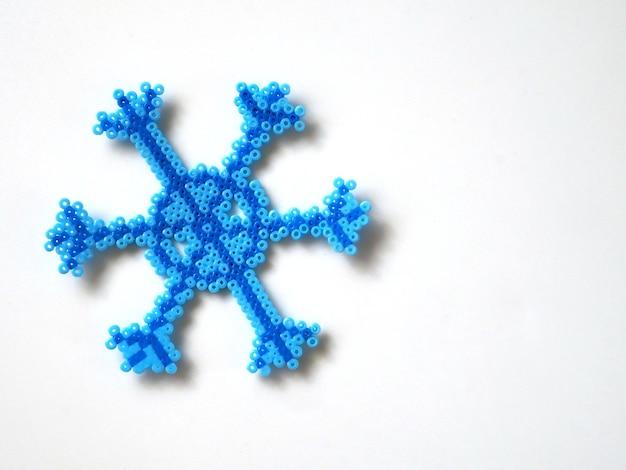
How do 3d Perler beads work?
Ah, the fascinating world of 3D Perler beads! These beads allow you to build intricate structures with height and depth. To create 3D Perler bead art, follow the same process as with regular Perler beads. Once your design is complete, gently stack the layers on top of each other, using the melted beads as glue to hold them together. Allow the layers to cool and fuse before handling. The result? A stunning three-dimensional masterpiece!
Can you bake Perler beads?
Although baking might sound like a delicious option, we don’t recommend baking Perler beads. Perler beads are designed to be melted with an iron, not through baking. Baking them can lead to unpredictable results and potential damage to your oven. Stick to ironing for a smooth and reliable finish.
Safety Concerns
What happens if you swallow a Perler bead?
Oh no! Swallowing a Perler bead can be a cause for concern, especially if you’re dealing with small children. Perler beads are made from low-density polyethylene, a plastic that is considered non-toxic. However, if swallowed, Perler beads can cause a choking hazard. Monitor small children closely during craft time, as prevention is always the best approach.
What age are Perler beads for?
Perler beads are a versatile craft suitable for a wide age range, from kids to adults. However, due to the small size of the beads, they can present a choking hazard for young children. The packaging usually states that Perler beads are suitable for ages 6 and above. It’s essential to supervise young children during Perler bead activities to ensure their safety.
Are Perler beads toxic?
No need to worry, Perler beads are generally considered non-toxic. They are made from low-density polyethylene, a plastic material commonly used in food packaging. However, as mentioned earlier, always be cautious with small children to avoid any potential choking incidents.
Tips and Tricks
What tape do you use for Perler beads?
When it comes to Perler beads, tape can be a helpful tool. Masking tape or painter’s tape are ideal choices for securing your bead design to a surface, such as a table or a piece of cardboard, preventing accidental shifts during the ironing process. Just remember to remove the tape carefully once the beads have cooled down.
How long does it take to melt Perler beads?
Patience is key when melting Perler beads. The exact time can vary depending on factors like the heat setting, iron brand, and bead thickness. Generally, it takes around 10-20 seconds to melt the beads thoroughly. Remember to keep an eye on the beads while ironing to avoid over-melting or under-melting them. A little trial and error will help you find the perfect timing for your creations.
Who knew you could make stunning Perler bead art without a pegboard? With a little creativity and the right materials, the possibilities are endless. Whether you’re using wax paper, baking paper, or even aluminum foil, you now have the know-how to create fantastic designs. So go ahead, indulge in this pixelated craft and let your imagination run wild. Happy beading!
Disclaimer: The information provided in this blog post is for educational and entertainment purposes only. Consult the product packaging and manufacturer’s instructions for specific guidelines and safety precautions.