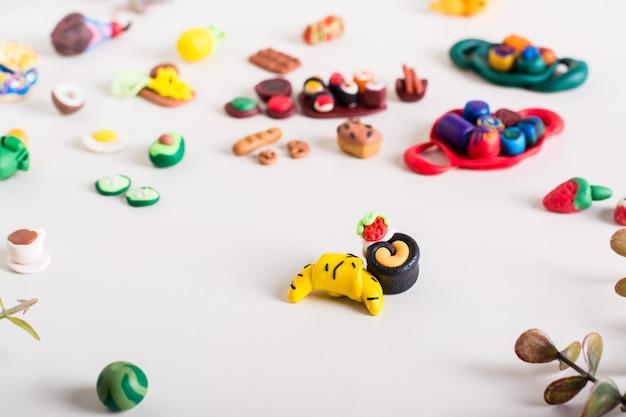
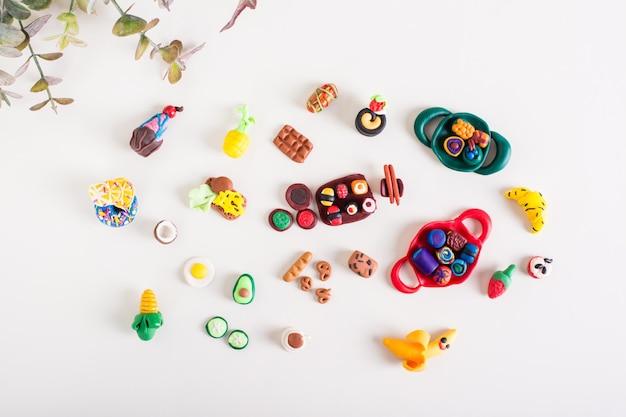
Polymer clay has become an increasingly popular medium for crafters and artists alike. Its versatility and ease of use make it perfect for creating jewelry, sculptures, and various other decorative items. However, if you’re new to working with craft smart polymer clay, you may have questions about the baking process. Do you need a separate oven for polymer clay? Can you bake it on foil or a silicone mat? How long does it need to bake, and at what temperature?
In this blog post, we’ll provide you with a comprehensive guide on how to bake craft smart polymer clay. We’ll address common concerns such as baking temperature, baking surfaces, and the potential for cracking. Whether you’re a beginner or have some experience with polymer clay, this guide will help you achieve professional-looking results. So let’s dive in and unlock the secrets to successful polymer clay baking techniques in 2023!
How to Successfully Bake Craft Smart Polymer Clay
Crafting with polymer clay is a fun and creative activity that can result in beautiful and unique creations. However, to achieve the best results, it’s crucial to know how to properly bake your creations. In this subsection, we’ll explore the step-by-step process of baking Craft Smart polymer clay, ensuring your creations will turn out amazing every time!
Preparing Your Clay Masterpiece
Before we dive into the baking process, let’s make sure your polymer clay creation is ready for the oven. Ensure that your masterpiece is free from dust, lint, or any other unwanted particles. You don’t want a speck of dirt ruining your hard work! If needed, gently brush off any debris with a clean, soft brush or use a damp cloth to wipe it down delicately.
Preheating the Oven
Preheating the oven may not be the most exciting part of baking, but trust us, it’s necessary for a successful outcome. First things first, make sure your oven is clean and free from any lingering food odors. You don’t want your beautifully crafted clay pieces smelling like yesterday’s garlic bread!
Preheat your oven to 275°F (135°C), and remember, patience is a virtue. Even if you’re eager to dive into the clay-baking adventure, give your oven enough time to reach the desired temperature. In the meantime, savor the anticipation by envisioning your artistic creation as an undisputed masterpiece.
Time to Bake!
Now that your oven has reached the ideal temperature, it’s showtime! Place your polymer clay creation on a baking tray lined with parchment paper or a silicone baking mat. This will prevent your masterpiece from sticking to the tray and allow for easy removal later on.
Gently slide the tray into the middle rack of the oven. Avoid placing your creation too close to the heating elements, as that can lead to uneven baking or even accidental flaming artwork (and no, we don’t mean abstract fire sculptures).
Savor the Baking Process
Baking time will vary based on the size and thickness of your creation. As a general rule of thumb, bake your Craft Smart polymer clay masterpiece for approximately 15 minutes per 1/4 inch (6mm) of thickness. Grab your favorite snack, put on a catchy playlist, and enjoy the delightful aroma that fills your kitchen.
Cool Down and Avoid Impatience
Once the baking time is up, resist the temptation to immediately grab your creation and show it off to the world. Patience is key in this delicate process! Turn off the oven and allow your masterpiece to cool naturally inside for at least 30 minutes. Premature handling might result in unwanted distortions or even an accidental faceplant onto the floor. Let the clay take its time to firm up and strengthen its bond.
Admire and Display Your Creation
Congratulations, you’ve successfully baked your Craft Smart polymer clay creation! Now, take a moment to admire your masterpiece and bask in the satisfaction of a job well done. Whether it’s a meticulously crafted pendant, a whimsical figurine, or an intricately designed sculpture, your creation deserves to take center stage.
Once cooled, you can embellish your baked masterpiece with paints, glazes, or any other creative supplies to further enhance its beauty. Once your final touches are complete, find the perfect spot to display your creation, whether it’s on a shelf, in a glass case, or as a cherished gift for a loved one.
Now that you’re armed with the knowledge of how to bake Craft Smart polymer clay, the possibilities for your creative endeavors are endless. Remember to follow these steps diligently for the best results: prepare your creation, preheat the oven, bake at the recommended temperature, allow for adequate cooling time, and embrace the joy of your masterpiece.
So unleash your creativity, have fun, and let your imagination run wild in the world of Craft Smart polymer clay! Happy baking, fellow clay enthusiasts!
FAQ: How To Bake Craft Smart Polymer Clay
Welcome to our FAQ section all about baking Craft Smart polymer clay! Whether you’re a beginner or an experienced crafter, we’ve got you covered with answers to all your burning questions. So let’s dive right in and get baking!
Do you bake polymer clay with metal in it
No, it’s best to avoid baking polymer clay with metal in it. Metal can retain and conduct heat differently from clay, leading to uneven baking and potential damage to your masterpiece. So play it safe and remove any metal components before baking.
How long do you bake Craft Smart clay
To achieve polymer perfection, preheat your oven to 275°F (135°C) and bake Craft Smart clay for about 30 minutes per ¼ inch (6mm) of thickness. It’s always best to follow the manufacturer’s instructions for the specific duration.
Can you bake polymer clay on foil
Absolutely! Baking polymer clay on foil is a popular choice. Not only does it provide a smooth and non-stick surface, but it also helps to prevent any undesirable color or sheen changes on your clay creations.
Do you need a separate oven for polymer clay
No separate oven required! Polymer clay can be baked in a regular home oven. Just make sure to thoroughly clean the oven afterward to remove any lingering clay residue (unless you want your next batch of cookies to have a hint of clay flavor!).
Can you bake polymer clay on a silicone mat
Yes, you can bake polymer clay on a silicone mat. Silicone mats are excellent heat conductors and will help ensure an even baking process. Just be sure to use a mat designated for baking, as some craft mats may not be suitable for the oven’s higher temperatures.
How long do you bake polymer clay in the oven for
For that perfect bake, most polymer clays require around 30 minutes per ¼ inch (6mm) of thickness. Remember, patience is key when it comes to baking clay, so resist the urge to rush the process.
Is Craft Smart clay oven bake
Indeed it is! Craft Smart clay is designed to be baked in the oven, allowing you to cure your creations to a durable finish. Just follow the baking instructions provided on the packaging, and you’ll be well on your way to crafting greatness.
Can you use a normal oven for polymer clay
Absolutely! A normal oven is all you need to bake polymer clay. Just make sure to accurately set the temperature and monitor it throughout the baking process for consistent and reliable results.
How can I bake polymer clay without an oven
If you find yourself without an oven, fear not! You can still bake polymer clay using alternative methods such as a toaster oven or a craft-specific clay-dedicated oven. Just tread carefully and avoid using any cooking appliances that come into contact with food.
Why does my polymer clay crack after baking
Ah, yes, the dreaded cracked clay dilemma. There are a few potential culprits for this frustration. One possibility is insufficient conditioning, so be sure to thoroughly knead and soften your clay before molding. Additionally, overbaking or sudden temperature changes can contribute to cracks, so double-check your oven’s accuracy and make sure to bake according to the recommended temperatures and times.
What temperature do I bake clay at
To achieve impeccable results, preheat your oven to 275°F (135°C). It’s important to maintain this temperature throughout the baking process, as deviations can affect the quality of your final creation.
Can you bake Craft Smart clay
Absolutely! Craft Smart clay is formulated to be oven-baked, making it a fantastic choice for your polymer clay projects. Just follow the recommended baking temperatures and times for the best outcomes.
Can non-hardening clay be baked
No need to pop it in the oven! Non-hardening or air-dry clay is designed to set and harden without any baking required. Just allow it to air-dry over time, and voila, you’ll have hardened creations ready to be admired.
What happens if you bake modeling clay
Baking modeling clay can result in a permanent transformation. The clay will harden and retain its shape, allowing you to enjoy and preserve your artistic endeavors. Be sure to follow the manufacturer’s instructions for baking temperatures and times specific to the brand of clay you’re using.
How do you harden Craft Smart modeling clay
Great question! Craft Smart modeling clay, unlike polymer clay, is air-dry and doesn’t require baking. Simply allow your creations to air-dry over time, and they’ll harden on their own without any need for heat.
Can you bake polymer clay in a regular oven
Absolutely! A regular oven is more than capable of handling your polymer clay baking needs. Just remember to avoid using the same oven for crafting and cooking unless you’re aiming for a unique blend of flavors that may or may not be appealing!
How do I know when polymer clay is done baking
To determine if your polymer clay is thoroughly baked, carefully observe the recommended baking time. It’s a delicate balance; overbaking can cause the clay to darken or become brittle, while underbaking may result in a softer finish. Trust your timer, and you’ll be rewarded with beautifully cured clay creations.
What should I bake my polymer clay on
The choice is yours! Baking polymer clay on a smooth ceramic tile, glass or metal surface, or a dedicated baking sheet can provide excellent results. Remember to prepare your chosen surface with parchment paper or a silicone mat to prevent sticking and ensure an effortless release once baked.
Now armed with these handy polymer clay baking tips, you’re ready to tackle your next crafting adventure. Remember to have fun, get creative, and always keep that oven mitt handy! Happy baking, clay enthusiasts!
*Disclaimer: The information provided is based on general knowledge and experience. Always refer to the specific instructions and guidelines provided by the manufacturer of the clay you are using.

