Are you considering installing herringbone tiles in your home but unsure how to finish the exposed edges? Or perhaps you want to know if herringbone tiles make a room appear smaller? Whether you’re a seasoned DIY enthusiast or a newbie to the world of tile installation, we’ve got you covered! In this comprehensive guide, we’ll address all your burning questions and provide step-by-step instructions on how to achieve a stunning finish for your herringbone tile edges.
From understanding the differences between herringbone and chevron patterns to deciding if tile trim is necessary, we’ll dive into the nitty-gritty details of this timeless tile design. Plus, we’ll explore cost considerations, tile sizes, and even share tips on finishing tile edges without a trim. By the end of this post, you’ll be an expert in applying ceramic tiles to edges and mastering the art of herringbone design. So, let’s get started and turn your tile dreams into a reality!
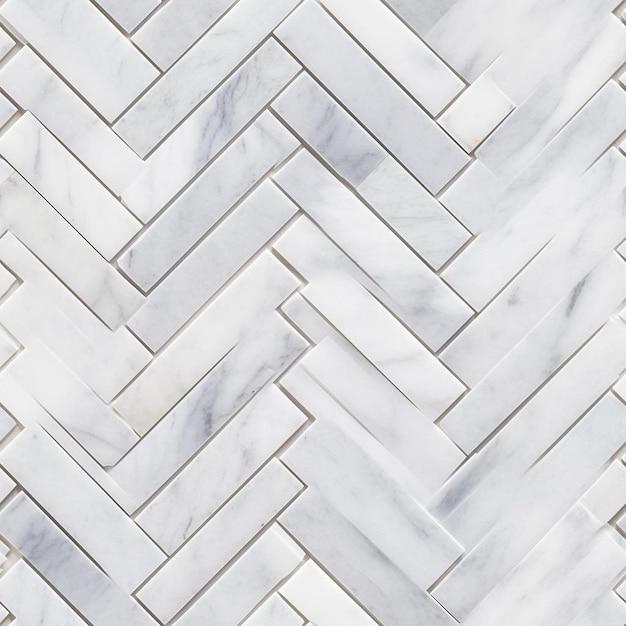
How to Achieve a Perfect Finish for Your Herringbone Tile Edge
So you’ve taken on the challenge of installing herringbone tile in your home. Bravo! You’re not just any ordinary homeowner, you’re a tile-laying aficionado. But hold on, you’re not done just yet. You still need to tackle the important task of finishing the edges. Fear not, my eager DIYer, for I’ll guide you through the steps of achieving a perfectly polished herringbone tile edge.
Prepare Your Tools and Materials
Before you jump right into finishing your herringbone tile edge, let’s make sure you have all the right tools and materials at your disposal. Here’s a checklist to help you get organized:
- Tile trim: Choose a trim that complements your herringbone pattern. A metal trim like a stainless steel or aluminum edge is a popular choice, but feel free to explore other options as well.
- Measuring tape: Accurate measurements are key to a seamless finish, so make sure you have a trusty measuring tape on hand.
- Miter saw or tile snips: Depending on the type of trim you’ve chosen, you’ll need either a miter saw or tile snips to make precise cuts.
- Level: To ensure straight and level edges, grab a level to double-check your work at various stages.
- Adhesive: Don’t forget to have a suitable adhesive for securing the trim in place.
- Grout: Choose a grout color that complements your tiles and trim. Remember, the devil’s in the details!
Trim it Like a Pro
Now that you’re armed with the necessary tools, it’s time to trim your herringbone tile edge like a seasoned pro. Here’s a step-by-step guide to help you along the way:
Step 1: Measure Twice, Cut Once
Before making any cuts, measure the length of your herringbone tile edge carefully. You don’t want to end up with a trim piece that’s too short or too long. Remember, precision is key!
Step 2: Cut with Confidence
Using your miter saw or tile snips, make clean and accurate cuts on your trim pieces. If you’re using a miter saw, set it at a 45-degree angle for those satisfyingly smooth and professional-looking corners. If you’re using tile snips, take your time and follow the marked lines precisely.
Step 3: Test the Fit
Once your trim pieces are cut, dry-fit them along the herringbone tile edge. This will give you a good idea of how the finished edge will look and allow you to make any necessary adjustments before applying adhesive.
Step 4: Adhere with Care
With your adhesive at the ready, apply a thin, even layer to the back of each trim piece. Press them firmly onto the tile edge, ensuring they align perfectly with your herringbone pattern.
Step 5: Grout and Finish
After allowing the adhesive to dry according to the manufacturer’s instructions, it’s time to fill in the gaps with grout. Use a grout float to spread the grout evenly, making sure it gets into all those nooks and crannies. Wipe off any excess grout with a damp sponge, and voila! Your herringbone tile edge is looking sharp and complete.
Admire Your Handiwork
Step back and take a moment to savor your accomplishment. Your herringbone tile edge is now a thing of beauty, a testament to your DIY prowess. And hey, you might even find yourself inviting friends over just so you can casually mention your astonishing tiling skills. Go ahead, you’ve earned it!
Remember, finishing the herringbone tile edge may require some patience and attention to detail, but it’s well worth the effort. With the right tools, materials, and a sprinkle of creativity, you can transform your space into a truly stunning masterpiece. So go forth, my tiling enthusiast, and conquer those edges with finesse!
FAQ: How To Finish Herringbone Tile Edge
Does herringbone make a room smaller
Herringbone can create an optical illusion that gives the impression of a smaller space. The zigzag pattern draws the eye in and can make the room feel narrower. However, if used correctly and with the right tile size and color, herringbone can actually add depth and character to a room.
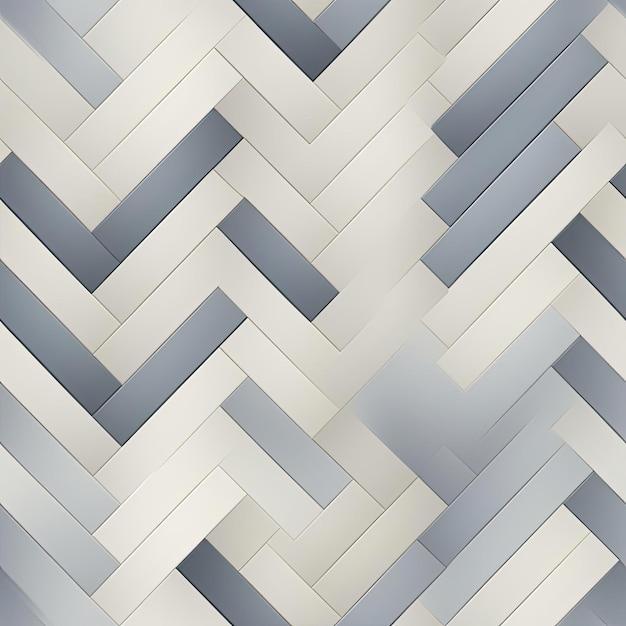
What’s the difference between Chevron and herringbone
While both Chevron and herringbone patterns involve diagonal tiles, they have distinct differences. In a Chevron pattern, the tiles are cut at an angle and meet edge to edge, forming a seamless V-shape. On the other hand, herringbone requires rectangular tiles that are arranged in a zigzag pattern. The tiles do not touch each other, creating a broken V-shape.
How do you finish exposed tile edges
To finish exposed tile edges, you have a few options. One popular choice is using bullnose tiles, which have a rounded edge that covers the exposed cut edges of the tiles. Another option is using tile edge trim, such as metal or plastic trims, which provide a clean and finished look. Alternatively, you can also use a grout joint as the edge, applying grout to the exposed edges to create a seamless transition.
Is tile edge trim necessary
While tile edge trim is not always necessary, it can enhance the overall appearance and protection of the tiled surface. Tile trim helps to cover and protect the exposed tile edges, providing a clean and polished look. It also helps to prevent chipping or damage to the edges of the tiles, ensuring their longevity.
Does herringbone tile cost more to install
The cost of installing herringbone tile can vary depending on factors such as the type of tile, labor costs, and the complexity of the pattern. Herringbone installation generally requires more precision and time compared to other tile patterns, which can contribute to higher labor costs. Additionally, cutting and arranging the tiles in a herringbone pattern can lead to increased material wastage. However, with proper planning and an experienced installer, the overall cost difference may not be significant.
How do you make a bullnose edge on tile
Creating a bullnose edge on tile involves using a tile saw or grinder to round off one edge of the tile. This technique removes the sharp corner, leaving a smooth, curved edge. For a more professional finish, you can also opt for pre-made bullnose tiles that are specifically designed with a rounded edge.
How do you finish tile without a trim
If you prefer to finish your tile without using trim, there are alternative methods to achieve a clean edge. One option is to polish the cut edges of the tiles to smooth them out and create a finished look. Another technique is mitering the edges, which involves cutting the tiles at an angle to form a seamless joint. Additionally, you can utilize caulk or grout to neatly fill any gaps or transitions between tiles.
Does herringbone go out of style
Herringbone has stood the test of time and continues to be a popular choice for tile patterns. Its timeless elegance and versatility ensure that herringbone remains a stylish option for years to come. Whether used in traditional or contemporary spaces, herringbone offers a classic appeal that adds character and visual interest to any room.
Does tile trim go on first
When it comes to installing tile trim, it is typically done after tiling. Once the tiles are in place and grouted, you can then position the tile trim along the exposed edges. This sequence ensures that the trim neatly covers and protects the edges, creating a seamless transition between different surfaces.
Does herringbone use more tile
Due to the diagonal nature of the pattern, herringbone does require more tiles compared to a standard horizontal or vertical tile installation. The zigzag layout leads to more cuts and wastage. It is essential to account for this when calculating the number of tiles needed for your project. To avoid running out of tiles, it’s recommended to purchase extra to allow for any mistakes or unexpected breakages.
What size should herringbone tiles be
The size of herringbone tiles can vary depending on personal preference and the size of the area to be tiled. However, commonly used tile sizes for herringbone patterns range from 2 inches by 8 inches to 6 inches by 24 inches. It’s important to consider the scale and proportion of the room to determine the most suitable tile size for your project.
Can you add tile trim after tiling
Yes, you can add tile trim after tiling. Once your tiles have been securely installed and grouted, you can apply the tile trim to the exposed edges. Ensure the trim is cut accurately and fits snugly against the tiles. Applying tile trim after tiling provides a clean and finished look, enhancing the overall aesthetics of your tiled surface.
Can you round tile edges
Yes, you can round tile edges to achieve a softer and more finished look. This can be done using a tile saw or grinder to carefully remove the sharp edges and create a rounded profile. Another option is to use a bullnose profile wheel attachment on a grinder, which allows for precise and consistent rounding of tile edges.
How do you finish tile edge without bullnose
If you don’t have bullnose tiles available or prefer an alternative finishing method, there are other options to consider. One approach is using a complementary trim or molding piece that matches your tile’s color and material. This can be installed along the edge to provide a clean and polished look. Another technique is using a sanded caulk that matches the tile color to fill the gap and create a finished edge.
How do you apply ceramic tile to edges
To apply ceramic tiles to edges, follow these steps:
- Measure and mark the area where you want to install the tiles.
- Prepare the edge by ensuring it is clean, dry, and free from any debris.
- Apply tile adhesive or mortar to the back of the tile using a notched trowel.
- Press the tile firmly onto the edge, aligning it with the surrounding tiles.
- Place tile spacers around the tile to ensure consistent spacing.
- Allow the adhesive or mortar to dry according to the manufacturer’s instructions.
- Once dry, remove the spacers and grout the edges to fill any gaps.
- Clean off any excess grout and buff the tiles to reveal a polished finish.
Why is the herringbone pattern expensive
The herringbone pattern can be more expensive than simple horizontal or vertical tile installations due to its intricate design and additional labor involved. The precise cutting, alignment, and arrangement of tiles require skilled craftsmanship and attention to detail, which can increase labor costs. Moreover, the customization and potential wastage of tiles can contribute to higher material expenses. However, when executed correctly, the stunning visual impact of herringbone justifies the investment.
Which way should the herringbone run
The direction in which the herringbone pattern should run depends on personal preference and the space being tiled. Traditionally, herringbone runs diagonally, forming a V-shape. However, you can also experiment with horizontal or vertical herringbone, running parallel to the walls. Consider the overall aesthetics and flow of the room when deciding on the direction that best complements your space.