Are you ready to unleash your creativity and add a touch of artistic flair to your Minecraft Xbox world? We’ve got you covered! In this comprehensive guide, we will walk you through the process of crafting a painting in Minecraft Xbox, allowing you to create stunning works of art to showcase in your virtual realm.
From customizing your own paintings to placing them strategically within your world, we will cover everything you need to know. We’ll also address common questions like how to edit paintings, import pictures into Minecraft skins, and even make pixel art. So grab your paintbrush (virtual, of course) and let’s dive into the colorful world of Minecraft painting!
During the year 2023, you’ll learn how to make your own paintings, navigate through them in Minecraft PE, and even put a personal touch on a Minecraft server. With our easy-to-follow instructions, you’ll be able to master the art of creating custom paintings and adding immersive elements to your Minecraft experience. So, are you ready to unleash your inner artist and transform your virtual world into a masterpiece? Let’s get started!
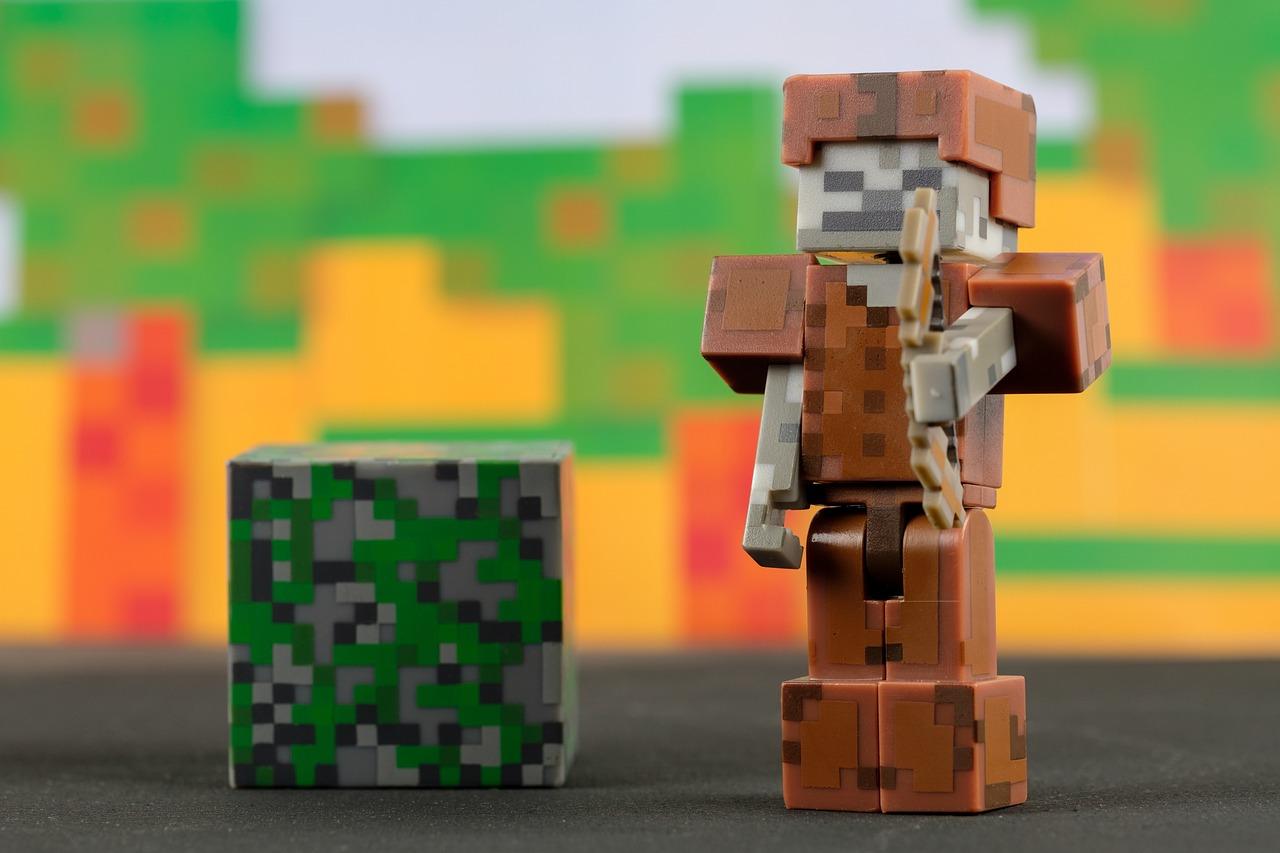
How to Craft a Painting in Minecraft Xbox
Are you tired of the bland walls in your Minecraft Xbox world? Well, it’s time to unleash your creativity and add some pizzazz to your surroundings with paintings! In this guide, I’ll show you how to craft stunning masterpieces using your trusty crafting table and a few simple materials. Get ready to transform your virtual home into an art gallery that would make even the most seasoned builders jealous!
Gathering the Necessary Materials
Before you start channeling your inner Picasso, you’ll need to gather a few materials to get things rolling. Don’t worry; you won’t need an art supply store for this. Just grab your virtual pickaxe and head out into the world of Minecraft!
-
Wood Planks: You’ll need two wood planks of any type. Whether you prefer the classic oak or the exotic dark oak, the choice is yours. Chop down a few trees and convert the logs into planks using your crafting table.
-
Stick: Now, locate some helpful little branches known as sticks. You can easily obtain sticks by placing two wooden planks, one on top of the other, in your crafting table. Voila! You now have a handy stick for your artistic endeavors.
Crafting the Painting
With all the materials in hand, it’s time to turn them into a visually stunning masterpiece! Don’t worry; you don’t need to be the next Van Gogh to pull this off. Minecraft makes crafting paintings a breeze. Follow these steps, and you’ll become a virtual Picasso in no time!
- Open Your Crafting Table: Make sure you have your crafting table placed in your world. Approach it and right-click to open the crafting menu.
/h2 Open Your Crafting Table
- Arranging the Materials: Once your crafting table is open, you’ll see a 3×3 grid. Now, take your two wood planks and place them in the first and third slots of the top row.
/h3 Arranging the Materials
- Add the Stick: In the middle slot of the second row, place your stick. This will act as the support for your painting, ensuring it hangs perfectly on your wall.
/h3 Add the Stick
- Retrieve Your Painting: Once all the materials are arranged correctly in the grid, a painting icon will pop up in the result slot. Simply click and drag it into your inventory to claim your newly crafted painting, ready to be displayed on your wall!
/h3 Retrieve Your Painting
Hanging and Admiring Your Artwork
With your freshly crafted painting in hand, it’s time to give it the spotlight it deserves. Find the perfect spot on your wall, and let your artistic vision come to life! Minecraft offers a range of painting designs to choose from, ensuring there’s something for every aesthetic.
-
Placement: Stand in front of the wall where you want to place your painting and right-click while holding it. The painting will automatically hang on the wall, instantly adding character to your space.
-
Size Matters: Paintings in Minecraft come in different sizes, so don’t be afraid to experiment. Right-clicking on an existing painting will cycle through various sizes until you find the one that fits your wall perfectly.
Congratulations, you’ve mastered the art of painting in Minecraft Xbox! With your newfound skills, you can now bring color, life, and personality to your Minecraft world. So, grab your brushes, I mean stick and wood planks, and get ready to create virtual masterpieces that will leave your friends in awe. Happy crafting and keep those creative juices flowing!
FAQ: How To Craft A Painting In Minecraft Xbox
Welcome to our comprehensive FAQ guide on crafting paintings in Minecraft Xbox! Whether you’re a seasoned player or new to the game, this section will answer all your questions about adding artwork to your virtual world. From editing paintings to importing custom images, we’ve got you covered.
How do you edit a painting in Minecraft
To edit a painting in Minecraft, follow these simple steps:
- Stand in front of the painting you want to edit.
- Hold an empty hand and right-click on the painting to remove it.
- Use a dye of your choice on a regular painting to change its color.
- Alternatively, use a paintbrush on a regular painting to choose a specific artwork pattern.
- Right-click with the modified painting item to place the edited painting back on the wall.
Why can’t I place paintings in Minecraft
If you’re having trouble placing paintings in Minecraft, consider the following possibilities:
- Make sure you have enough space on the wall. Paintings require an open area at least 2 blocks high and 1.5 blocks wide.
- Check for any obstructions in front of the wall, such as torches or other blocks. Clear the area to ensure there’s enough space for the painting.
- Ensure that you have the necessary permissions if you’re playing on a multiplayer server. Some servers may have restrictions on placing paintings.
How do you place a 4×4 painting in Minecraft
Creating a 4×4 painting in Minecraft requires a bit of luck due to the random nature of painting generation. Here’s what you can try:
- Clear a large wall space at least 4 blocks high and 4 blocks wide.
- Craft multiple paintings using sticks and wool.
- Start placing the paintings one by one on the wall, either horizontally or vertically.
- Keep experimenting until you find a combination that forms a 4×4 painting.
How do you import a picture into Minecraft skin
Importing a picture into your Minecraft skin is not possible within the game’s official features. However, various third-party tools and mods allow you to customize your skin with external images. Be careful when using such tools, and make sure to comply with the terms of service of the game and the specific tool or mod you choose to use.
How do you make pixel art in Minecraft
Pixel art is a fantastic way to express your creativity in Minecraft. Follow these steps to make pixel art:
- Choose a design or image you want to recreate.
- Use a grid system to plan your pixel art. Each block in Minecraft represents a pixel, so assign colors accordingly.
- Gather the necessary materials, such as colored wool or concrete blocks.
- Start building pixel by pixel on a large flat surface or on the side of a wall, using the right colors and placing one block per pixel.
How do you go through paintings in Minecraft PE
In Minecraft Pocket Edition (PE), you can’t physically pass through paintings like in some other versions of the game. Paintings in PE act as solid blocks, preventing you from moving through them. However, they can add a decorative touch to your creations and help you customize your surroundings.
How do I upload a picture to Minecraft
As of now, there is no official way to directly upload pictures into Minecraft. The game provides specific textures and artwork for you to use. However, you can customize your Minecraft experience by using resource packs or mods that allow you to change the game’s textures and graphics.
How can I make paint at home
If you’re looking for an art project outside of Minecraft, making paint at home can be a fun and creative endeavor. Here’s a simple method:
- Gather the following ingredients: flour, water, food coloring or natural pigments (such as crushed berries or spices), and small containers.
- Mix equal parts flour and water to form a thick paste. This will act as the base for your paint.
- Divide the paste into separate containers and add your chosen pigments or food coloring to each container, mixing until you achieve the desired color.
- Your homemade paint is now ready to use! Grab a brush and let your imagination run wild.
How do you put a custom picture on a Minecraft server
To put a custom picture on a Minecraft server, you’ll need to follow these general steps:
- Prepare the image you want to use, making sure it meets the requirements specified by your server.
- Access your server’s file system or control panel and locate the appropriate folder for custom images.
- Upload your image to the designated folder, following any naming conventions or size restrictions provided.
- Restart or reload the server for the changes to take effect.
- Depending on the server configuration, you may need to enable custom images in the server settings or use specific commands to display your picture.
How many pixels are in the Minecraft skull painting
The Minecraft skull painting consists of 16 pixels. It is a small, iconic painting featuring a classic skull design and adds a touch of mystery to your virtual home.
How do I change my HUD in Minecraft
Currently, Minecraft does not provide an official way to change the Heads-Up Display (HUD) within the game. However, resource packs and mods can allow for modifications to the HUD, providing you with options to customize your interface. Be sure to choose reputable resources and compatible versions to ensure a smooth gameplay experience.
How do you upload a picture to Minecraft Education Edition
Minecraft Education Edition does not support direct image uploading within the game interface. However, you can create customized worlds and resources using external software such as MCEdit. By using MCEdit, you can import images or even create custom paintings to enhance the educational experience within Minecraft Education Edition.
How do you make custom paintings in Bibliocraft
The Bibliocraft mod offers exciting opportunities for creating custom paintings in Minecraft. To make your own:
- Install the Bibliocraft mod and make sure it’s compatible with your Minecraft version.
- Craft an artist’s canvas using sticks and leather.
- Place the artist’s canvas on an easel.
- Right-click the canvas to open the GUI (graphical user interface).
- Choose a painting style and size.
- Use the provided painting tools to create your custom artwork.
- Once finished, right-click the canvas to store it in your inventory.
- Hang the canvas on a wall and enjoy your unique masterpiece.
Can you go through a painting in Minecraft
In some versions of Minecraft, you can indeed walk or pass through a painting under specific circumstances. However, this feature does not exist within the Xbox edition of Minecraft. In Xbox, paintings act as solid blocks and cannot be traversed.
How do you make a small painting in Minecraft
To create a small painting in Minecraft, follow these steps:
- Craft a painting using sticks and wool.
- Place the painting item in your hand.
- Choose a suitable location on a wall where you want to display the painting.
- Right-click on the desired spot to place the small painting.
- Admire your newly decorated space and enjoy the creativity it adds to your Minecraft world.
What are the Minecraft paintings based off of
Minecraft’s paintings take inspiration from various real-world artworks and iconic cultural references. Some paintings in Minecraft are based on famous pieces such as “The Starry Night” by Vincent van Gogh or “The Scream” by Edvard Munch. Others are original designs created specifically for the game, striking a balance between familiar and unique artwork.
How do you make invisible item frames
Creating invisible item frames in Minecraft can add a touch of magic to your builds. Here’s how you can achieve the effect:
- Obtain an item frame by crafting it using sticks and leather.
- Place the item frame on a wall or any suitable surface.
- Open your inventory and select an empty hand.
- Hold down the sneak key (usually Left Shift by default) while right-clicking on the item frame.
- The item frame will turn invisible, leaving only the item or block inside visible.
- You can use this trick to create hidden item displays or create a sense of floating objects in your Minecraft world.
How do you make your own painting in Minecraft
Creating your own painting in Minecraft requires the use of modifications or resource packs. These tools allow you to replace the existing artwork in the game with your custom designs. Be sure to follow the guidelines and instructions provided by the chosen mods or resource packs to successfully create and implement your unique paintings.
How do you change Minecraft textures
To change Minecraft textures, you need to install a resource pack. Resource packs are mods that alter the game’s visuals by replacing or modifying textures, sounds, and other elements. Follow these steps to change Minecraft textures:
- Find and download a resource pack of your choice from reputable sources.
- Open Minecraft and navigate to the Options menu.
- Select Resource Packs.
- Locate the “Open Resource Packs folder” button, and click it.
- Move the downloaded resource pack file into the opened resource packs folder.
- Close the folder and return to Minecraft.
- In the Resource Packs menu, you will see the downloaded pack. Select it, and click the arrow to move it to the active resource packs list.
- Finally, click Done and enjoy your new Minecraft textures.
How do you make custom art in Minecraft
Creating custom art in Minecraft grants you the ability to express your creativity within the game. Follow these steps to make your own custom art:
- Choose a design or image as your reference.
- Create a pixelated representation of the image, breaking it down into blocks and colors to suit Minecraft’s aesthetic.
- Access a creative mode world or obtain appropriate materials in survival mode.
- Build the custom art by placing blocks, one by one, in a designated area.
- Experiment with different block variations and techniques to achieve the desired effect.
- Step back and admire your personalized masterpiece in the virtual world of Minecraft.
How do you make a 3×3 painting in Minecraft
While Minecraft paintings are randomly generated, creating a 3×3 painting is possible with perseverance. Follow these steps:
- Clear a large wall space at least 3 blocks high and 3 blocks wide.
- Craft multiple paintings using sticks and wool.
- Begin placing the paintings one by one on the wall, either horizontally or vertically.
- Keep experimenting until you find a combination that forms a 3×3 painting.
- It might take some time and a few tries, but with persistence, you’ll succeed in creating your desired 3×3 artwork.
We hope this comprehensive FAQ guide has answered all your burning questions about crafting paintings in Minecraft Xbox. From editing and placing paintings to creating custom artwork, this information will help you unleash your creativity and personalize your virtual world. Enjoy the artistic adventures that await you within the blocky confines of Minecraft!