Resin crafting has become increasingly popular in recent years, and it’s no wonder why. The possibilities are endless when it comes to creating unique and beautiful pieces. However, one common question that arises for beginners is when to remove the resin from the mold.
In this blog post, we’ll explore various factors that determine the right time to demold your resin creations. From understanding resin curing to the importance of mold release, we’ll cover all the essential tips and tricks. So whether you’re working with casting resin or epoxy resin, stick around to learn everything you need to know about perfecting your resin crafting skills.
Ready to dive in? Let’s get started!
When to Remove Resin from Mold
Resin crafting has become a popular hobby in recent years, and the satisfaction of creating unique pieces is unmatched. But one question that often arises among resin enthusiasts is, “When should I remove the resin from the mold?” Let’s dive into this topic to unravel the secrets of perfect timing and ensure your resin creations come out flawlessly every time.
Curing Time Matters
Determining Optimal Curing
The curing process is a critical stage in resin crafting. It allows the resin to harden and take its final form. The timing of removing resin from the mold depends on the type of resin you’re using and the manufacturer’s instructions for optimal curing. Generally, most resins require at least 24 hours to fully cure. However, be sure to double-check the specific curing time recommended by the resin manufacturer to avoid any mishaps.
Taking Factors into Account
While sticking to the manufacturer’s recommendation is essential, you may need to consider additional factors that can affect the curing time. Temperature and humidity, for example, can significantly impact the resin’s curing process. Warmer temperatures tend to speed up curing, while cooler temperatures may prolong it. Likewise, high humidity levels can slow down the curing time. Be mindful of your working environment and take these aspects into account when determining the ideal time to remove resin from the mold.
The Finger Test
Understanding the Finger Test
Now, let’s get down to a fun and practical way to determine if your resin is ready to be removed from the mold—the finger test! After the recommended curing time has passed, gently touch the resin surface with your fingertip. If it feels sticky or leaves an imprint, it’s a clear sign that the resin needs more time to cure. On the other hand, if the surface is firm, with no stickiness, then congratulations, your resin is likely ready for the grand reveal!
Waiting is Worthwhile
Patience is key when it comes to resin crafting. Rushing to remove the resin from the mold before it’s fully cured can lead to denting or deforming your masterpiece. It’s better to wait a little longer, ensuring a flawless result.
Demolding with Ease
Prepping for the Demolding Process
Once your resin has cured completely and it’s time to remove it from the mold, a few simple steps can make the demolding process smooth sailing. First, ensure your workspace is clean and organized. This will prevent any unwanted debris from getting onto the resin surface. Additionally, applying a thin layer of mold release spray or baby powder to the mold can facilitate easy demolding by reducing friction between the resin and the mold.
Gentle and Steady Wins the Race
When demolding resin, it’s crucial to take your time and be gentle. Start by lightly flexing the mold to create small gaps and gradually work your way around, gently releasing any trapped air. Slowly and steadily, the resin will loosen its grip on the mold, allowing you to carefully remove it. Remember, haste can lead to breakage or damage, so take it easy and savor the exciting moment of unveiling your beautiful resin creation.
Knowing when to remove resin from the mold is a skill that resin crafters develop over time. By following the suggested curing time and utilizing the finger test to determine resin readiness, you’ll be on your way to flawless creations. Remember to be patient and handle the demolding process with care. Now, armed with this knowledge, go forth and craft your heart out, as you master the art of resin crafting with confidence in every piece you create. Happy crafting in 2023 and beyond!
FAQ: When To Remove Resin From Mold
How do you know when resin is cured
When resin is fully cured, it will no longer be sticky or tacky to the touch. You can test this by gently pressing your finger onto a small, inconspicuous area of the resin. If it feels solid and firm, it’s a good indication that the resin is fully cured and ready to be removed from the mold.
What is the difference between casting resin and epoxy resin
Casting resin and epoxy resin are different types of resins that serve different purposes. Casting resin is specifically designed for making molds and casting objects, while epoxy resin is commonly used for coating, sealing, and adhesive purposes. Casting resin has a lower viscosity and longer curing time, making it ideal for detailed molds, while epoxy resin is self-leveling and sets faster.
What can I use instead of mold release
If you don’t have mold release on hand, you can use a few alternative materials to prevent your resin from sticking to the mold. Some options include using cooking oil, petroleum jelly, or even a silicone-based hair spray. Apply a thin layer to the mold before pouring in the resin to help with easy removal once cured.
Should you use resin mold release
Using a resin mold release is highly recommended, especially if you’re working with intricate or delicate molds. Mold release helps ensure a smooth release of the resin from the mold, reducing the risk of damage or sticking. It’s a small investment that can save you a lot of frustration and potential mold repair in the long run.
Why is my resin stuck in the mold
There could be a few reasons why your resin is stuck in the mold. One possibility is that the mold wasn’t properly prepared with mold release or an alternative release agent. Another reason could be that the resin wasn’t fully cured before attempting to remove it. Lastly, the excessive use of colorants or additives in the resin could sometimes cause it to stick. If your resin is stuck, try gently flexing the mold, applying mild heat, or using a release agent to help release the resin.
Does resin deteriorate
Resin, like many other materials, can deteriorate over time if it’s not stored properly. Factors such as exposure to sunlight, extreme temperatures, or moisture can all contribute to resin deterioration. To extend the lifespan of your resin, store it in a cool, dry place away from direct sunlight and ensure proper sealing of containers.
How do I make resin cure faster
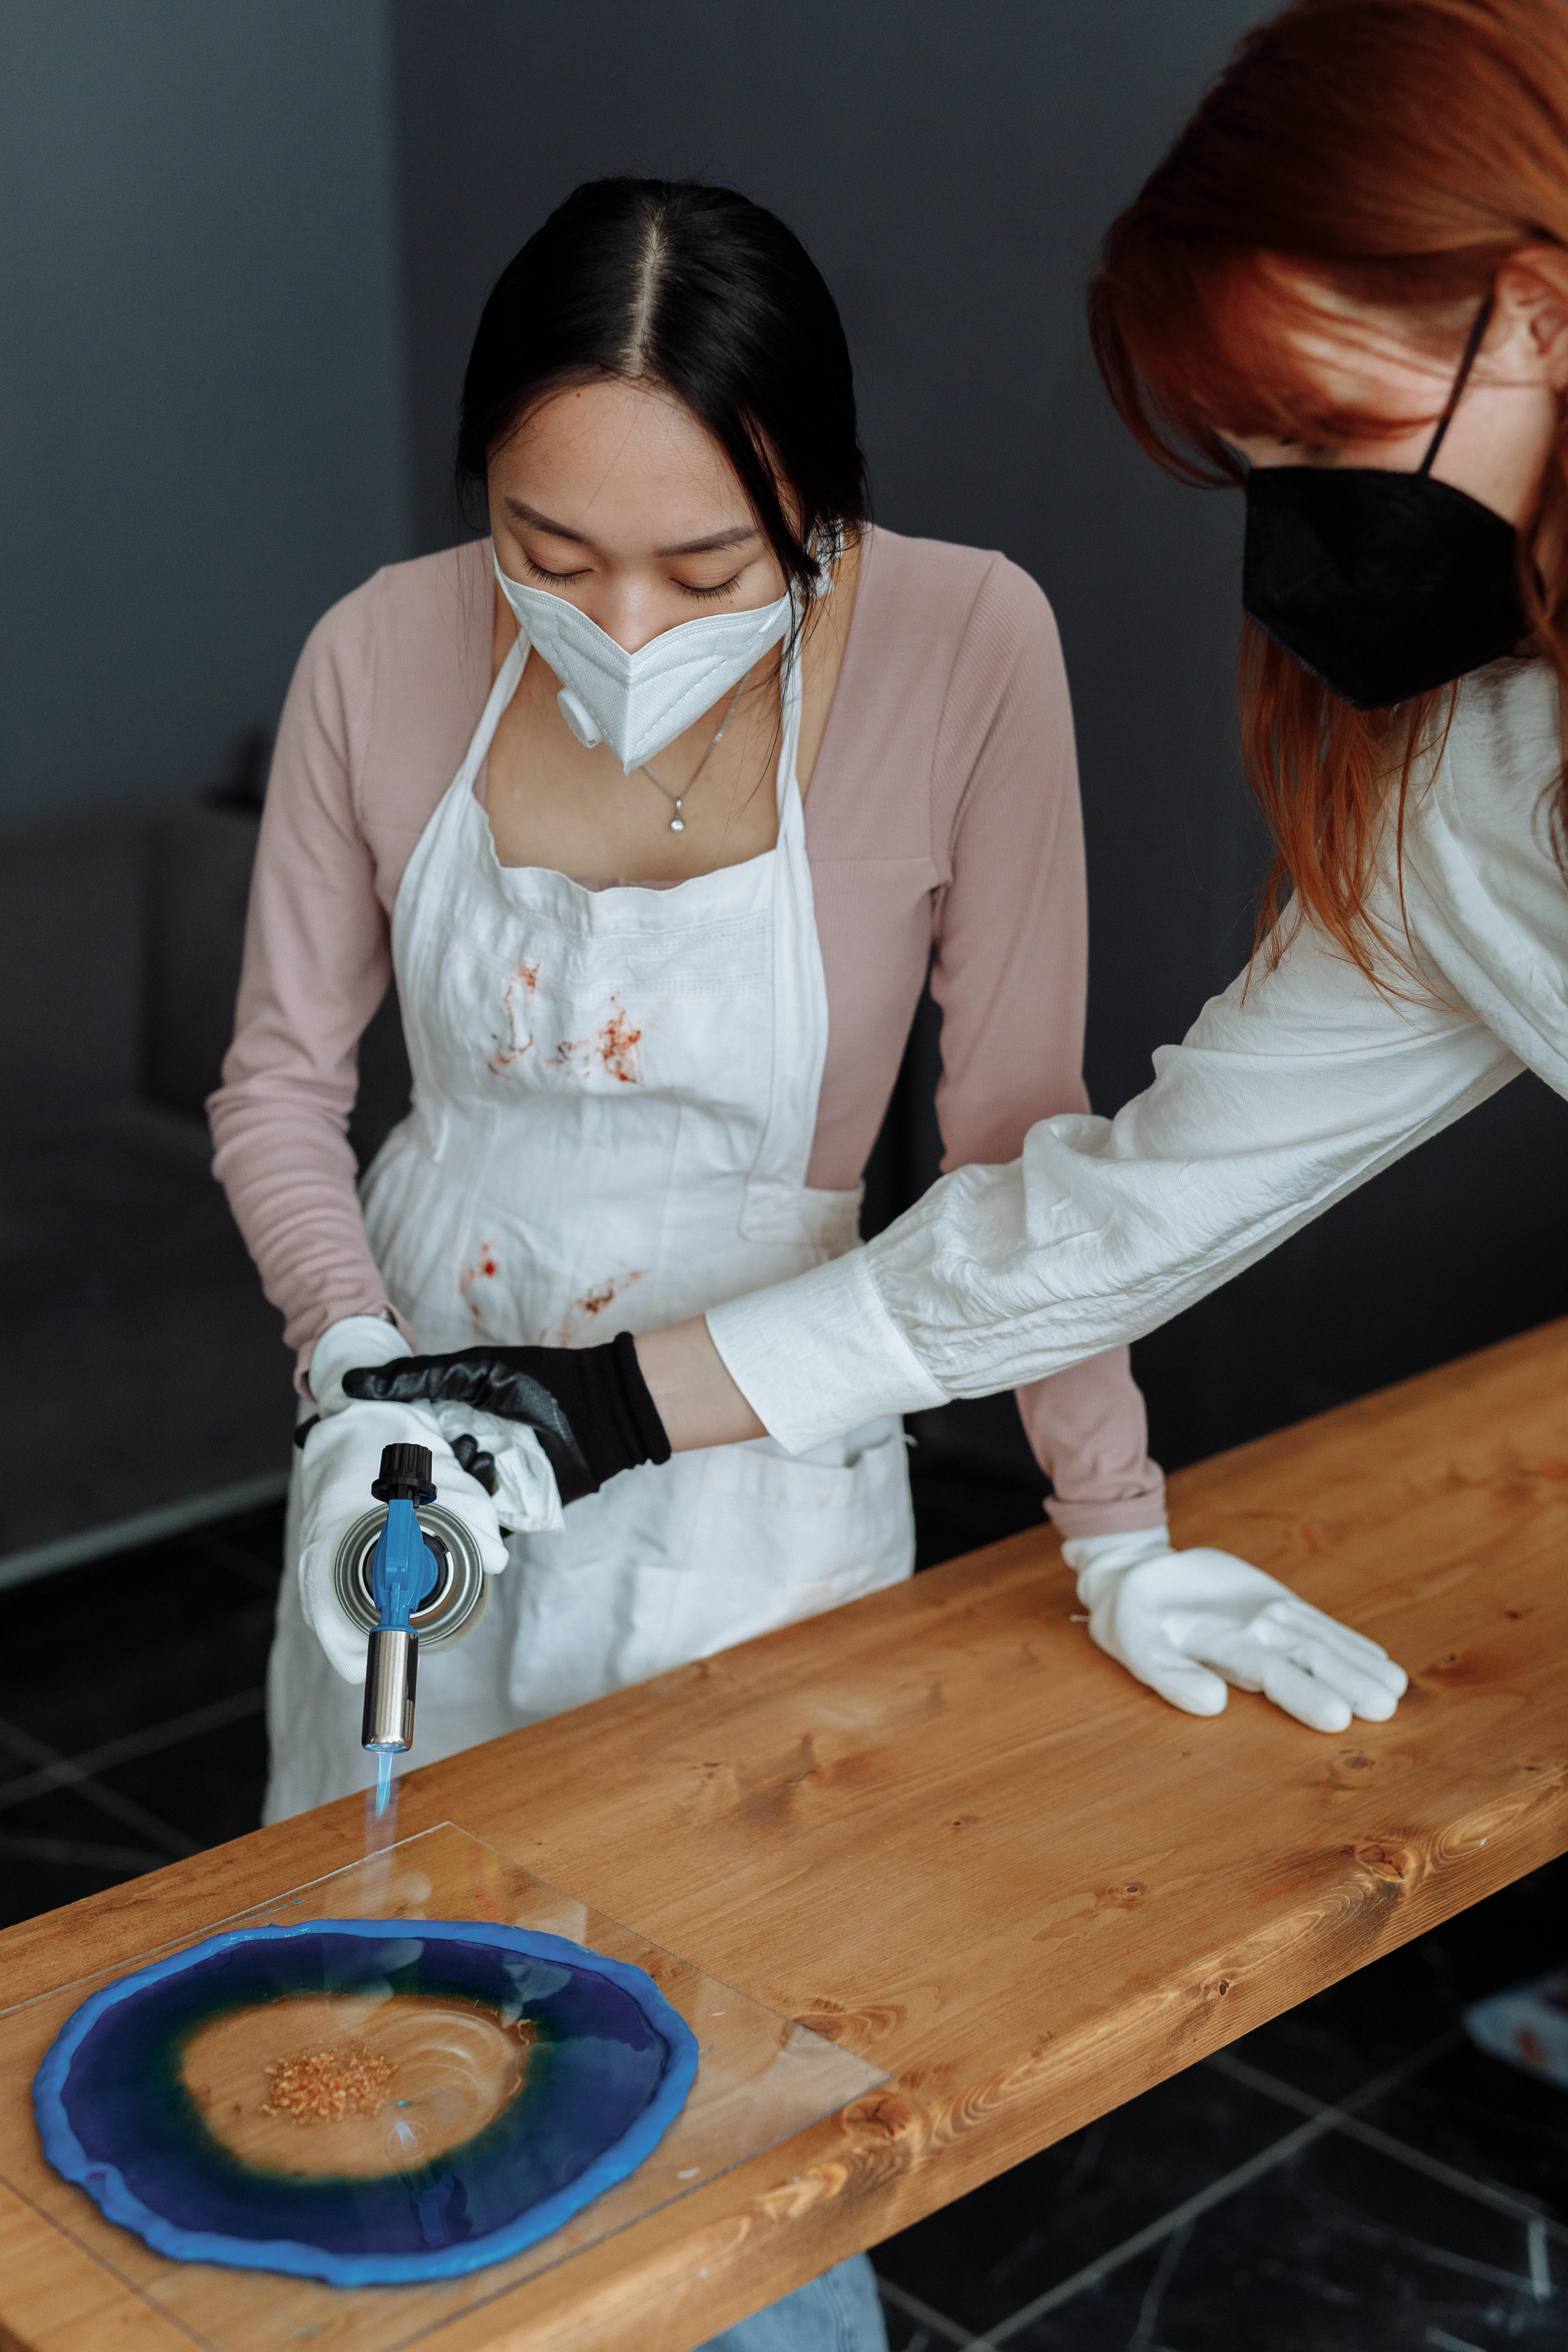
Resin curing times are usually determined by the manufacturer and can’t be significantly sped up. However, you can take a few steps to ensure optimal curing conditions. Keep your workspace at a consistent temperature, preferably around 70-75 degrees Fahrenheit. Additionally, you can use a resin with a faster curing time or add heat in a controlled manner by using a heat gun or a sable brush flame to quicken the curing process.
How do you clean a smooth mold release
To clean a smooth mold release from your cured resin piece, start by wiping off any excess release with a clean cloth or paper towel. Next, use a mild dish soap mixed with warm water to gently scrub the surface. Rinse thoroughly and dry with a clean cloth. Avoid using abrasive cleaners or scrubbing pads as they can damage the resin surface.
When can you take resin out of the mold
The time to remove your resin from the mold depends on the specific resin product you’re using. Most resins require at least 24 to 48 hours to fully cure. However, it’s always best to consult the manufacturer’s instructions for the specific curing time of your resin. Patience is key to avoid damaging the resin or the mold during the removal process.
How long does resin last once cured
Cured resin can last for many years if stored and handled properly. It’s essential to keep your resin objects away from direct sunlight, extreme temperatures, and excessive humidity to prevent yellowing, deformation, or discoloration. With proper care, your resin creations can stand the test of time and retain their beauty.
Can I use silicone spray as a mold release
Silicone spray can be used as a mold release, but it’s not always the best option for resin casting. Silicone spray tends to leave a thin film on the mold, which can interfere with the resin’s adhesion and result in surface imperfections. It’s better to opt for a mold release specifically designed for resin casting or explore alternative release agents such as cooking oil or petroleum jelly.
Why is my resin bendy after a week
If your resin remains bendy and flexible even after a week of curing, it’s likely that the resin mixture was not properly measured or mixed. Resin requires precise measurements and thorough mixing to ensure a proper chemical reaction and complete curing. Check the instructions for the correct resin-to-hardener ratio and ensure thorough mixing for future projects.
How do you clean resin that didn’t cure
If your resin didn’t fully cure and remains sticky or tacky, there’s not much you can do to salvage it. The best course of action is to remove as much of the uncured resin as possible and start over with fresh materials. Follow the manufacturer’s instructions for handling and disposing of uncured resin safely.
What is the best release agent for epoxy resin
When it comes to epoxy resin, a good release agent choice is a silicone-based mold release spray or liquid. Silicone release agents are effective in preventing epoxy resin from sticking to the mold while ensuring a smooth release. Apply a thin, even layer to the mold before pouring in the resin to facilitate easy removal once cured.
Do you need mold release for silicone molds
Silicone molds are known for their excellent release properties, but it’s still a good idea to use mold release to ensure flawless results. While silicone molds have inherent non-stick qualities, using mold release can make demolding easier, especially for intricate or delicate designs. It’s better to be safe than sorry when working with valuable silicone molds.
How long does resin last before yellowing
Resin products can yellow over time if exposed to excessive sunlight or UV radiation. The timeframe for yellowing can vary depending on the quality of the resin and the environmental conditions. However, with proper care and storage, you can prevent or delay the yellowing process. Keep your resin objects away from direct sunlight or consider using a UV-resistant sealer to protect against yellowing.
What happens when resin expires
Resin has a limited shelf life, and once it expires, it may not cure properly or may exhibit undesirable characteristics. Expired resin can become thick, lumpy, or discolored, rendering it unsuitable for use. It’s always best to check the expiration date on your resin containers and use fresh materials to ensure optimal results.
Can you use a hair dryer to cure resin
While using a hair dryer can provide some heat to expedite the curing process, it’s not the most recommended method for curing resin. Hair dryers can produce uneven heat, and the airflow can cause resin to move or create surface imperfections. If you need to apply heat to your resin, a heat gun on its lowest setting is a safer option as it provides more precise control.
Can I use a hair dryer on resin
Using a hair dryer to apply heat to resin is not recommended due to the reasons mentioned above. However, if you do choose to try it, set the hair dryer on the lowest heat and speed settings and move it constantly to distribute the heat evenly. Exercise caution and monitor the resin carefully to avoid overheating or damaging the project.
How long do you leave resin in a silicone mold
The curing time for resin in a silicone mold depends on the specific resin product you’re using. Typically, resin takes around 24 to 48 hours to fully cure, but some resins may require longer or shorter curing times. Refer to the manufacturer’s instructions for the recommended curing time for your specific resin, and allow adequate time for the resin to set and harden completely before demolding.