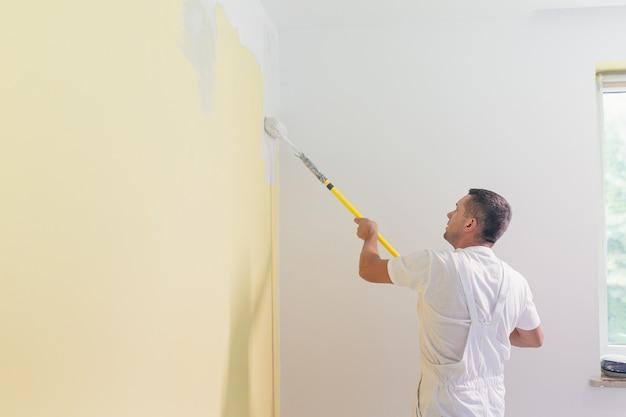
Painting over putty is a common step in many household projects, especially when it comes to windows and doors. However, knowing the right time to paint over putty can be confusing. Should you wait for the putty to dry completely or can you paint on wet putty? And what about old putty? Can you put new putty over it? In this blog post, we will answer all your questions about painting over putty and provide you with helpful tips and insights.
Whether you’re dealing with window putty, glazing putty, or wall putty, understanding the proper timing is crucial. We’ll discuss how long it takes for putty to harden and dry, as well as the recommended waiting period before painting. Additionally, we’ll explore whether it’s necessary to apply putty before painting and if priming is required. If you’re curious about the durability of epoxy putty or whether you can paint over glazing putty, we’ll cover those topics too. Let’s get started and ensure your painting project turns out just the way you want it to!
When Can You Paint Over Putty: A Guide for Beautifully Finished Surfaces
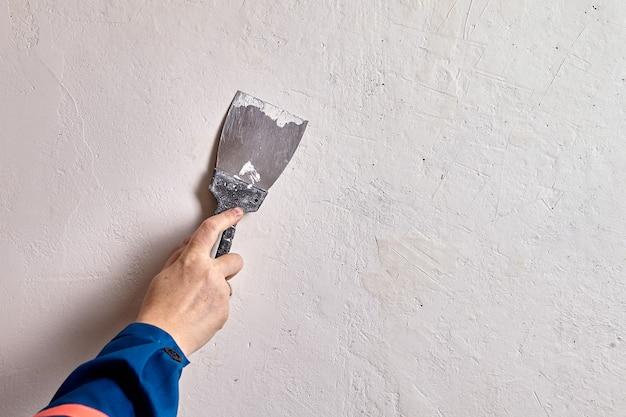
Putty is the unsung hero of the home improvement world. It’s the superstar that fills in gaps, repairs cracks, and creates a smooth canvas for paint to adhere to. But, just like any superhero, putty needs time to do its job before it can be painted over. So, when can you paint over putty? Let’s find out!
Understanding the Drying Time
Putty is a patient creature. It doesn’t rush things, and it certainly doesn’t appreciate being hurried. The drying time for putty varies depending on factors like temperature, humidity, and the type of putty used. As a general rule of thumb, traditional oil-based putty can take anywhere from a few days to a week to dry completely. On the other hand, newer water-based putties can dry in as little as 24 hours.
Waiting for the Magic Words: “Fully Cured”
Now, here’s where the waiting game begins. Putty needs to be fully cured before you can paint over it. This means it must reach its maximum hardness and stability. While the surface may feel dry to the touch, the putty beneath might still be soft and vulnerable. Patience, dear reader, is the key.
Reading the Fine Print
Different brands of putty may have specific instructions regarding drying and curing times. Before you jump into painting, take a moment to consult the instructions on the putty packaging. These fine folks know their product best and can guide you on when it’s safe to whip out that paintbrush. It’s always better to be safe than sorry, especially when it comes to your long-awaited DIY masterpiece.
Testing, Testing, 1-2-3
If you’re a little skeptical about whether your putty has fully cured, a simple test can put your doubts to rest. Grab a finger (make sure it’s clean, of course) and press it gently on the putty surface. If your fingerprint doesn’t leave a mark and the putty feels firm and unyielding, congratulations! You’ve got a perfectly cured surface, ready to be transformed with a splash of color.
Beware the Impatient Brushstrokers
Now, I know the excitement of getting to the final step in a project can make even the most patient among us a little jittery. But trust me, rushing the drying and curing process of putty can result in a big mess. Painting over partially dried or uncured putty can lead to cracking, peeling, and a finish that’ll make Picasso weep. So, resist the urge to sprint to the finish line. Take a deep breath, meditate on the wonders of putty, and give it the time it deserves.
Ah, putty, your unsung hero status is no more. You may not wear a cape, but you’re an essential part of achieving that flawlessly finished surface. Remember, patience is a virtue when it comes to putty. Allow it to dry and cure fully before grabbing that paintbrush. Your walls will thank you, and your friends will marvel at your impeccable taste. Now go forth, brave DIY-er, and conquer that putty-painting project with confidence!
Keywords: paint over putty, drying time, fully cured, instructions, testing, impatient brushstrokers
FAQ: When Can I Paint Over Putty
Can You Put New Putty Over Old Putty
Absolutely! Putting new putty over old putty is a common practice when it comes to repairing windows. However, make sure to remove any loose or deteriorating old putty before applying the new one. You want to create a smooth and solid surface for the new putty to adhere to.
Can You Paint on Wet Putty
While it might be tempting to speed up the process, painting on wet putty is a big no-no. Allow the putty to fully dry and cure before attempting to paint it. Otherwise, you risk the paint not adhering properly or causing the putty to crack.
How Do You Remove Old Hard Putty
Removing old hard putty can be a bit tricky, but fear not! Start by softening the putty using a heat gun or a hairdryer. Once it becomes pliable, you can carefully scrape it off using a putty knife or a similar tool. Remember to take your time and be gentle to avoid damaging the window or frame.
How Long Does Window Putty Take to Harden
The drying time for window putty can vary depending on various factors such as temperature and humidity. Generally, it takes around two to three days for the putty to harden completely. It’s important to exercise patience and allow it enough time to dry before moving forward with painting or any further work.
How Do You Paint a Window Glaze
To paint a window glaze, you need to follow a few simple steps. First, ensure that the glaze is fully hardened and cured. Then, clean the surface thoroughly to remove any dirt or debris. Next, prime the glaze with a suitable primer to ensure better adhesion and durability of the paint. Finally, apply the paint in thin, even coats, allowing each coat to dry before applying the next one.
How Long Does Putty Last
When properly applied and maintained, putty can last for many years. However, its lifespan can be influenced by factors such as exposure to harsh weather conditions and regular maintenance. It’s a good idea to inspect and touch up or replace any damaged or deteriorating putty as needed to ensure the longevity of your windows.
When Can I Paint My DAP 33 Window Glazing
For DAP 33 window glazing, it’s best to wait at least seven days before painting it. This duration allows ample time for the glazing to fully cure and harden, ensuring optimal adhesion and longevity of the paint.
How Soon Can You Paint Putty
The exact timing for painting putty depends on several factors, including the type of putty and ambient conditions. As a general rule of thumb, it’s advisable to wait at least two to three days to ensure proper drying and hardening of the putty before applying any paint.
Can I Paint Over Old Putty
Yes! You can paint over old putty as long as it is still in good condition and properly adhered to the surface. Check for signs of cracking or deterioration and repair or replace any damaged sections before painting. Remember to clean the surface to remove dirt, dust, or loose particles before applying paint.
How Long Must Putty Dry Before Painting
To play it safe, allow the putty to dry for at least 48 hours before painting. However, keep in mind that drying times may vary based on factors such as temperature and humidity. It’s always best to refer to the specific drying instructions provided by the manufacturer of the putty you’re using.
Is Wall Putty Waterproof
Yes, wall putty is designed to be water-resistant, providing a protective barrier against moisture and preventing the growth of mold or mildew. This quality makes it an excellent choice for protecting and enhancing the appearance of interior walls.
Should You Prime Before Putty
Priming before applying putty is not necessary. Putty is typically applied to fill gaps, cracks, or imperfections in surfaces, and priming is not required for adhesion. However, if you plan to paint over the putty, priming the entire surface before painting is highly recommended for better paint adhesion and overall longevity of the finish.
Is It Necessary to Apply Putty Before Paint
It depends on the condition of the surface you are working with. Putty is commonly used to repair and smooth out imperfections such as cracks or holes before painting. If there are noticeable imperfections on the surface, applying putty can help achieve a smooth, even finish. However, if the surface is already in good condition, putty may not be necessary.
Is Epoxy Putty a Permanent Fix
Epoxy putty is known for its durability and strength, making it a reliable choice for various repairs. When used correctly, epoxy putty can provide a long-lasting and permanent fix for many applications. However, proper surface preparation, application, and curing are crucial to ensure the best results.
Can I Apply Putty Myself
Absolutely! Applying putty is a task that can be tackled by confident DIYers. With some patience and practice, you can achieve professional-looking results. Just make sure to follow the manufacturer’s instructions, prepare the surface properly, and take your time to apply the putty evenly and smoothly.
Can I Paint Over Glazing Putty
Yes, you can paint over glazing putty. Once the putty has hardened and cured, it creates a solid surface that can be painted like any other. Ensure that the putty is clean, dry, and free from any debris or loose particles before applying paint for the best results.
Can You Leave Putty Unpainted
While putty can be left unpainted, it’s generally recommended to paint over it for better protection and appearance. Paint provides an extra layer of protection against the elements and can enhance the overall aesthetic of the window or surface. Additionally, painting the putty helps to seal it and prevent potential cracking or deterioration over time.
Can You Put Putty Over Primer
Yes, putting putty over primer is possible. Primer provides a suitable surface for the putty to adhere to and helps to enhance the overall adhesion of the putty. Just ensure that the primer is fully dry and cured before applying the putty, and follow the putty manufacturer’s instructions for the best results.
Should You Prime a Window Before Glazing
Priming a window before glazing is highly recommended. A good coat of primer helps to seal the wood or metal surface and provides better adhesion for the glaze. It also helps to protect the window from moisture, improving the durability and longevity of the glazing. Don’t skip this crucial step if you want your glazing to stand the test of time.
Note: This blog post is for informational purposes only and does not constitute professional advice. Always refer to the specific product instructions and consult with a professional when in doubt.