Plastering is a common practice when it comes to home renovations or repairs. Whether you’re smoothing out a newly plastered wall or getting rid of old layers of paint, sanding is an essential step in achieving a flawless finish. But with so many types of sandpaper available in the market, it can be overwhelming to choose the right one for the job. In this comprehensive guide, we’ll explore the topic of finding the best sandpaper for plaster and provide you with all the necessary information you need to make an informed decision.
From understanding the potential risks involved in sanding plaster to learning the techniques and tools needed to achieve a smooth surface, we’ll cover it all. We’ll also address commonly asked questions such as whether sanding plaster can make you sick, if you can sand paint off plaster, and if new plaster requires sanding. So, get ready to dive into the world of plaster sanding and discover the best practices for achieving a professional-quality result.
What Is the Best Sandpaper for Plaster 2
When it comes to sanding plaster, you want a sandpaper that can handle the job without crumbling like a stale cookie. After all, plaster can be as stubborn as a toddler throwing a tantrum. But fear not, my friends, because I’ve got the inside scoop on the best sandpaper for plaster that will make your sanding woes disappear faster than a magician’s assistant.
Grit Matters: Choose Wisely
The first thing you need to consider is the grit of the sandpaper. Think of it as the superhero power-up that determines how quickly and effectively your sandpaper can obliterate those imperfections. For plaster, you’ll generally want to go with a grit between 100 and 120. It’s like finding the perfect balance between a gentle massage and a moderate exfoliation. Your walls will thank you.
Bring Out the Sanding Sponge
Sandpaper comes in many forms, but one that works wonders on plaster is the humble sanding sponge. You know, that soft and squishy buddy that fits right in your hand? It’s like a stress ball for your DIY adventures. The sanding sponge not only provides a more even sanding surface but also allows for better control when working with those tricky plaster curves and crevices.
Embrace the Power of Flexibility
Imagine having the flexibility to tackle any sanding project that comes your way. Well, that’s exactly what you need when it comes to sanding plaster. Look for sandpaper with a flexible backing, like a gymnast doing cartwheels. This feature allows the sandpaper to contour to the shape of your wall, ensuring a smooth sanding experience without taking away too much material. It’s like a dance partner that effortlessly moves with you.
Dust Extraction: The Unsung Hero
I don’t know about you, but I’m not a fan of breathing in dust clouds while sanding. It’s like trying to have a conversation with a mouthful of cake crumbs. That’s why having sandpaper with a built-in dust extraction system is a game-changer. It not only keeps your workspace cleaner than a germaphobe’s dream but also helps prevent that not-so-fashionable dusty look. Say goodbye to the sneeze-inducing dust storm and hello to a fresher, cleaner sanding session.
Going the Extra Mile with Sanding Pads
If you’re dealing with plaster that’s rougher than a cat’s tongue, consider using sanding pads. These velvety-smooth babies are like the VIP treatment for your walls. They come in various grits and are designed specifically for plaster surfaces. Whether you’re removing excess plaster or giving your walls a final touch-up, sanding pads are your secret weapon for achieving that flawless finish that will make your neighbors jealous.
Now that you have the lowdown on the best sandpaper for plaster, you can tackle your DIY projects like a pro. Remember to choose the right grit, embrace the sanding sponge, opt for flexibility, prioritize dust extraction, and consider using sanding pads for those extra rough patches. With the right sandpaper by your side, you’ll be able to transform your walls into a masterpiece worthy of the Louvre. Happy sanding, my fellow DIY enthusiasts!
FAQ: What Is The Best Sandpaper for Plaster
Plastering a wall can transform a space, but what happens when it’s time to sand down that plaster? Don’t worry, we’ve got you covered! In this FAQ-style guide, we’ll answer all your burning questions about sandpaper for plaster, from the best types to use to how to achieve that smooth finish. So grab your safety goggles and let’s get started!
What is the best sandpaper for plaster
There’s no one-size-fits-all answer to this question, as the best sandpaper for plaster depends on the task at hand. However, for general plaster sanding, we recommend using a medium-grit sandpaper, such as 120 or 150 grit. This will help you smooth out any imperfections without causing excessive damage to the plaster surface.
Can sanding plaster make you sick
While sanding plaster doesn’t pose an immediate health risk, it’s important to take precautions to protect yourself from the fine dust particles it can produce. Wearing a dust mask, safety goggles, and gloves is highly recommended to prevent respiratory irritation and skin irritation. So, stay safe and rock that protective gear!
Can you sand paint off plaster
Absolutely! Sanding is a great way to remove paint from plaster surfaces. Start by using coarse-grit sandpaper, like 80 or 100 grit, to strip away the paint. Once the majority of the paint is gone, switch to a finer-grit sandpaper to smoothen the surface. But remember, patience is key when stripping paint, so take it slow and steady.
Does new plaster need sanding
In most cases, new plaster does not require sanding. The final finish of freshly applied plaster is typically smooth and ready for paint or wallpaper. However, if you do notice any unevenness or imperfections, a light sanding with a fine-grit sandpaper can help you achieve that flawless finish.
Can you sand plaster walls smooth
Definitely! Sanding plaster walls is an effective way to achieve a smooth surface. Start by using a rough-grit sandpaper to remove any high spots or bumps. Then, gradually work your way up to finer-grit sandpaper for an even smoother result. Remember to take breaks and drink plenty of water because you’re going to be rubbing elbows with that plaster!
How do you smooth a badly plastered wall
Ah, the joy of encountering a badly plastered wall! Fear not, for there is hope. To smooth out a badly plastered wall, start by using a coarse-grit sandpaper to tackle the larger imperfections. Then, switch to a finer-grit sandpaper to even out the surface. It might take some time and elbow grease, but with persistence, you’ll have that wall looking like a masterpiece!
Is sanding plaster dangerous
Sanding plaster isn’t inherently dangerous, but it does produce a fair amount of fine dust. To protect yourself, make sure to wear a dust mask and safety goggles. Also, consider using a sander with a built-in dust collection system for a cleaner and healthier working environment. Safety first, my friend!
Should you prime before skim coating
Skim coating a surface involves applying a thin layer of joint compound or plaster to smoothen it. While it’s not necessary to prime before skim coating, it can help improve the adhesion of the skim coat. So, if you want to ensure a seamless skim coat and minimize the chances of it peeling, priming beforehand is a smart move.
How do you fix a bumpy plaster wall
Bumpy plaster walls can be a headache, but fear not, we have a plan. Start by inspecting the wall for any loose or cracked plaster. If you find any, make repairs accordingly. Next, grab your trusty sandpaper and start sanding the high spots until the surface is even. Finally, apply a thin layer of joint compound or plaster to smoothen out any remaining imperfections. Ta-da! Bump-free walls to admire.
How much plaster can a man hang in 8 hours
Ah, the age-old question. Well, assuming our hypothetical man is an experienced plasterer, he can hang approximately 30 to 40 sheets of drywall in 8 hours. Of course, this can vary depending on factors such as the size of the sheets and the complexity of the job. But hey, if our imaginary man can achieve that, so can you!
What happens if you paint plaster too soon
Patience, my friend, patience! Painting plaster too soon can lead to a variety of issues. The paint may not adhere properly, resulting in peeling or flaking. Additionally, the moisture in the plaster can cause the paint to bubble or discolor. To avoid these mishaps, make sure to give your plaster ample time to dry and cure before picking up that paintbrush.
What’s the difference between plastering and skimming
Plastering and skimming are both techniques used to achieve a smooth surface, but they differ in terms of application. Plastering involves applying multiple layers of wet plaster onto a wall or ceiling, while skimming is the process of applying a thin layer of joint compound or plaster over an existing surface to create a smooth finish. Think of plastering as building the foundation, and skimming as adding the final touch.
How long should plaster dry before sanding
It’s important to allow plaster adequate time to dry before sanding. Generally, you should wait at least 48 to 72 hours for the plaster to dry completely. However, factors such as temperature and humidity can affect drying times, so it’s always best to wait until the plaster feels firm and cool to the touch. Patience truly is a virtue!
Should I sand between skim coats
While it’s not always necessary to sand between skim coats, doing so can help achieve a smoother finish. Lightly sanding each layer with a fine-grit sandpaper, such as 220 grit, can remove any imperfections, bumps, or ridges between coats. Just remember to wipe away the dust before applying the next skim coat. Smooth sailing ahead!
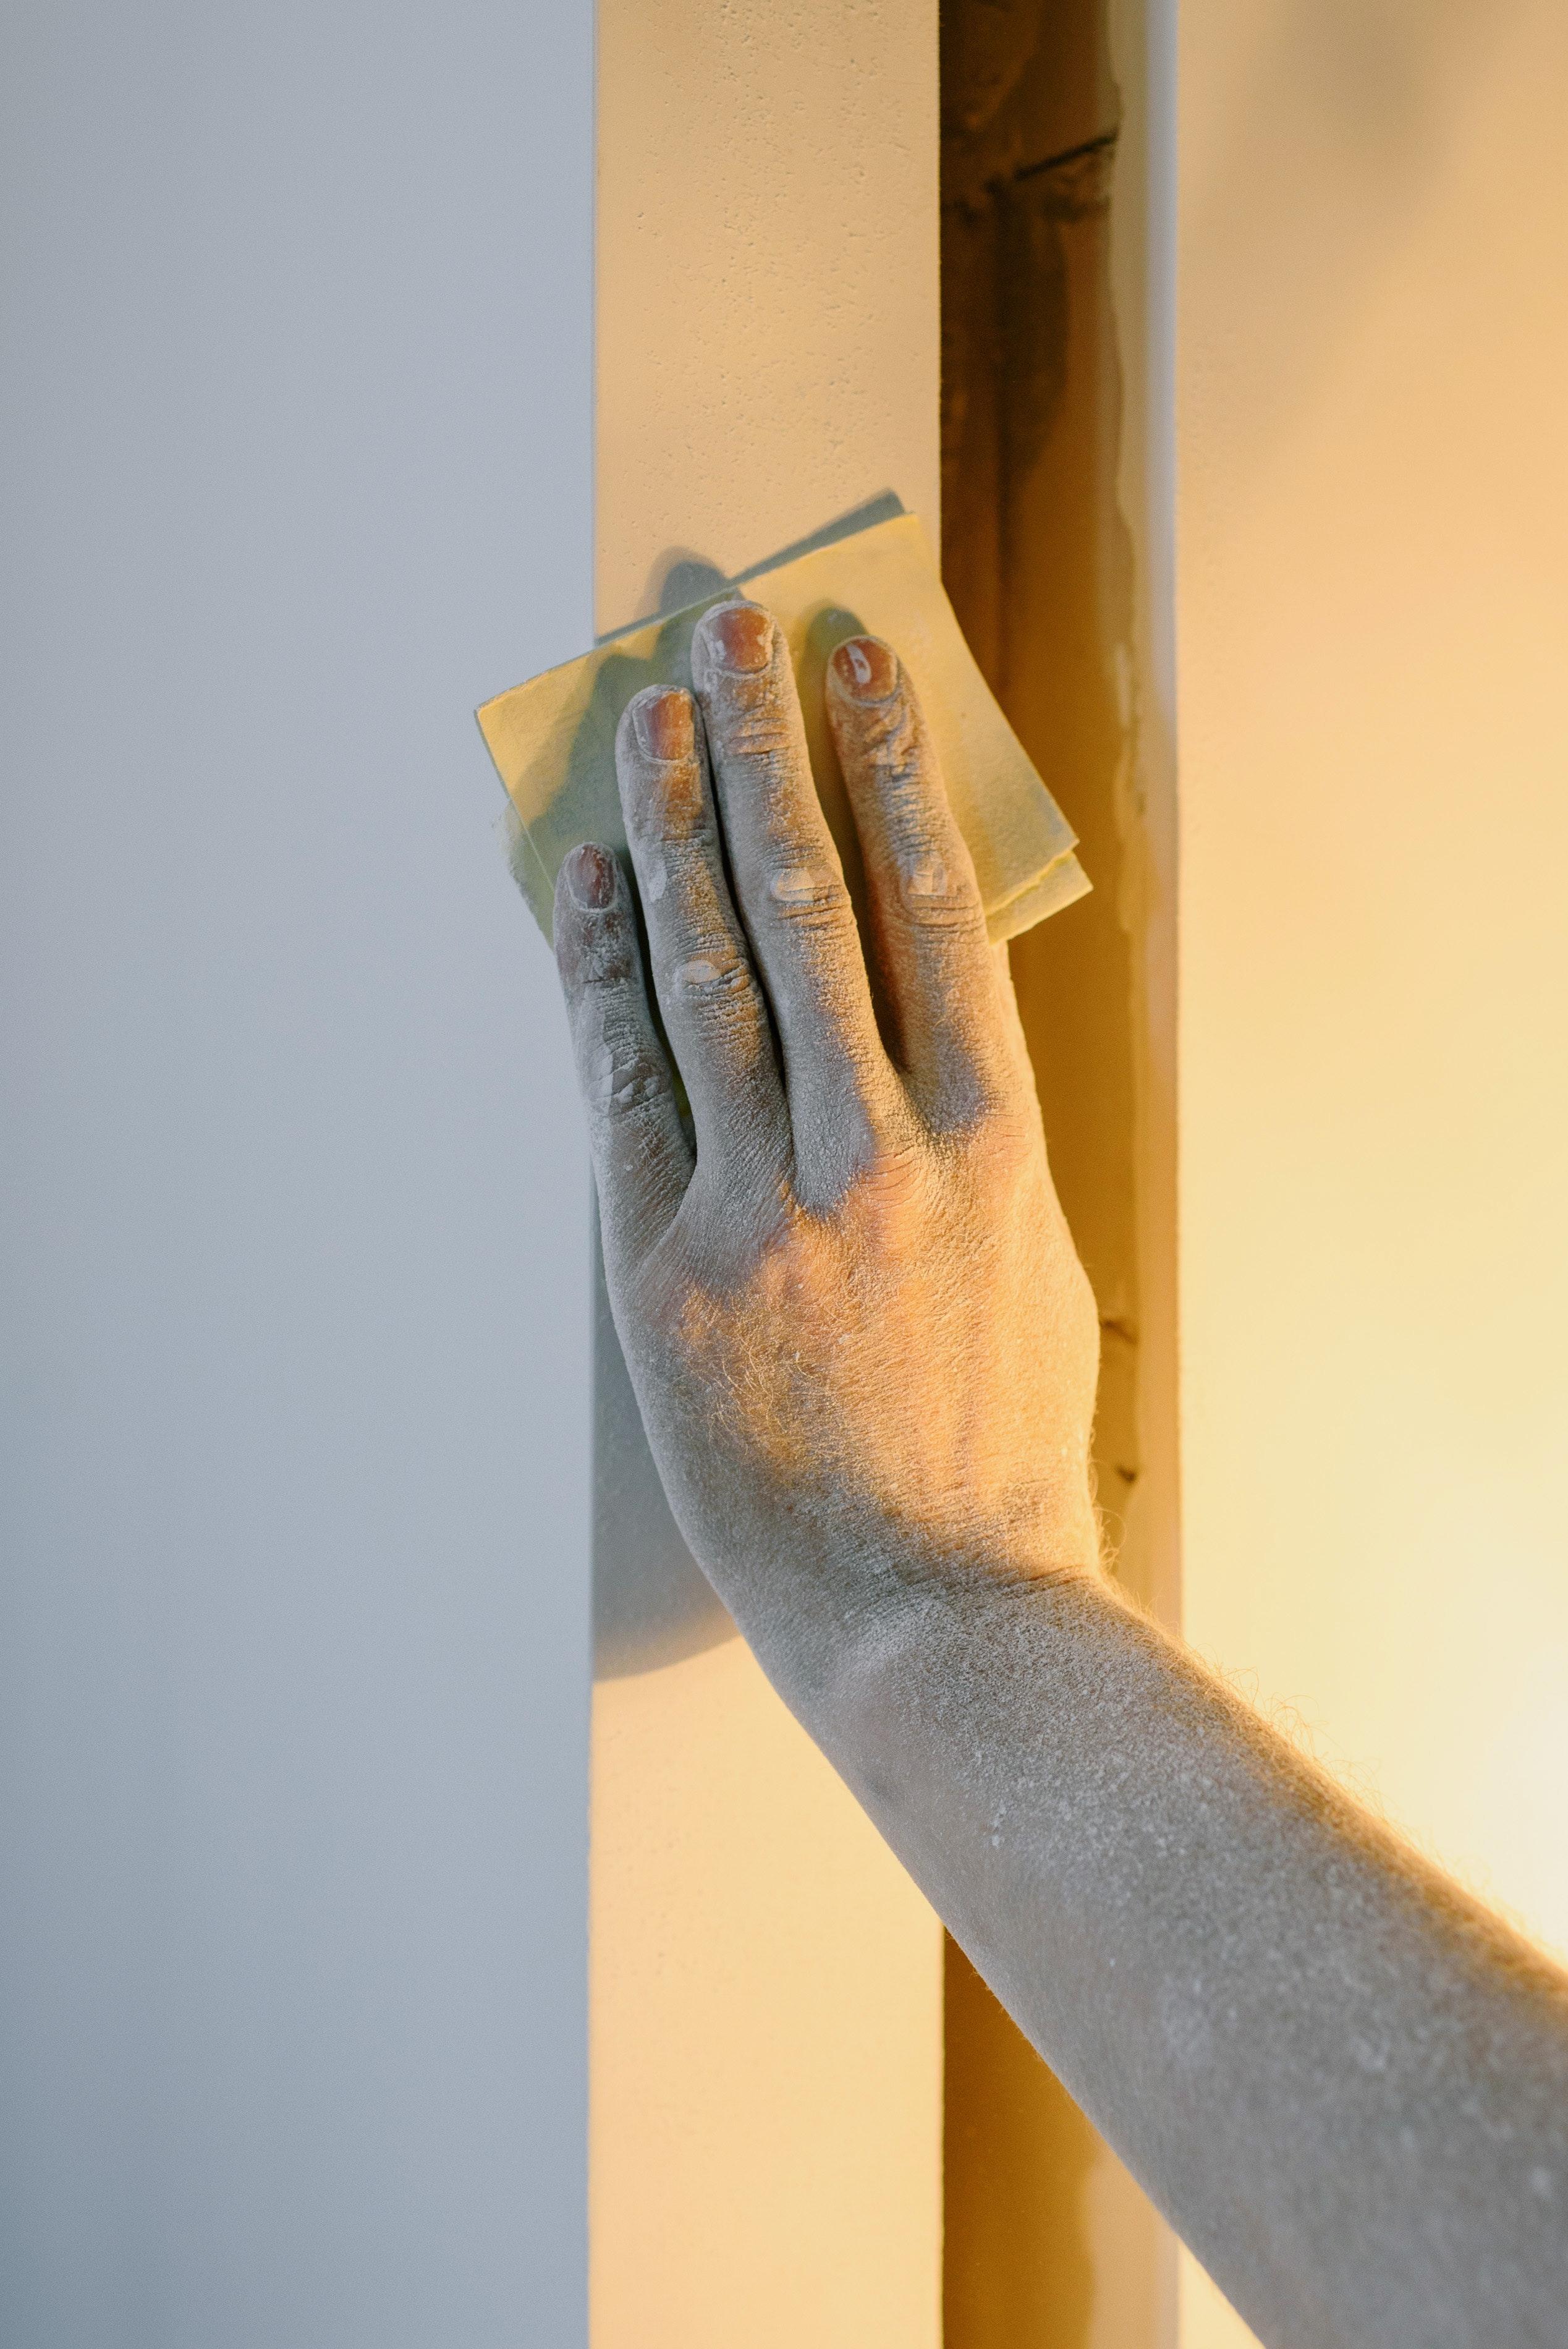
What is the best way to sand plaster
When sanding plaster, it’s best to use a sanding block or sanding sponge to ensure even pressure and control. Start with a coarse-grit sandpaper to tackle any significant imperfections, and then gradually work your way up to finer-grit sandpaper for a smoother finish. Remember to use long, even strokes and keep the sandpaper flat against the surface. Your plaster will thank you!
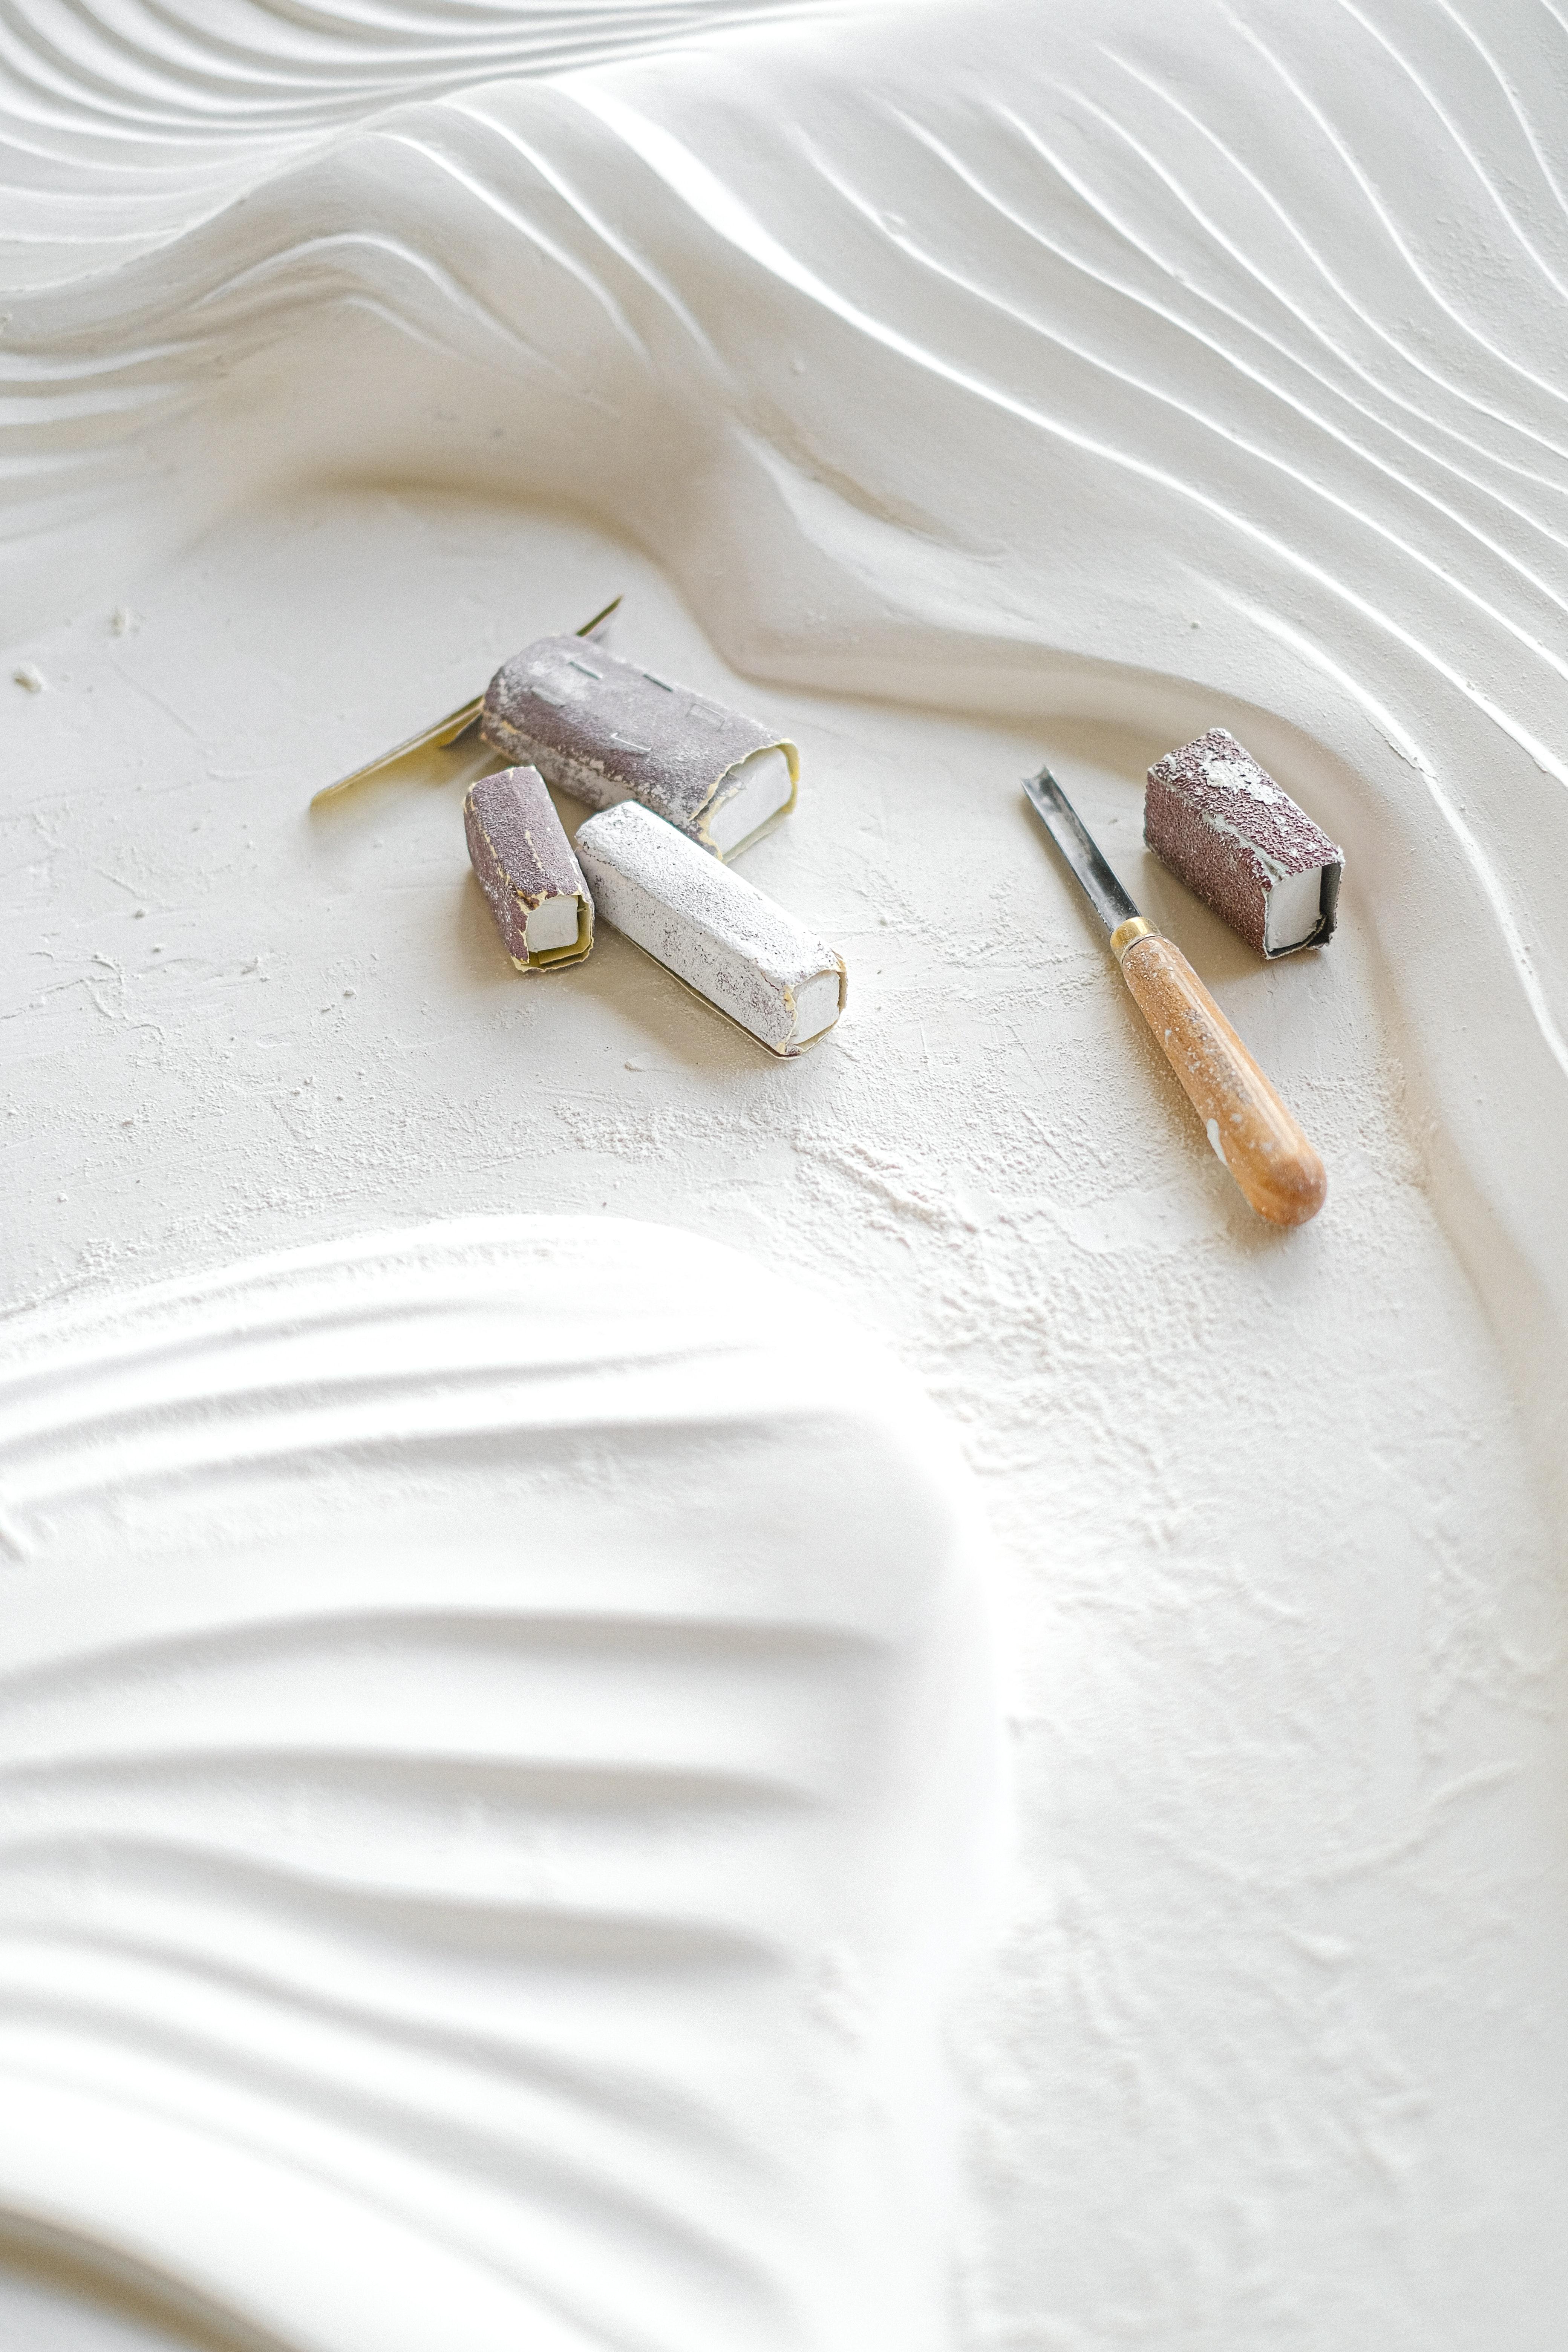
How do you smooth plaster sculptures
Ah, the artistry of plaster sculptures! To smooth the surface of a plaster sculpture, start by using a fine-grit sandpaper, around 220 grit, to gently remove any rough areas or blemishes. Take your time and be careful not to sand too forcefully, as you don’t want to damage the intricate details. Once you’re satisfied with the smoothness, wipe away the dust and admire your masterpiece!
How can you tell if plaster is dry
Knowing when plaster is dry is crucial before moving forward with sanding or painting. To check if plaster is dry, thoroughly inspect the surface for any signs of moisture or dampness. Additionally, gently press your fingertips against the plaster to see if it feels cool and firm. If there are no signs of moisture and the plaster feels dry to the touch, it’s ready for the next steps. Trust your senses, they won’t lead you astray!
Can you skim over old plaster
Yes, you can skim over old plaster! Skimming is an excellent way to refresh and rejuvenate old plaster surfaces. Simply clean the old plaster to remove any debris or loose material, apply a bonding agent, and then add a thin layer of joint compound or plaster. Smooth it out, let it dry, and voila! Your old plaster is as good as new.
Can you second coat plaster the next day
Absolutely! You can apply a second coat of plaster the next day, as long as the first coat has had sufficient time to dry. Allow the first coat to dry completely, which usually takes around 24 hours, before moving on to the next layer. Always follow the manufacturer’s instructions for drying times, as they can vary depending on the product. Two coats are better than one, right?
How do I clear my lungs of dust
Dust can be a real lung irritant, but don’t worry, we’ve got some tricks up our sleeves! Firstly, stay hydrated by drinking plenty of water to keep your respiratory system happy. Secondly, consider using a humidifier or steam therapy to help soothe your airways. Lastly, practice deep breathing exercises to help expel any trapped dust particles. Breathe in, breathe out, and wave goodbye to that pesky dust!
Can you sand plaster skim
Yes, you can sand a plaster skim! However, be mindful of the thickness of the skim coat. The thinner the layer, the more delicate it is, so exercise caution while sanding to avoid sanding through to the underlying surface. Utilize a fine-grit sandpaper for a gentle touch and take it slow and steady to achieve that perfectly smooth skimmed finish.
Is sanding bad for your lungs
Sanding, while necessary for achieving that desired smoothness, can generate fine dust that has the potential to irritate your lungs. To protect yourself, always wear a dust mask to filter out those pesky particles. Additionally, consider working in a well-ventilated area and use a dust collection system if possible. Take care of your lungs, they’re irreplaceable!
Now that you’re armed with answers to these burning sandpaper-related questions, go forth and create the plastered walls of your dreams! Remember to stay safe, take your time, and enjoy the process. Happy sanding!