Are you planning to install 3/4 inch hardwood flooring and wondering what size spline to use? Look no further! In this blog post, we will discuss everything you need to know about choosing the right size spline for your hardwood floors. From the correct nail size to the benefits of splines and even tips on reversing tongue and groove flooring – we’ve got you covered.
When it comes to installing hardwood floors, using the proper size spline is crucial. Not only does it ensure a secure and stable installation, but it also helps prevent any potential issues down the line. With so many questions surrounding the topic, we will address common queries such as whether you should nail or staple your hardwood floors, what gauge nails to use, and which way the flooring should run.
By the end of this blog post, you’ll have a clear understanding of the best size spline for your 3/4 inch hardwood floors and the techniques required to achieve a flawless installation. So let’s dive in and equip you with the knowledge you need for a successful hardwood floor project in 2023 and beyond!
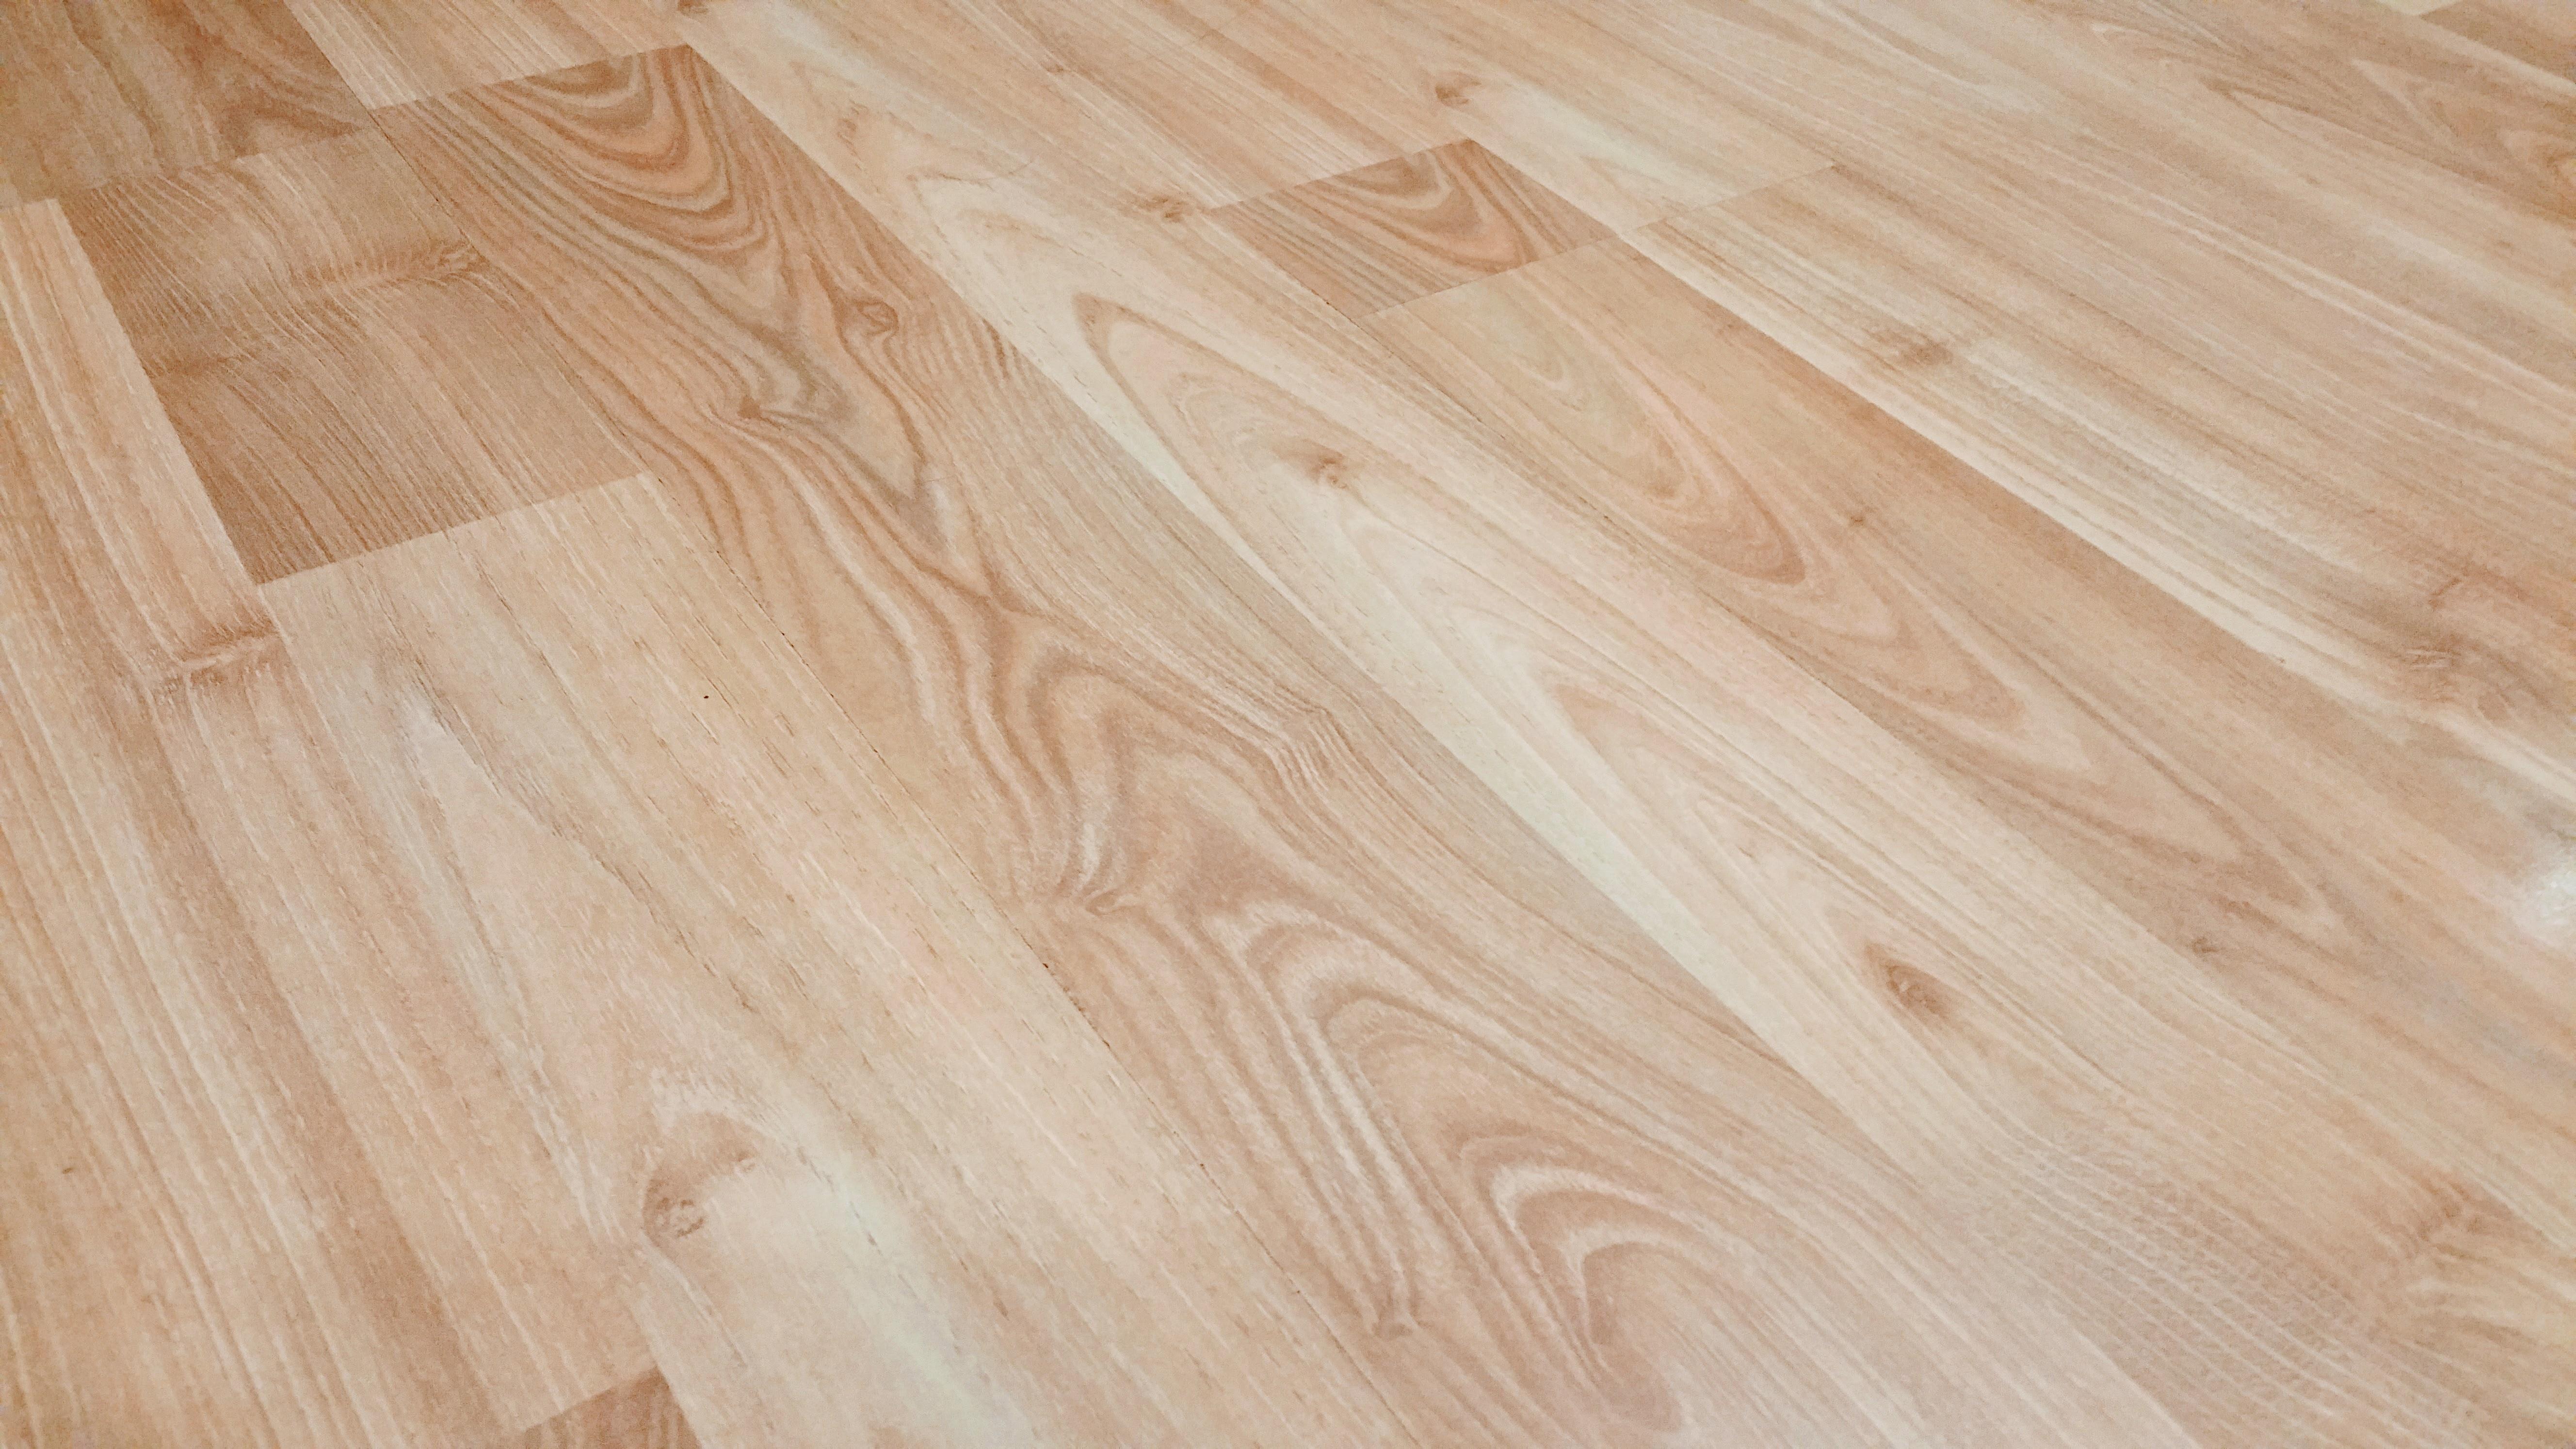
What Size Spline to Use for 3/4 Hardwood Floor
When it comes to installing a beautiful 3/4 hardwood floor, you want to make sure every detail is perfect. And that includes choosing the right size spline. So, what size spline should you use for your 3/4 hardwood floor? Let’s find out!
The Purpose of a Spline
Before we dive into the nitty-gritty of sizing, it’s important to understand the purpose of a spline. Think of a spline as the unsung hero of hardwood floor installation. It’s a thin strip of wood that fits snugly into the grooves of your planks, providing stability and support. The spline helps keep your floor nice and level, even when there are significant temperature and humidity changes.
The Importance of Choosing the Right Size
Choosing the right size spline is crucial for a few reasons. First and foremost, it ensures a tight and secure fit between the planks, preventing any unsightly gaps from forming. Additionally, the correct spline size contributes to the overall structural integrity of your hardwood floor. So, grabbing any old spline from your workshop might not be the best idea.
Determining the Correct Size Spline
Now, let’s get down to business and find the perfect size spline for your 3/4 hardwood floor. In most cases, a 1/4-inch spline is the ideal choice. This size provides a snug fit and works well with the standard 3/4-inch thickness of hardwood flooring. Think of it as the Goldilocks of spline sizes – not too thick, not too thin, just right!
Other Factors to Consider
While 1/4-inch is often the recommended size, there are a few factors you should keep in mind before making your final decision. The type of hardwood flooring you’re using, the width of the planks, and the specific conditions of your installation area can all play a role in determining spline size. If your hardwood is on the wider side or if the manufacturer suggests a different size, it’s essential to follow their recommendations for the best results.
Don’t Be Afraid to Seek Expert Advice
If you’re feeling overwhelmed or unsure about which spline size to choose, don’t be afraid to reach out for expert advice. Flooring professionals and specialists at your local hardware store can provide you with valuable insights and guidance. They have the knowledge and experience to ensure your hardwood floor installation goes smoothly.
Choosing the right size spline for your 3/4 hardwood floor is essential for a successful and visually pleasing installation. The 1/4-inch size is generally a safe bet, but remember to consider other factors that may influence your decision. And don’t hesitate to seek expert advice if you need it. Now go forth, armed with your newfound knowledge, and create the hardwood floor of your dreams!
FAQ: What Size Spline for 3/4 Hardwood Floor
What size nails should be used for 3/4 inch hardwood flooring
When it comes to installing 3/4 inch hardwood flooring, it’s important to choose the right size nails for the job. The recommended nail size for this type of flooring is typically 2-inch to 2 1/2-inch nails. These nails provide enough length to securely fasten the flooring to the subfloor without causing any damage. So, grab your trusty nail gun and load up with the appropriate size nails for a smooth and secure installation!
Can I use a finish nailer for hardwood floors
While a finish nailer might seem like a handy tool to use for hardwood floors, it’s not the most suitable option. Finish nailers typically use smaller gauge nails, which may not provide enough holding power for hardwood flooring. Instead, opt for a flooring nailer or stapler specifically designed for the thickness and width of hardwood flooring. These tools ensure that the nails or staples are properly driven into the flooring, resulting in a solid and long-lasting installation.
Is it better to nail or staple hardwood floors
When it comes to choosing between nails and staples for hardwood floors, the debate continues. However, many professionals prefer using staples due to their superior holding power and ease of installation. Staples provide a wider surface area for grip, minimizing the chances of floorboards shifting or becoming loose over time. However, some contractors still swear by nails as they offer a traditional and reliable method. Ultimately, the choice between nails and staples comes down to personal preference and the specific requirements of your hardwood flooring project.
Can you buy wood splines
Absolutely! Wood splines are readily available in the market, both online and at your local hardware stores. When purchasing wood splines, ensure that you select the appropriate size and type to match your 3/4 inch hardwood flooring. These small but mighty wooden strips play a vital role in reinforcing the groove side of the flooring, ensuring a seamless and secure installation.
How deep should splines be
When installing wood splines for your 3/4 inch hardwood floor, it’s crucial to consider the depth. As a general rule of thumb, the splines should be around 1/4 inch deep. This depth allows the spline to fit snugly into the groove of the floorboards, providing added stability and preventing any potential gaps from forming. So, be sure to measure twice and cut once to achieve the perfect depth for your wood splines.
How do you cut the tongue off of a hardwood floor
Sometimes, you may come across situations where you need to remove the tongue from hardwood flooring. To do this, you can use a table saw or a circular saw with a fine-toothed blade. Carefully cut along the length of the flooring, removing the tongue while leaving the groove intact. This process helps when you want to install wood splines or create a flush fit for a seamless transition with another flooring material. Remember to wear protective gear and work with caution when using power tools.
What wood is used for splines
The type of wood used for splines can vary depending on personal preference and availability. However, hardwoods like oak, maple, and walnut are commonly utilized due to their durability and strength. These wood species can withstand the stress and pressure exerted on the splines, ensuring a long-lasting and reliable installation. So, embrace the natural beauty of hardwood and choose a suitable wood species for your splines that complements your 3/4 inch hardwood floor.
Can I install hardwood floor parallel to joists
Installing hardwood flooring parallel to the joists is generally not recommended. The joists provide crucial support for the subfloor, and installing the floorboards parallel to them can result in an uneven and squeaky floor. To ensure stability and longevity, it’s best to install hardwood flooring perpendicular to the joists. This orientation distributes weight more evenly, minimizing the risk of sagging or flexing over time. So, let your hardwood floor run perpendicular to the joists like a confident athlete sprinting across a finish line!
Can you nail hardwood floor on the groove side
No, you should never nail hardwood flooring on the groove side. The groove side of the floorboards is meant to receive the tongue of the next board, creating a secure and interlocking connection. Nailing on the groove side can compromise this connection, leading to loose or shifting floorboards. To ensure a proper installation, always nail through the tongue side of the hardwood flooring, allowing for a tight and secure fit between the boards.
Can you install hardwood backwards
While it’s technically possible to install hardwood flooring backward, it’s not recommended. Hardwood flooring is designed to be installed with the tongue side facing out and the groove side concealed. Installing the flooring backward not only disrupts the intended aesthetic but also affects the structural integrity. The tongue and groove system allows for a seamless and secure fit between the floorboards, minimizing the occurrence of gaps and movement. So, keep calm and install your hardwood flooring the right way round!
What are hardwood splines
Hardwood splines are thin, elongated strips of wood that play a pivotal role in joining together two pieces of hardwood flooring. These small but mighty reinforcements slide into the grooves of two adjacent floorboards, providing enhanced stability and reducing the risk of gaps or shifting. Splines act as the glue that holds your 3/4 inch hardwood floor together, ensuring a visually appealing and long-lasting result. So, embrace the power of the spline – it’s the unsung hero of the hardwood flooring world!
What gauge nails to use for hardwood flooring
When it comes to nails for hardwood flooring, it’s important to select the right gauge to maintain the integrity and longevity of your installation. For 3/4 inch hardwood flooring, the most commonly used gauge is 15 or 16. These gauges provide the necessary strength and durability, allowing the nails to securely hold the hardwood flooring in place without causing any splitting or damage to the boards. So, pick those perfect nails and ensure a solid foundation for your beautiful hardwood floor.
Should hardwood floor be perpendicular to joists
Yes! Installing hardwood flooring perpendicular to the joists is highly recommended. This positioning provides optimal support, stability, and longevity for your hardwood floor. By running the floorboards perpendicular to the joists, you distribute the weight more evenly, minimizing the risk of sagging or flexing over time. So, keep those floorboards at a right angle to the joists like a disciplined dancer performing on the grandest of stages!
How do you reverse tongue and groove flooring
Reversing tongue and groove flooring may occasionally become necessary when dealing with transitions or repairs. To reverse the direction, you can use a table saw or a router with a tongue and groove bit. Carefully cut off the existing tongue side of the floorboards, leaving the groove intact. Then, using the same tools, cut a new tongue on the previously groove side. Finally, install the reversed boards with the newly created tongues facing out. Voila! You’ve successfully reversed your tongue and groove flooring like a master magician performing an incredible trick!
Which direction should hardwood floors be laid in a hallway
In a hallway, the preferred direction for laying hardwood flooring is parallel to the longer walls. This orientation provides a visually appealing flow, elongating the hallway and making it appear more spacious. Additionally, running the floorboards parallel to the longer walls allows natural light to travel along the length of the hallway, creating a brighter and more inviting space. So, let your hardwood floor gracefully guide you down the hallway, like a red carpet at a star-studded event!
Which side of hardwood flooring do you nail
When installing hardwood flooring, it’s important to nail through the tongue side of the floorboards. The tongue and groove system of hardwood flooring ensures a tight and secure fit between the boards, minimizing the risk of gaps or shifting. By nailing through the tongue, the nails are concealed once the next board interlocks, providing a seamless appearance. So, grab your hammer and channel your inner nail-flying superhero on the tongue side for a beautiful and professional finish!
Do you need to glue tongue and groove flooring
Gluing tongue and groove flooring is not a common practice. The interlocking nature of the tongue and groove system provides sufficient stability and support for the hardwood floor. However, in some specific cases where added security is desired, a thin layer of glue can be applied to the groove before fitting the tongue side of the next board. This helps to reinforce the connection and minimize any potential movement. Ultimately, gluing the tongue and groove is an optional step, and the decision should be based on the specific requirements and preferences of the installation.
Which way should hardwood flooring run
When deciding which way to lay your hardwood flooring, it’s important to consider the natural light, the room’s size, and the overall aesthetic goals. In most cases, hardwood flooring is installed parallel to the longest wall, as it creates a visually appealing flow and accentuates the length of the room. However, if your primary concern is emphasizing the width of the room or if you have a desirable focal point, such as a fireplace or a large window, you can alter the direction accordingly. Ultimately, let your creativity guide you in choosing the direction that best suits your space and personal style.