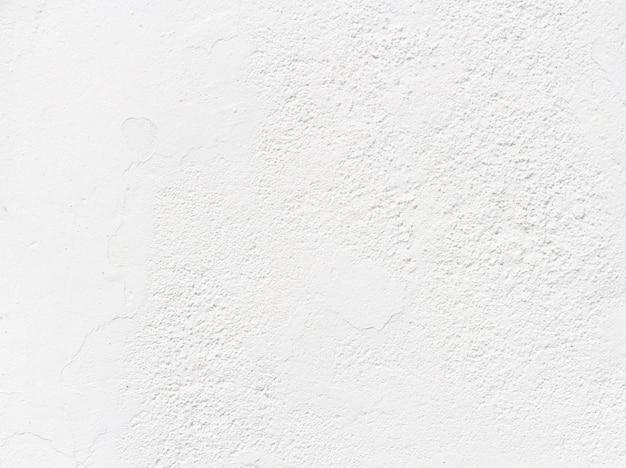
Welcome to the ultimate guide on how to smooth out those pesky bumps on your plaster walls! Whether you’ve recently moved into a new home or just want to give your space a much-needed facelift, dealing with uneven surfaces can be a real challenge. But fear not! In this article, we’ll cover everything you need to know about turning your bumpy plaster walls into a smooth canvas for your decorating dreams.
From understanding the types of textures to figuring out the best sandpaper for the job, we’ve got you covered. Discover expert tips and tricks on hiding imperfections, sanding techniques, and even the cost considerations involved in creating flawlessly smooth plaster walls. Say goodbye to unsightly bumps and hello to a sleek and modern finish that will make your space look like a million bucks.
So, grab your sanding tools, put on your DIY hat, and let’s embark on the journey to transform your walls from rough and textured to beautifully smooth!
How to Smooth Out a Bumpy Plaster Wall
So, you’ve got a bumpy plaster wall that’s as uneven as a rollercoaster ride? Don’t worry, my friend, we’ve got your back! In this handy guide, we’ll show you how to smooth out that lumpy mess and transform your wall into a sight for sore eyes. Get ready to channel your inner DIY guru and leave those bumps in the dust!
Assess the Bumpy Situation
Before diving headfirst into the world of plaster smoothening, take a step back and assess the situation. Are the bumps minor imperfections or major craters that could moonlight as an extra dimension? This is vital to determine the level of effort and materials needed for your wall restoration adventure.
Gather Your Tools like a Pro
Now that you’ve faced the bumpy truth, it’s time to assemble your arsenal. Grab your trusty sandpaper (the higher the grit number, the smoother the finish), a sanding block (your hand will thank you), a putty knife (the Swiss army knife of plaster repair), and a dust mask (protect those precious lungs). You’re now ready to wage a war on the bumps!
Patch, Patch, Patch!
First things first, let’s smooth out those bumps with some strategic patchwork. Grab your putty knife and apply a thin layer of joint compound to the uneven areas. Level it out as smoothly as your favorite ice cream parlor churns their vanilla dream. Let it dry, and then sand it down like you’re a master sculptor, blending it seamlessly with the rest of the wall.
A Sanding Symphony
Time to bring out the sandpaper and sanding block for the grand finale of bump-smoothing. With gentle strokes and the grace of a ballerina, sand the patched areas until they’re as velvety smooth as a freshly shaved leg. Keep the dust mask handy, as things might get a little dusty. Patience is key here, my friend, so don’t rush it. Rome wasn’t built in a day, and neither will your perfectly smooth wall.
The Finishing Touches
Congratulations, you’ve conquered the bumpy beast! Now it’s time to add the finishing touches to your plaster wall masterpiece. Grab a damp cloth and wipe away any remaining dust particles, revealing the dazzling smoothness beneath. Step back, admire your handiwork, and give yourself a well-deserved round of applause. You’ve earned it, champion!
The Smooth Wall of Your Dreams
Now that you’ve learned the art of smoothening a bumpy plaster wall, there’s no limit to the wonders you can achieve. You’ll be the envy of all your friends, and your Instagram followers won’t be able to double-tap fast enough. So go forth, brave warrior, and create the smooth wall of your dreams. We’re rooting for you!
Note: Remember, this guide is for your everyday plaster wall bumps. If you’re dealing with bigger issues like cracks or major structural damage, it’s always a good idea to consult a professional. Safety first!
FAQ: How Do You Smooth A Bumpy Plaster Wall
Can you skim coat over textured walls
Yes, absolutely! Skim coating is a popular technique for smoothing out textured walls. It involves applying a thin layer of joint compound or plaster over the textured surface to create a smooth finish. Skim coating is an effective solution for those bumpy walls that are causing you distress.
What is the best sandpaper for plaster
When it comes to sanding plaster, a medium-grit sandpaper such as 120-grit or 150-grit is generally recommended. This grit level is coarse enough to remove imperfections but fine enough to avoid causing excessive damage to the plaster surface. So, grab your sandpaper, and get ready to bid farewell to those annoying bumps!
What are the 4 types of texture
Texture, oh texture! There are four main types to keep in mind: popcorn (or acoustic), orange peel, knockdown, and swirl. Popcorn is that bumpy, dated texture that many people despise. Orange peel resembles the skin of an orange (surprise!). Knockdown has a partially flattened look, while swirl leaves a fancy pattern reminiscent of a roller coaster ride. Time to decide which type of texture to say “ta-ta” to!
How do you hide imperfections in plaster walls
Ah, the pesky imperfections! One solution is to use a joint compound or spackle to fill in the holes and dents. Apply a thin layer over the troubled spots, smooth it out, and voilà! Another option is to use a texturing technique, such as the ever-popular orange peel. By giving your walls a textured finish, you can cleverly disguise those imperfections. It’s like magic!
Are smooth walls more expensive
Smooth walls, oh so sleek and sophisticated! While they may appear to be the epitome of luxury, they don’t necessarily have to break the bank. The cost of smoothing textured walls depends on various factors, such as the size of the area, the condition of the walls, and whether you choose to hire a professional or DIY. So, fear not! Smooth walls can be within reach for any budget.
Can you sand plaster walls smooth
Absolutely! Sanding is a time-tested method for achieving smooth plaster walls. Grab your sandpaper, start with a coarse-grit, and gently sand the surface in circular motions. As you progress, switch to finer-grit sandpaper to achieve that baby-smooth finish. Just remember to go easy and not get too carried away. We want smooth walls, not Swiss cheese walls!
Should you wipe walls after sanding
Oh yes, without a doubt! After sanding, it’s essential to wipe down the walls to remove any lingering dust and debris. A damp cloth works wonders for this task. Be thorough, be meticulous, and eliminate those pesky particles that could ruin your otherwise beautifully smooth walls. Dust: 0, Smooth walls: 1!
How do you cover rough interior walls
Covering rough interior walls is like giving them a beauty makeover. First, clean the walls thoroughly to remove any dirt or loose debris. Next, apply a coat of primer to create a smooth and even surface. Finally, choose your preferred wall covering, whether it’s paint, wallpaper, or another creative option, to transform those rough walls into a thing of beauty. It’s like giving your walls a spa day!
How do you fix a bumpy plaster wall
Ah, the bumpy wall dilemma. Fear not, for there is a solution! Start by assessing the severity of the bumps. For smaller imperfections, a layer of joint compound or spackle can work wonders. Apply, sand, repeat. In the case of larger bumps, you might need to consider skim coating the entire wall to create a consistently smooth surface. So, get ready to bid adieu to those pesky bumps and say hello to a flawless finish!
Can you sand bumpy plaster
Absolutely! Sanding is your secret weapon against bumpy plaster. When using sandpaper, start with a coarse grit to tackle the larger bumps and gradually switch to finer grits for the smoother areas. Sand in circular motions, take breaks to admire your progress, and soon those bumps will be nothing more than a distant memory. Smoothness: 1, Bumpy plaster: 0!
Can you smooth out textured plaster walls
Absolutely! Smoothing out textured plaster walls is not an impossible task. Skim coating is a dependable approach to turn those textured walls into a smooth canvas. Apply a thin layer of joint compound or plaster over the texture, level it out, and admire the newfound smoothness. Your walls will thank you for their suave transformation!
How much does it cost to smooth textured walls
Ah, the cost question! The price to smooth textured walls can vary depending on several factors, including the size of the area, the condition of the walls, and whether you choose to hire a professional or take the DIY route. While there isn’t a one-size-fits-all answer, it’s worth noting that DIYing tends to be more budget-friendly. So, smooth walls can indeed be achieved without breaking the bank!
Why are there bumps on my wall
Ah, the mystery of the bumps! There could be several possible culprits behind these unwelcome protuberances. It could be an improper application of joint compound, poor surface preparation, or even the result of settling in the walls. But don’t let these bumps get you down! With the right techniques and a positive mindset, you can smooth them out and bid them a not-so-fond farewell!
How do you sand down a bumpy wall
Sanding down a bumpy wall is a bit like giving it a spa treatment. Grab your sandpaper and start with a coarse grit to tackle the larger bumps. Be gentle yet firm, as you’re aiming for smoothness, not destruction. Gradually move on to finer grits until your wall feels as smooth as a baby’s bottom. Who knew sanding could be so therapeutic?
Are textured walls outdated
Outdated, you say? Not necessarily! Textured walls have their own charm, and some homeowners love the added character they bring to a space. However, if you’re yearning for a sleek and modern look, smooth walls might be more your style. The choice is all yours! After all, it’s your home and your personal taste that matter the most.
Should plaster be smooth
Ah, the smoothness conundrum! While it’s true that plaster walls can be beautiful with their natural texture, there’s nothing wrong with desiring a smooth finish. Whether you prefer the rustic feel of textured plaster or the clean lines of smooth plaster, it ultimately comes down to personal preference. So, choose what your heart desires, and let your walls reflect your unique style!
Can you get rid of textured walls
Certainly! If you want to bid farewell to your textured walls, you have a few options. Skim coating, as we’ve mentioned before, is a fantastic method for smoothing out those textured surfaces. Another route is to remove the texture altogether by sanding, scraping, or even using chemical strippers. So, don’t fret – you can smooth out those walls and embark on a new texturing adventure!
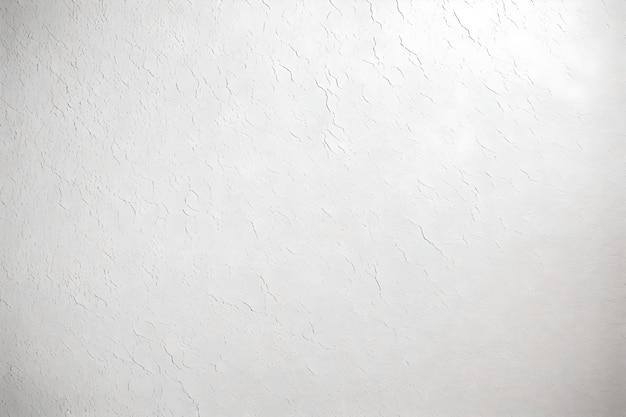
How do you get rid of ripples in a plaster wall
Oh, those frustrating ripples! Fear not, for we have a plan. Begin by sanding down the ripples with sandpaper, gradually working from coarse to fine grits. Be patient and focused, like a zen master sanding his way to enlightenment. Once the ripples are smoothed out, apply a thin layer of joint compound or plaster, sand again, and admire your ripple-free wall. Sayonara, pesky ripples!
How do I make my rough walls smooth
Ah, rough walls, beware! To transform your rough walls into silky-smooth wonders, start by using a joint compound or spackle to fill in any dents or holes. Once dry, sand down the patched areas until they’re level with the rest of the wall. Next, apply a primer to create an even surface and give your walls that extra smoothness. Finally, unleash your creativity with paint or other wall coverings to achieve the flawless finish you desire. Smoothness awaits!
And there you have it, a comprehensive FAQ-style guide to smooth out those bumpy plaster walls. Armed with knowledge, a bit of elbow grease, and maybe a catchy theme song, you’re ready to take on the mission of transforming your walls into smooth works of art. Good luck, and may your walls be as smooth as a 2023 baby’s bottom!