Looking for a unique and trendy accessory to add to your wardrobe? Look no further than waist beads! These beautiful adornments have a rich cultural history, particularly in African communities. Whether you want to embrace your heritage or simply express your personal style, making your own waist beads can be a fun and rewarding project. In this blog post, we will explore what items you need to make waist beads and the different types of string commonly used in creating these stunning accessories. Get ready to unleash your creativity and enhance your fashion game with handmade waist beads!
How to Make Waist Beads
Waist beads are not just a trendy accessory; they are a form of self-expression that has been passed down through generations. So, if you’re looking to make your very own waist beads, the first step is to choose the perfect beads. Opt for beads that reflect your personal style and individuality. Whether you love vibrant colors or prefer subtle earth tones, there’s a bead out there for everyone. Remember, it’s all about finding beads that make you feel empowered and confident, even if they’re as bouncy as a hyperactive puppy!
Measuring Your Waist (No, Not With a Cheeseburger)
Next, you’ll want to measure your waist to ensure the beads fit just right. Grab a tape measure and wrap it around your waist, where you’d like the beads to sit. Make sure to measure snugly but not too tight, unless you want to feel like you’ve been squeezed by a constricting snake! Once you have your measurement, add a couple of extra inches to account for the tying space. After all, we want those beads to be comfortable, not strangling your waist like a clingy ex!
Stringing it All Together
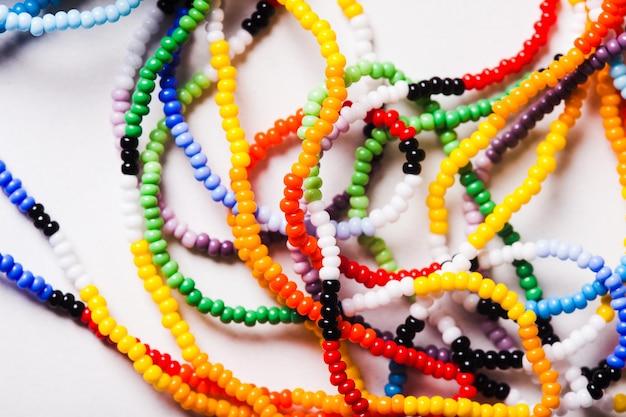
Now it’s time for the fun part: stringing the beads! You’ll need some beading thread or elastic cord and a needle (if you’re using thread). Thread the needle or attach the cord to a clasp. Begin by stringing on a knot to secure the beads in place. Then slide on your chosen beads one by one, creating a pattern or mixing and matching different colors and sizes to make it as unique as your personality. Feel free to get creative and experiment, because who says you can’t wear a little sparkle and quirkiness together?
Customizing Your Beads (No, We Don’t Mean Handing Out Business Cards)
Once you’ve strung all your beads, it’s time to customize your waist beads even further! You can add charms or pendants that hold a special meaning to you. Whether it’s a symbol of strength, love, or your favorite food (hey, we don’t judge), these little additions can make your waist beads truly one-of-a-kind. So, go ahead and get as creative as a toddler with finger paint – just remember to keep it balanced and comfortably wearable.
Securing Your Beads
To finish off your waist beads, it’s time to secure them in place. Tie a knot at the end of the string or attach the clasp if you’re using elastic cord. You can then trim any excess thread or cord, making sure your beads are secure but not too tight. The last thing you want is to feel like you’re being held hostage by your own fashion statement!
Flaunting Your Creation (and Your Fabulousness)
Now that you’ve made your very own waist beads, it’s time to show them off to the world! Wear them proudly, whether it’s peeking out from beneath your favorite crop top or hidden beneath your clothes as a secret confidence booster. Remember, waist beads are not just about adornment; they’re a celebration of your body, your style, and most importantly, your unique spirit. So, go ahead and rock those waist beads like the confident, sassy diva you are!
And there you have it! A comprehensive guide on how to make your very own waist beads. Now, all that’s left to do is unleash your creativity, strut your stuff, and let your waist beads become an extension of your fabulousness. So, dive into the world of waist beads and create a masterpiece that speaks volumes about who you are. Because with waist beads, the only limit is your imagination (and perhaps the number of beads you can fit around your waist without looking like a walking chandelier)!
Happy bead-making, lovelies!
What Items Do I Need to Make Waist Beads
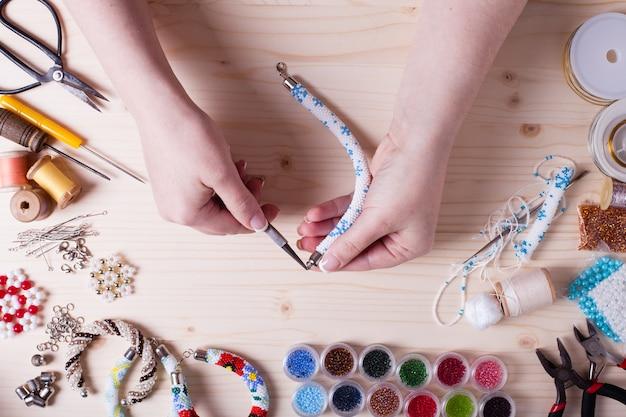
Making waist beads is a fun and creative activity that allows you to show off your personal style while embracing a trendy fashion accessory. To get started on this exciting DIY project, you’ll need a few key items. Don’t worry; they’re easy to find and won’t break the bank!
1. Beading Thread or Elastic Cord
First things first, you’ll need some sturdy beading thread or elastic cord to string your waist beads. Beading thread is durable and comes in various thicknesses, allowing you to choose the perfect one for your design. On the other hand, elastic cord offers flexibility, making it easy to slide the waist beads on and off. Whichever option you choose, make sure it’s strong enough to withstand daily wear and tear.
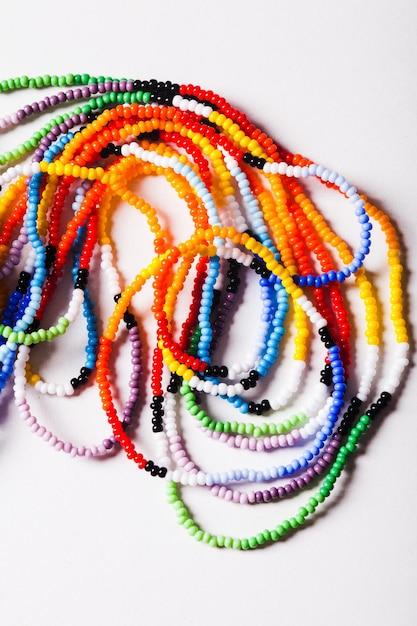
2. Beads
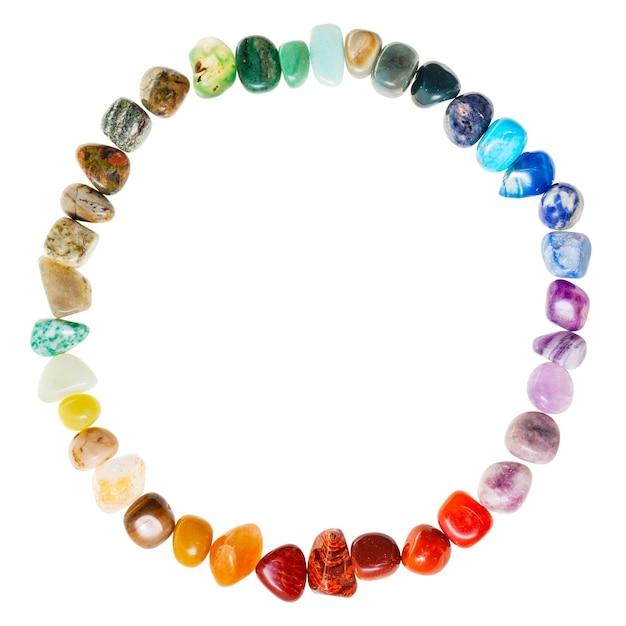
Now comes the fun part – selecting your beads! Beads come in a wide range of materials, colors, shapes, and sizes, so you can let your creativity run wild. Whether you opt for glass beads, wooden beads, gemstones, seed beads, or even letters and charms to personalize your waist beads, the choice is entirely up to you. Just make sure to pick beads that complement your style and resonate with your personality.
3. Measuring tape or String
Next up, you’ll need a measuring tape or a piece of string to determine your waist size accurately. This step is crucial to ensure your waist beads fit comfortably and sit perfectly on your hips. Wrap the measuring tape around your waist or use a string to mark the desired length. Remember to measure slightly above your hips, as waist beads are typically worn above the hips and below the belly button.
4. Clippers or Scissors
To cut the beading thread or elastic cord, you’ll need a pair of clippers or scissors. A small and sharp pair of scissors works just fine. If you’re using elastic cord, make sure the scissors are strong enough to cut through it without any hassle. Be careful not to cut yourself in the process, as safety should always be a priority when crafting!
5. Clasps or Knotting Options
Lastly, you’ll need some clasps or knotting options to secure your waist beads. Clasps are ideal if you prefer an adjustable fit, allowing you to easily take off or put on your waist beads whenever you wish. Alternatively, you can choose to knot the ends of the beading thread or elastic cord. Using secure knots like square knots or surgeon’s knots will ensure your waist beads stay in place.
With these essential items in tow, you’re all set to embark on your waist bead-making journey. Remember, there are no fixed rules when it comes to designing your waist beads, so let your imagination soar and experiment with different colors, materials, and patterns. Making waist beads is not only a creative outlet but also an opportunity to express your unique style and celebrate your body. So go ahead, indulge in this trendy and captivating DIY project – you’re bound to have a blast!
What Type of String is Used to Make African Waist Beads
When it comes to making African waist beads, the type of string used is crucial. After all, these beads are not just a fashion statement; they hold cultural significance and are believed to possess certain spiritual powers. So, what string is used to make African waist beads? Let’s dive into the world of beads and strings, while keeping our fashion game strong!
1. The Tradition of Waist Beads
Waist beads have a long history in African culture. They are worn by women of different ages and backgrounds, serving various purposes such as enhancing sensuality, promoting fertility, or simply as a beautiful accessory. African waist beads are typically made with different types of beads, each carrying symbolic meaning. However, the string used to hold these beads together is equally important.
2. The Preferred String for Waist Beads
One of the most common and preferred types of string used in making African waist beads is beading thread. Beading thread is a strong, flexible, and durable material that is available in various colors and thicknesses. It is often used because it allows for easy manipulation of the beads and ensures the longevity of the waist beads.
3. Get Creative with String Material
While beading thread is widely popular, it’s not the only option for making African waist beads. In fact, you can unleash your creativity and experiment with different materials to achieve a unique look. Some alternatives to beading thread include nylon thread, fishing line, or even elastic cord. Just make sure that the string you choose is strong enough to hold the weight of the beads and comfortable to wear.
4. Keep It Natural and Authentic
If you want to stay true to African tradition and embrace the authenticity of waist beads, you can explore natural materials for your string. For example, you can use cotton thread or linen thread to give your waist beads a more organic and eco-friendly touch. These materials not only add a natural element to the beads but also provide a comfortable fit around your waist.
5. The Secret Ingredient – Love and Patience
No matter what string material you choose for making African waist beads, the secret ingredient to a successful creation is love and patience. Take your time to carefully string each bead, ensuring they are securely attached. Remember, waist beads are not just a fashion accessory; they are a powerful symbol of femininity and heritage.
So, there you have it! Now you know what string is used to make African waist beads. Whether it’s beading thread, nylon thread, or even a natural fiber like cotton or linen, the choice of string allows you to create a stunning piece of African culture. Let your creativity soar as you experiment with different materials and colors, and get ready to rock your African-inspired waist beads with pride and style!