Ceiling fans can add a touch of style and comfort to any room, but there may come a time when you need to take one down. Whether you’re replacing it with a new fan or installing a different lighting fixture, removing a ceiling fan might seem like a daunting task. But fear not, because we’re here to guide you through the process!
In this blog post, we’ll walk you through step by step on how to take down a ceiling fan. We’ll cover topics such as removing the canopy without screws, disconnecting the wiring, and whether or not you need to call an electrician. So, if you’ve been wondering how to tackle this DIY project, keep reading for all the tips and tricks you need to know!
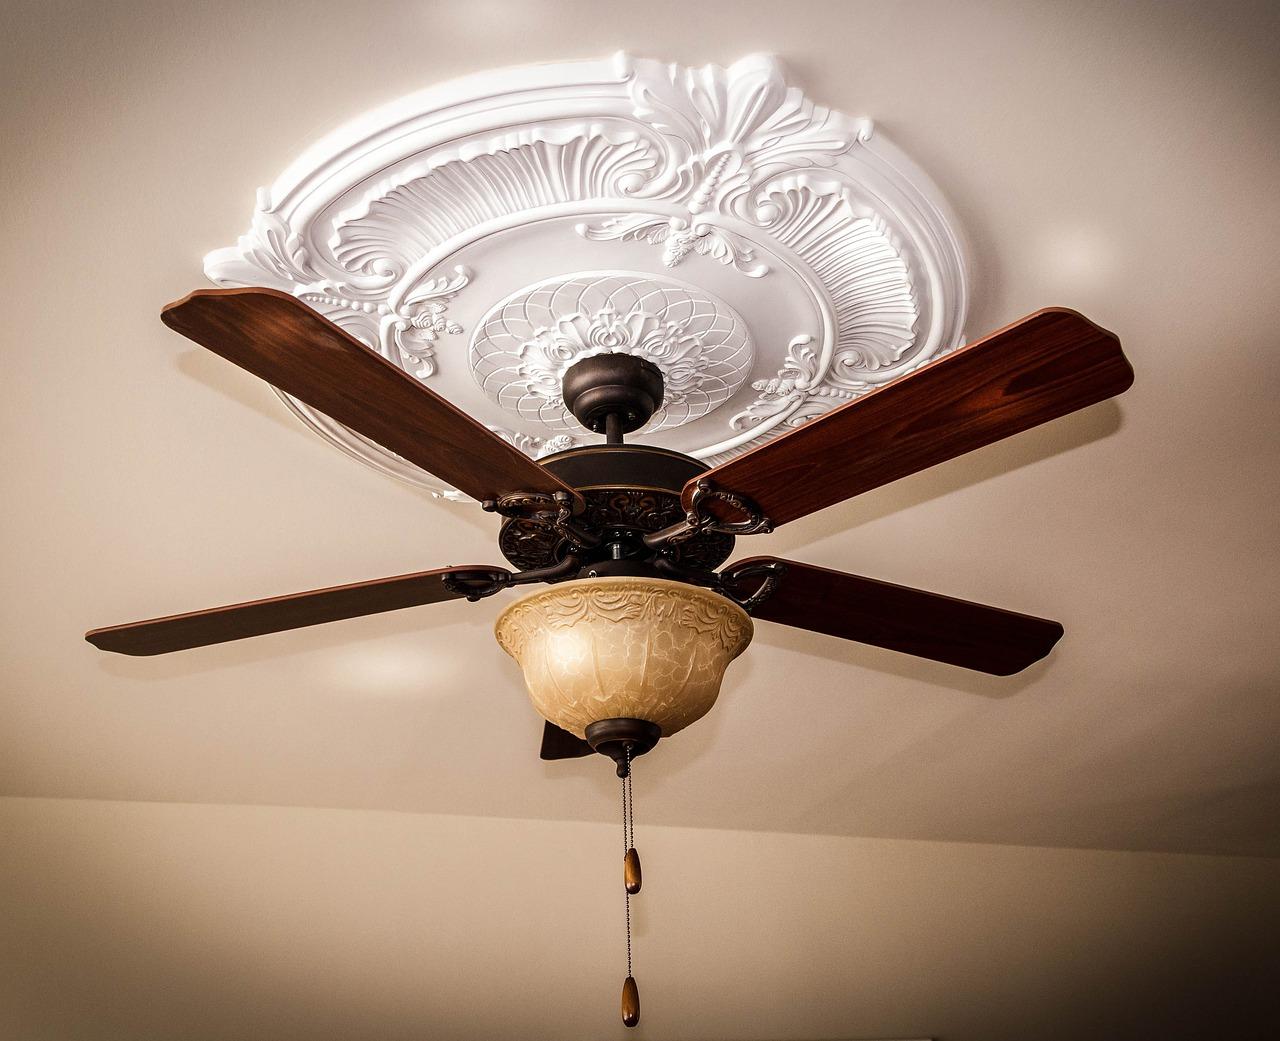
How to Take Down a Ceiling Fan
Ceiling fans are a staple in many homes, providing a cool breeze on hot summer days and circulating warmth during the colder months. However, there may come a time when you need to bid farewell to your trusty fan and take it down. Whether you’re replacing it with a newer model or simply want to change up your decor, fear not! Taking down a ceiling fan doesn’t have to be a daunting task. With a bit of know-how and some basic tools, you can have that fan dismantled and out of your life in no time. So, let’s dive in and learn how to bid adieu to your ceiling fan!
Gather Your Supplies
Before you embark on your ceiling fan dismantling adventure, it’s essential to gather all the necessary supplies. You don’t want to be halfway through the process only to realize you’re missing a crucial tool, resulting in a futile attempt at taking down the fan (trust me, I’ve been there!). Here’s a handy checklist of what you’ll need:
- A sturdy step ladder: Unless you’re some kind of acrobat, grabbing a step ladder is a wise move. We don’t want any unnecessary injuries, do we?
- Screwdriver set: Ceiling fans are held up by a myriad of screws, so having a screwdriver set with different sizes and types will make your life much easier.
- Wire cutter: Let’s face it, nobody wants to deal with tangled wires. Having a wire cutter handy will save you from a mini meltdown.
- Zip ties or electrical tape: These little beauties will help you keep those wires organized and avoid an entangled mess.
- Safety glasses: It’s always better to be safe than sorry, especially when dealing with screws. Don’t forget to wear your safety glasses to protect those precious eyes!
- A friend (optional but highly recommended): Two hands are better than one, right? Having a friend assist you during this process can make things go smoother and give you a bit of moral support. Plus, it’s an excuse to spend extra time with someone you love (or tolerate).
Turn Off the Power
Before you dive headfirst into ceiling fan dismantling, it’s crucial to turn off the power. We don’t want any electric shocks ruining your day, do we? Locate your home’s circuit breaker or fuse box and switch off the power to the room where the ceiling fan is located. If you’re unsure which switch controls the fan, well, you can always play a thrilling game of trial and error (kidding!). Simply turn off the main power to be safe.
Remove the Fan Blades
Now that we’ve eliminated the risk of electrocution (phew!), it’s time to bid farewell to those spinning blades. Using your screwdriver, carefully remove the screws securing the fan blades to the fan motor. Make sure to place the screws in a safe spot, so they don’t mysteriously disappear into the abyss. Once the blades are free, gently set them aside or, if you have a friend around, hand them off like you’re in some kind of relay race. Go team!
Detach the Fan Motor
With the fan blades out of the way, it’s time to tackle the fan motor itself. Using your screwdriver, remove the screws that hold the fan motor canopy in place. Once the screws are out, carefully detach the canopy from the ceiling. Now, be prepared for a surprise party: there may be a few wires hanging out. Take this opportunity to snap a selfie with your new-found friends, or better yet, use those wire cutters to carefully disconnect the wires. Make sure to remember which wire goes where (you can take notes or use mental telepathy, your choice) for a smoother reinstallation process.
It’s Time to Say Goodbye
Congratulations! You’ve made it this far, and the end is in sight. With the fan motor disconnected from the ceiling, it’s time to remove it entirely. Carefully unscrew any remaining screws that hold the fan motor to the ceiling bracket or mounting plate. Once all screws are removed, gently lower the fan motor down and pass it off to your trusty friend or set it aside safely. Now, take a moment to savor your triumph – you just successfully took down a ceiling fan like a pro!
The Final Farewell
With the fan motor removed, all that’s left behind is a somewhat empty space and a few memories. Take this time to assess the condition of your ceiling – is it in need of some touch-ups or a fresh coat of paint? Dust off any cobwebs and bid farewell to the past. You’ve conquered the task of taking down a ceiling fan, and a new chapter awaits in your home decor adventure.
Now that you’ve learned the ropes of ceiling fan removal, feel free to channel your inner DIY guru and go forth with confidence. Soon enough, you’ll be basking in the glory of a fan-free ceiling or eagerly installing a new fan to grace your space. May your future endeavors be filled with smooth screws, well-organized wires, and a dash of friendly humor. Happy ceiling fan hunting!
How Do I Take Down a Ceiling Fan
Ceiling fans are great for keeping us cool during the scorching summer days, but there may come a time when you need to take one down. Whether you’re moving, renovating, or just looking for a change, removing a ceiling fan might seem like a daunting task. But fear not! We’ve got you covered with this easy-to-follow guide on how to take down a ceiling fan like a pro.
Gather Your Tools
Before you start playing superhero and taking down ceiling fans left and right, it’s important to gather the right tools for the job. Here’s what you’ll need:
- A sturdy ladder: Why risk your life when you can reach new heights with a trusty ladder?
- A screwdriver: Preferably not a butter knife. Unless you’re a real DIY daredevil.
- A pair of pliers: Because fingers are for other purposes, like texting.
- Some electrical tape: Safety first, folks. Let’s prevent any unexpected sparks.
- A friend: Who else are you going to impress with your handy skills?
Turn Off the Power
Now, before you start channeling your inner electrician, it’s essential to shut off the power. We wouldn’t want you getting a shocking surprise, would we? Locate the breaker switch, which is usually in the electrical panel, and flip the switch that controls the fan’s circuit. It’s okay to do a little happy dance here; just make sure you don’t trip over your own two feet.
Remove the Fan Blades
Now that the power is off and you’re feeling like a true master of the universe, you can move on to the actual removal process. Start by removing the fan blades. Grab your screwdriver, loosen the screws that secure each blade, and gently slide them off. It’s like removing the wheels from a skateboard — just be careful not to scrape your knuckles. Safety is cool, remember?
Unscrew the Canopy
With the fan blades safely set aside, you’ll notice a decorative covering called the canopy. This little guy is responsible for hiding all the electrical wiring that powers your fan. Remove it by unscrewing the screws that hold it in place. Pro top: If the canopy is giving you a hard time, try whispering sweet nothings to it. Works every time.
Disconnect the Wires
Now, let’s get down to the nitty-gritty of electrical work. Please make sure the power is still off (we’re not responsible for any electrified dance moves). Inside the canopy, you’ll find a few wires connected to the fan. Use your pliers to undo the wire nuts, separating the wires. Be gentle; wires have emotions too.
Remove the Mounting Bracket
Ah, the moment of truth. You’re almost there! With the fan dangling from the ceiling by mere wires, it’s time to remove the mounting bracket. Unscrew the screws that secure the bracket to the ceiling and give it a good tug. If it doesn’t budge, throw on some workout gear and show that bracket who’s boss.
Celebrate Your Victory
Congratulations, my friend! You’ve successfully dismantled a ceiling fan with the finesse of a seasoned handyman. Take a moment to bask in the glory of your achievement. But don’t get too comfy on that ladder; there are still many more DIY adventures awaiting you!
Now that you know how to take down a ceiling fan, feel free to share your newfound expertise with friends and family. And remember, if all else fails, there’s no shame in calling a professional. Sometimes, it’s better to let someone else deal with the complicated stuff while you sit back and enjoy an ice-cold lemonade. Cheers!
Remove Ceiling Fan Canopy Without Screws
So, you’re ready to bid farewell to your ceiling fan, huh? Well, before you can say “out with the old,” you’ll need to know how to remove that pesky ceiling fan canopy. And if you’re dealing with a fan that seems to have no screws in sight, fear not! I’ve got you covered with this step-by-step guide on how to remove the ceiling fan canopy without screws. Ready? Let’s dive in!
Grab Your Tool Arsenal
Before you embark on this adventure, you’ll need to gather a few tools to assist you in your quest to conquer the canopy. You’ll want to have a sturdy ladder (safety first, my friend), a screwdriver (just in case), a pair of pliers (to give you that extra grip), and some patience (because things never go exactly as planned, do they?).
Assess the Situation
Now that you’re equipped with your trusty tools, it’s time to assess the situation. Take a moment to closely examine your ceiling fan canopy and look for any hidden latches, buttons, or other sneaky contraptions that might be holding it in place. Sometimes, those canopy makers can be quite the pranksters!
Twist and Turn
If you’ve found no hidden mechanisms, it’s time to put those muscles to work. Give the canopy a gentle twist and turn counterclockwise to see if it loosens. Remember, we’re dealing with a fan without screws, so a little elbow grease may be required!
Use the Pliers for Extra Oomph
If the twist-and-turn method did not yield the desired results, it’s time to bust out the pliers. Grip the canopy firmly with the pliers, making sure not to damage any of the surrounding materials, and give it a gentle twist counterclockwise. This extra oomph should do the trick and loosen the canopy from its stronghold.
Celebrate Your Victory!
Hooray! You’ve successfully removed the ceiling fan canopy without screws! Take a moment to bask in the glory of your achievement. You’ve conquered that canopy like a true DIY champion! Now it’s time to pat yourself on the back, clean up the mess, and prepare for whatever new fixture will take its place.
Removing a ceiling fan canopy without screws can seem like a daunting task, but armed with the right tools and a bit of determination, you can tackle it with ease. Remember to approach the task with patience and a sense of humor, as things rarely go according to plan. With these steps in mind, you’ll be on your way to a ceiling fan-free existence in no time. Good luck, and may your future home improvement endeavors be as successful as this one!
Disconnecting Ceiling Fan Wiring
Before you start pulling plugs like a whirlwind breakup, you need to ensure your safety. Remember, you’re dealing with electricity here, not an old flame. Start by switching off the power to the ceiling fan from the circuit breaker. It’s like cutting off all communication to avoid further heartbreak.
Unveiling the Wiring
Now it’s time to expose the hidden wiring beneath the fan’s cover. Start by removing the fan blades, probably the most literal interpretation of “cutting ties.” Secure them safely like precious mementos so you don’t break any hearts or blades in the process. With the blades out of the picture, unscrew the canopy covering the ceiling fan’s electrical connections. Ah, the moment of truth!
Separating the Wires
Inside the canopy, you’ll find a tangled web of wires yearning to be free. But unlike an emotional break-up, you won’t need a therapy session to untangle them. Take note of the different wires and their colors. Typically, you’ll find a black wire, a white wire, a green or copper wire, and perhaps a blue wire. It’s like deciphering a secret language, but fear not, we’ve got you covered!
Parting Words with the Black Wire
The black wire is the live wire that carries the electric current. It’s like the rogue rebel who takes charge of the situation. Grab your trusty screwdriver and loosen the terminal screw holding the black wire in place. Once it’s loose, gently remove the wire, bidding adieu to the current that once flowed through it. Oh, the memories!
Saying Goodbye to the White Wire
Next up is the white wire, also known as the neutral wire. It’s the peacekeeper, always bringing balance to the electrical equation. Just like the black wire, untwist the terminal screw and remove the white wire. Give it a nod of appreciation for its role in keeping things harmonious. Farewell, dear neutral wire!
Setting the Green Wire Free
Now, let’s address the green (or copper) wire—the grounding wire. This wire ensures safety by providing an escape route for electrical excess like a trusty old friend offering emotional support. Unscrew the terminal screw, and with a twinge of reluctance, let the green wire roam free. It’s time to say goodbye to this grounding companion.
Dealing with the Blue Wire (If Applicable)
If your fan has a blue wire, consider it the cool cousin who adds a hint of color to the mix. This wire is typically used for light fixtures. Just like the previous wires, gently loosen the terminal screw and let the blue wire go on its merry way. Appreciate its contribution to illuminating your room during those cozy nights.
Wrapping Up the Separation
Remember, this guide provides a general overview of disconnecting ceiling fan wiring, but specific fan models may vary. Always consult the manufacturer’s instructions to ensure a safe and successful separation. Once you’ve bid farewell to all the wires, carefully lower the canopy cover back in place, hiding the evidence of your separation.
So, there you have it—how to disconnect ceiling fan wiring in a nutshell. You’ve mastered the art of dismantling the electrical connections, leaving the fan hanging in suspense. In the next section, we’ll dig even deeper into removing the fan itself. Just remember, when it comes to ceiling fan wiring, approach it like a seasoned heartbreaker—carefully, confidently, and with a touch of humor.
Do You Need an Electrician to Remove a Ceiling Fan
When it comes to home improvement projects, some tasks can be easily done by DIY enthusiasts. But what about removing a ceiling fan? Is it a job that requires the assistance of a seasoned electrician or can you handle it on your own? Let’s shed some light on this electrifying topic!
Safety First, DIY Second
Before we delve into the nitty-gritty, let’s establish one thing: safety should always be a top priority. If you’re not comfortable working with electricity or don’t have a basic understanding of electrical wiring, it’s best to call an electrician. After all, we want to avoid any shocking experiences – apart from those occasional dad jokes!
Electrical Wizardry
Taking down a ceiling fan involves dealing with electrical connections. Unless you have a magical wand or are literally a wizard, you need to exercise caution. Remember, one wrong move and you could end up in a real-life Harry Potter scenario. So, don’t take any chances if you’re not confident about handling electrical work.
Assessing Your Skills
Now, let’s gauge your DIY prowess. Ask yourself the following questions:
Are You a Pro or Just a No?
If you’ve successfully tackled electrical projects in the past without any sparks flying, you might have what it takes. Otherwise, save yourself the trouble (and potential embarrassment) and hire an expert. It’s better to admit you’re not an electrician-in-the-making than to shock yourself into realizing it too late!
Do You Speak Voltage?
Are you familiar with the electrical terminology? Can you tell whether it’s an alternating current (AC) or a direct current (DC)? If these concepts are as murky as your childhood memories from math class, an electrician is your best bet. Remember, we’re talking about your safety here. There’s no room for guesswork!
The Grey Area – Fan Types
Now, picture this: you have your eyes set on that imposing ceiling fan, ready for a grand takedown. But hold your horses! Ceiling fans come in various shapes and sizes, and complexity varies accordingly. Let’s explore the gray area of fan types.
The Pull of Simplicity
If your ceiling fan is a straightforward model with a chain-pull mechanism, it’s usually a breeze – no pun intended – to take it down. Just make sure to switch off the power supply beforehand. But if your fan belongs to the fancy-pants club, keep reading!
Fanciness Alarm
Does your ceiling fan have specialized features like remote control, multiple lights, or integrated speakers? If so, it’s likely to be more complex. In that case, hiring an electrician is highly recommended. They’ll have the knowledge and experience to dismantle the fan without turning your living room into a disco or an impromptu rock concert!
Crossing the Line – Legal Perspective
In some areas, electrical work falls under specific regulations and building codes. Installing or removing a ceiling fan might require a permit or compliance with certain electrical standards. While it might be tempting to believe rules are made to be broken, in this case, it’s better to play it safe and, you guessed it, bring in the professionals.
Permit Me to Explain
If you’re unsure about the legal requirements in your area, consult your local building authority or an electrician. They’ll be able to guide you through the paperwork, permits, and procedures. Plus, they might save you from the wrath of the law – and trust us, it’s not worth it!
To Hire or Not to Hire – That Is the Question!
Removing a ceiling fan might seem like a simple task, but as we’ve discovered, it can quickly turn into a hair-raising adventure. So, ask yourself: are you up for the challenge, or is it time to call in the cavalry? If you’re an adventurous DIYer with electrical experience and knowledge, go ahead and give it a whirl. But if you’d rather avoid electrical mishaps, it’s smart to bring in the experts. After all, it’s always better to be safe than sorry – and much more fun to laugh at dad jokes than bad jokes! So, recruit an electrician and let them handle the current situation!
That wraps up our exploration of whether you need an electrician to take down a ceiling fan. Remember, when it comes to electricity, expertise is crucial. Stay safe, keep harmonious vibes flowing, and let the professionals handle anything that gives you a shock – except when it comes to their sense of humor!