If you’re a proud owner of a Brita pitcher and find yourself scratching your head when it comes to putting the lid on, you’re not alone. Figuring out the proper way to secure the lid on a Brita pitcher can be a bit tricky at first, but fear not! In this comprehensive blog post, we’ll walk you through the process step by step, ensuring you never have to struggle with it again.
Along the way, we’ll also address common questions like where the max fill line is on a Brita pitcher, how the Brita lid works, and whether Brita filters can grow mold. We’ll even shed some light on those mysterious occurrences like a green pitcher or black stuff inside it. So, let’s dive in and discover the secrets to successfully putting the lid on your Brita pitcher!
How to Master the Art of Putting the Lid on Your Brita Pitcher 6 Cup
Smooth Moves for Sealing Success
Let’s face it – putting the lid on your Brita Pitcher 6 Cup can sometimes feel like a challenge worthy of an Olympic medal. But fear not, fellow hydration enthusiasts, because I’ve got you covered with some expert tips on how to smoothly seal the deal with your Brita pitcher lid.
The Twist and Shout Method
Step one in conquering the lid game is to hold your pitcher with confidence, making sure it’s on a flat surface. No wobbling allowed. Now, take your Brita lid, and with a slight twist of the wrist, align the grooves on the lid with the protrusions on the pitcher. Feel that satisfaction as the lid effortlessly slides into place. You’ve got this!
The Patience Pays Off Approach
If you’ve experienced lid-related frustration before, this method is for you. Take a deep breath and channel your inner Zen master. Gently position the lid on top of the pitcher, making sure it’s lined up evenly. Slowly apply a bit of downward pressure and wiggle it ever so slightly. Give it time to find its perfect fit. It may take a few seconds, but trust me, patience pays off when it comes to lid alignment.
A Lid Affair: Troubleshooting Tips
Even the best of us can encounter a lid conundrum from time to time, but fear not, dear Brita aficionado, for I have a few troubleshooting tips up my sleeve.
The Case of the Stubborn Lid
We’ve all met that one lid that refuses to cooperate. If you find yourself locked in an epic battle with your Brita lid, try giving it a little tap on the side with the palm of your hand. Sometimes, all it needs is a gentle reminder that you’re in charge here.
The Sneaky Air Bubble
Ah, the sneaky air bubble – a common nemesis in the lid game. To overcome this foe, tilt your pitcher slightly to one side while applying the lid. This slight angle will allow any trapped air to escape and give the lid a clear path to sealing glory.
When in Doubt, Give it a Wiggle
If all else fails, my dear friend, it’s time to bring out the secret weapon – the wiggle maneuver. Give the lid a little wiggle as you apply it to the pitcher. Sometimes a small adjustment is the key to unlocking lid perfection.
Seal in the Success!
With these tips in your arsenal, you’ll become a lid master in no time. Remember, confidence is key, and a little finesse goes a long way. So go forth, my thirsty reader, and embrace the art of sealing your Brita Pitcher 6 Cup. Cheers to clean and refreshing hydration!
Disclaimer: The author and the site are not responsible for any lid-related mishaps, accidental spills, or water wars that may occur during the lid application process. Drink responsibly and lid wisely.
FAQ: How To Put Lid On Brita Pitcher 6 Cup
Brita pitchers are a popular choice for filtering and improving the taste of tap water. If you own a Brita pitcher, you may have some questions about how to put the lid on properly, how to maintain the pitcher, and other related concerns. In this FAQ-style guide, we’ll answer some common questions about the Brita pitcher lid and provide you with helpful tips and information.
Where is the Max Fill Line on a Brita Pitcher
The Max Fill Line on a Brita pitcher is typically located on the side of the pitcher, near the top. It serves as a guide to ensure you don’t overfill the pitcher and cause water to spill out when you put the lid on. Keeping the water level below the Max Fill Line is important for proper functioning and preventing any mess.
How Does the Brita Lid Work
The Brita lid is designed to fit securely on top of the pitcher, creating a tight seal. It helps to prevent any contaminants or impurities from entering the water while also keeping the filtered water fresh. The lid usually features a flap or flip-top opening that allows you to easily pour water out of the pitcher without removing the entire lid. It’s a simple yet effective mechanism that ensures easy access to filtered water.
Can Brita Filters Grow Mold
Mold growth in a Brita filter is possible, especially if the filter is not properly maintained or if it’s kept in a humid environment. To prevent mold growth, it’s important to regularly clean and replace your Brita filter according to the manufacturer’s instructions. Additionally, allowing the filter to dry out completely between uses can help inhibit mold growth.
Why Does My Brita Pitcher Turn Green
If you notice a green tint in your Brita pitcher, it’s likely due to algae growth. Algae can develop in the pitcher if it’s not cleaned and dried thoroughly on a regular basis. To prevent algae growth, make sure to clean the pitcher and lid with mild soap and water, and dry them thoroughly before reassembling. This will help keep your pitcher free from any unwanted green friends.
What is the Black Stuff in My Brita Pitcher
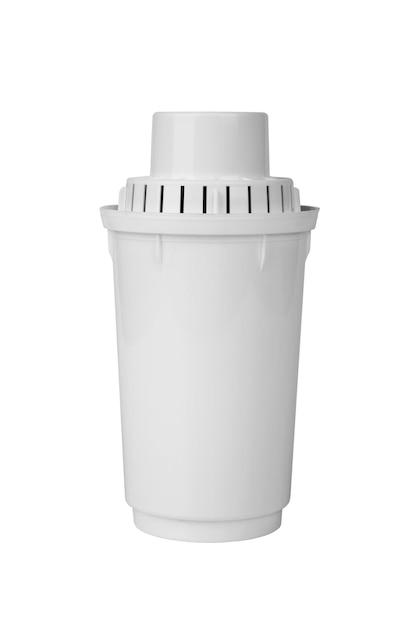
Discovering black particles in your Brita pitcher can be concerning, but fear not, it’s not mold or anything harmful. The black specks are usually just activated charcoal particles from the filter. Brita filters contain activated charcoal to absorb impurities and improve the taste of the water. While it may not be the most aesthetically pleasing sight, it’s completely harmless. Simply rinse your pitcher before each use to minimize the presence of these particles.
How Do You Remove a Brita Pitcher Lid
Removing a Brita pitcher lid is a piece of cake! If your Brita pitcher has a flip-top lid, gently press down on the lid to release the latch. Then, lift the lid from the pitcher. For pitchers with a screw-on lid, twist the lid counterclockwise to loosen it, and then lift it off. Cleaning the lid separately can help ensure it remains clean and free from any funky odors.
Does a Brita Filter Need to Stay Wet
While Brita filters do need moisture to function properly, they don’t necessarily need to stay wet all the time. It’s important to moisten the filter before use to activate the filter media and improve its effectiveness. However, allowing the filter to dry between uses is also recommended to prevent mold and bacterial growth. Finding the right balance between moist and dry will help ensure long-lasting filter performance.
Which Filter is Best for Drinking Water
Brita offers a variety of filter options to suit different water needs. For regular tap water, the standard Brita filter is usually sufficient. However, if you’re dealing with hard water or water that has a strong taste or odor, you may want to consider Brita’s Longlast or Advanced filters. These filters are specifically designed to tackle those pesky impurities and provide you with great-tasting, clean water.
How Do I Remove the Filter from My Brita Stream Pitcher
Removing the filter from a Brita Stream pitcher is a breeze. Simply lift the top lid of the pitcher and grab hold of the handle on the filter. Gently pull the filter upward and out of the pitcher. To ensure optimal performance, replace the filter every two months or as recommended by the manufacturer. Remember, a happy filter equals happy sips!
What Happens If You Overfill a Brita Pitcher
Overfilling a Brita pitcher can result in water spilling out when you try to put the lid on. This can cause a bit of a mess and potentially damage the pitcher lid. To avoid this, make sure to fill the pitcher only up to the Max Fill Line indicated on the side of the pitcher. Keeping the water level below this line ensures a snug fit for the lid and a spill-free pouring experience.
How Often Should You Wash Your Brita Pitcher
To keep your Brita pitcher in tip-top shape, regular washing is key. It’s a good practice to clean your pitcher, including the lid, approximately once a week. Use warm, soapy water to wash all the components, rinse them thoroughly, and then allow them to air dry. This routine maintenance helps to prevent the buildup of impurities, mold, and funky odors, so you can enjoy clean and refreshing water every time.
How Do You Fill a Soma Pitcher
Filling a Soma pitcher is a cinch. Remove the lid and pour tap water directly into the pitcher. Unlike some Brita pitchers, the Soma pitcher doesn’t require you to remove the lid for filling. Once filled, simply put the lid back on, and you’re good to go. Soma pitchers are known for their sleek design and seamless operation, making your hydration routine effortlessly chic.
Can You Fill a Brita Pitcher Above the Filter
While it’s technically possible to fill a Brita pitcher above the filter, it’s not recommended. Overfilling the pitcher can cause water to bypass the filter, reducing its ability to effectively remove impurities. To ensure optimal filtration, always follow the manufacturer’s guidelines and fill the pitcher up to the Max Fill Line below the filter. Your taste buds will thank you!
How Often Should You Change a Brita Pitcher Filter
The frequency of filter changes for a Brita pitcher depends on the type of filter you’re using, as well as the usage and water quality in your area. As a general rule of thumb, Brita recommends replacing the filter every two months for optimal performance. However, certain filters like the Longlast or Advanced filters have longer lifespans and can last up to six months. Keep an eye on the indicator on your pitcher or refer to the filter packaging for specific guidelines.
How Much Water Does a Brita Pitcher Need
The amount of water a Brita pitcher can hold depends on the pitcher’s size. A standard 6-cup Brita pitcher is designed to hold up to six cups of water, which is equivalent to approximately 48 fluid ounces or 1.4 liters. This capacity makes it a convenient choice for individuals or small households who prefer a compact and easily manageable pitcher size.
Why Is My Brita Filtering So Fast
If you notice that your Brita is filtering water unusually fast, it could be due to a few factors. One possibility is that the filter is clogged or nearing the end of its lifespan. In this case, replacing the filter may help restore the normal filtration rate. Another reason could be an issue with the lid or pitcher seal, causing water to flow more quickly through the filter. Ensuring a proper fit for the lid can help regulate the filtration speed and maintain optimum performance.
What Happens If You Don’t Change a Brita Filter
Neglecting to change your Brita filter at regular intervals can lead to reduced performance and compromised water quality. Over time, the filter becomes clogged with impurities, reducing its ability to effectively remove contaminants, such as chlorine, lead, or sediment. This can result in less tasty water and potentially harmful substances reaching your glass. To fully enjoy the benefits of filtered water, it’s essential to replace the filter as recommended.
How Long Does It Take to Fill a Brita Pitcher
The time it takes to fill a Brita pitcher depends on various factors, including the water pressure in your area and the type of faucet you’re using to fill the pitcher. Generally, it takes around 4-5 minutes to fill a standard 6-cup Brita pitcher under normal water pressure. Of course, you can always use this waiting time to practice your impromptu dance moves or perfect your karaoke skills. No judgment here!
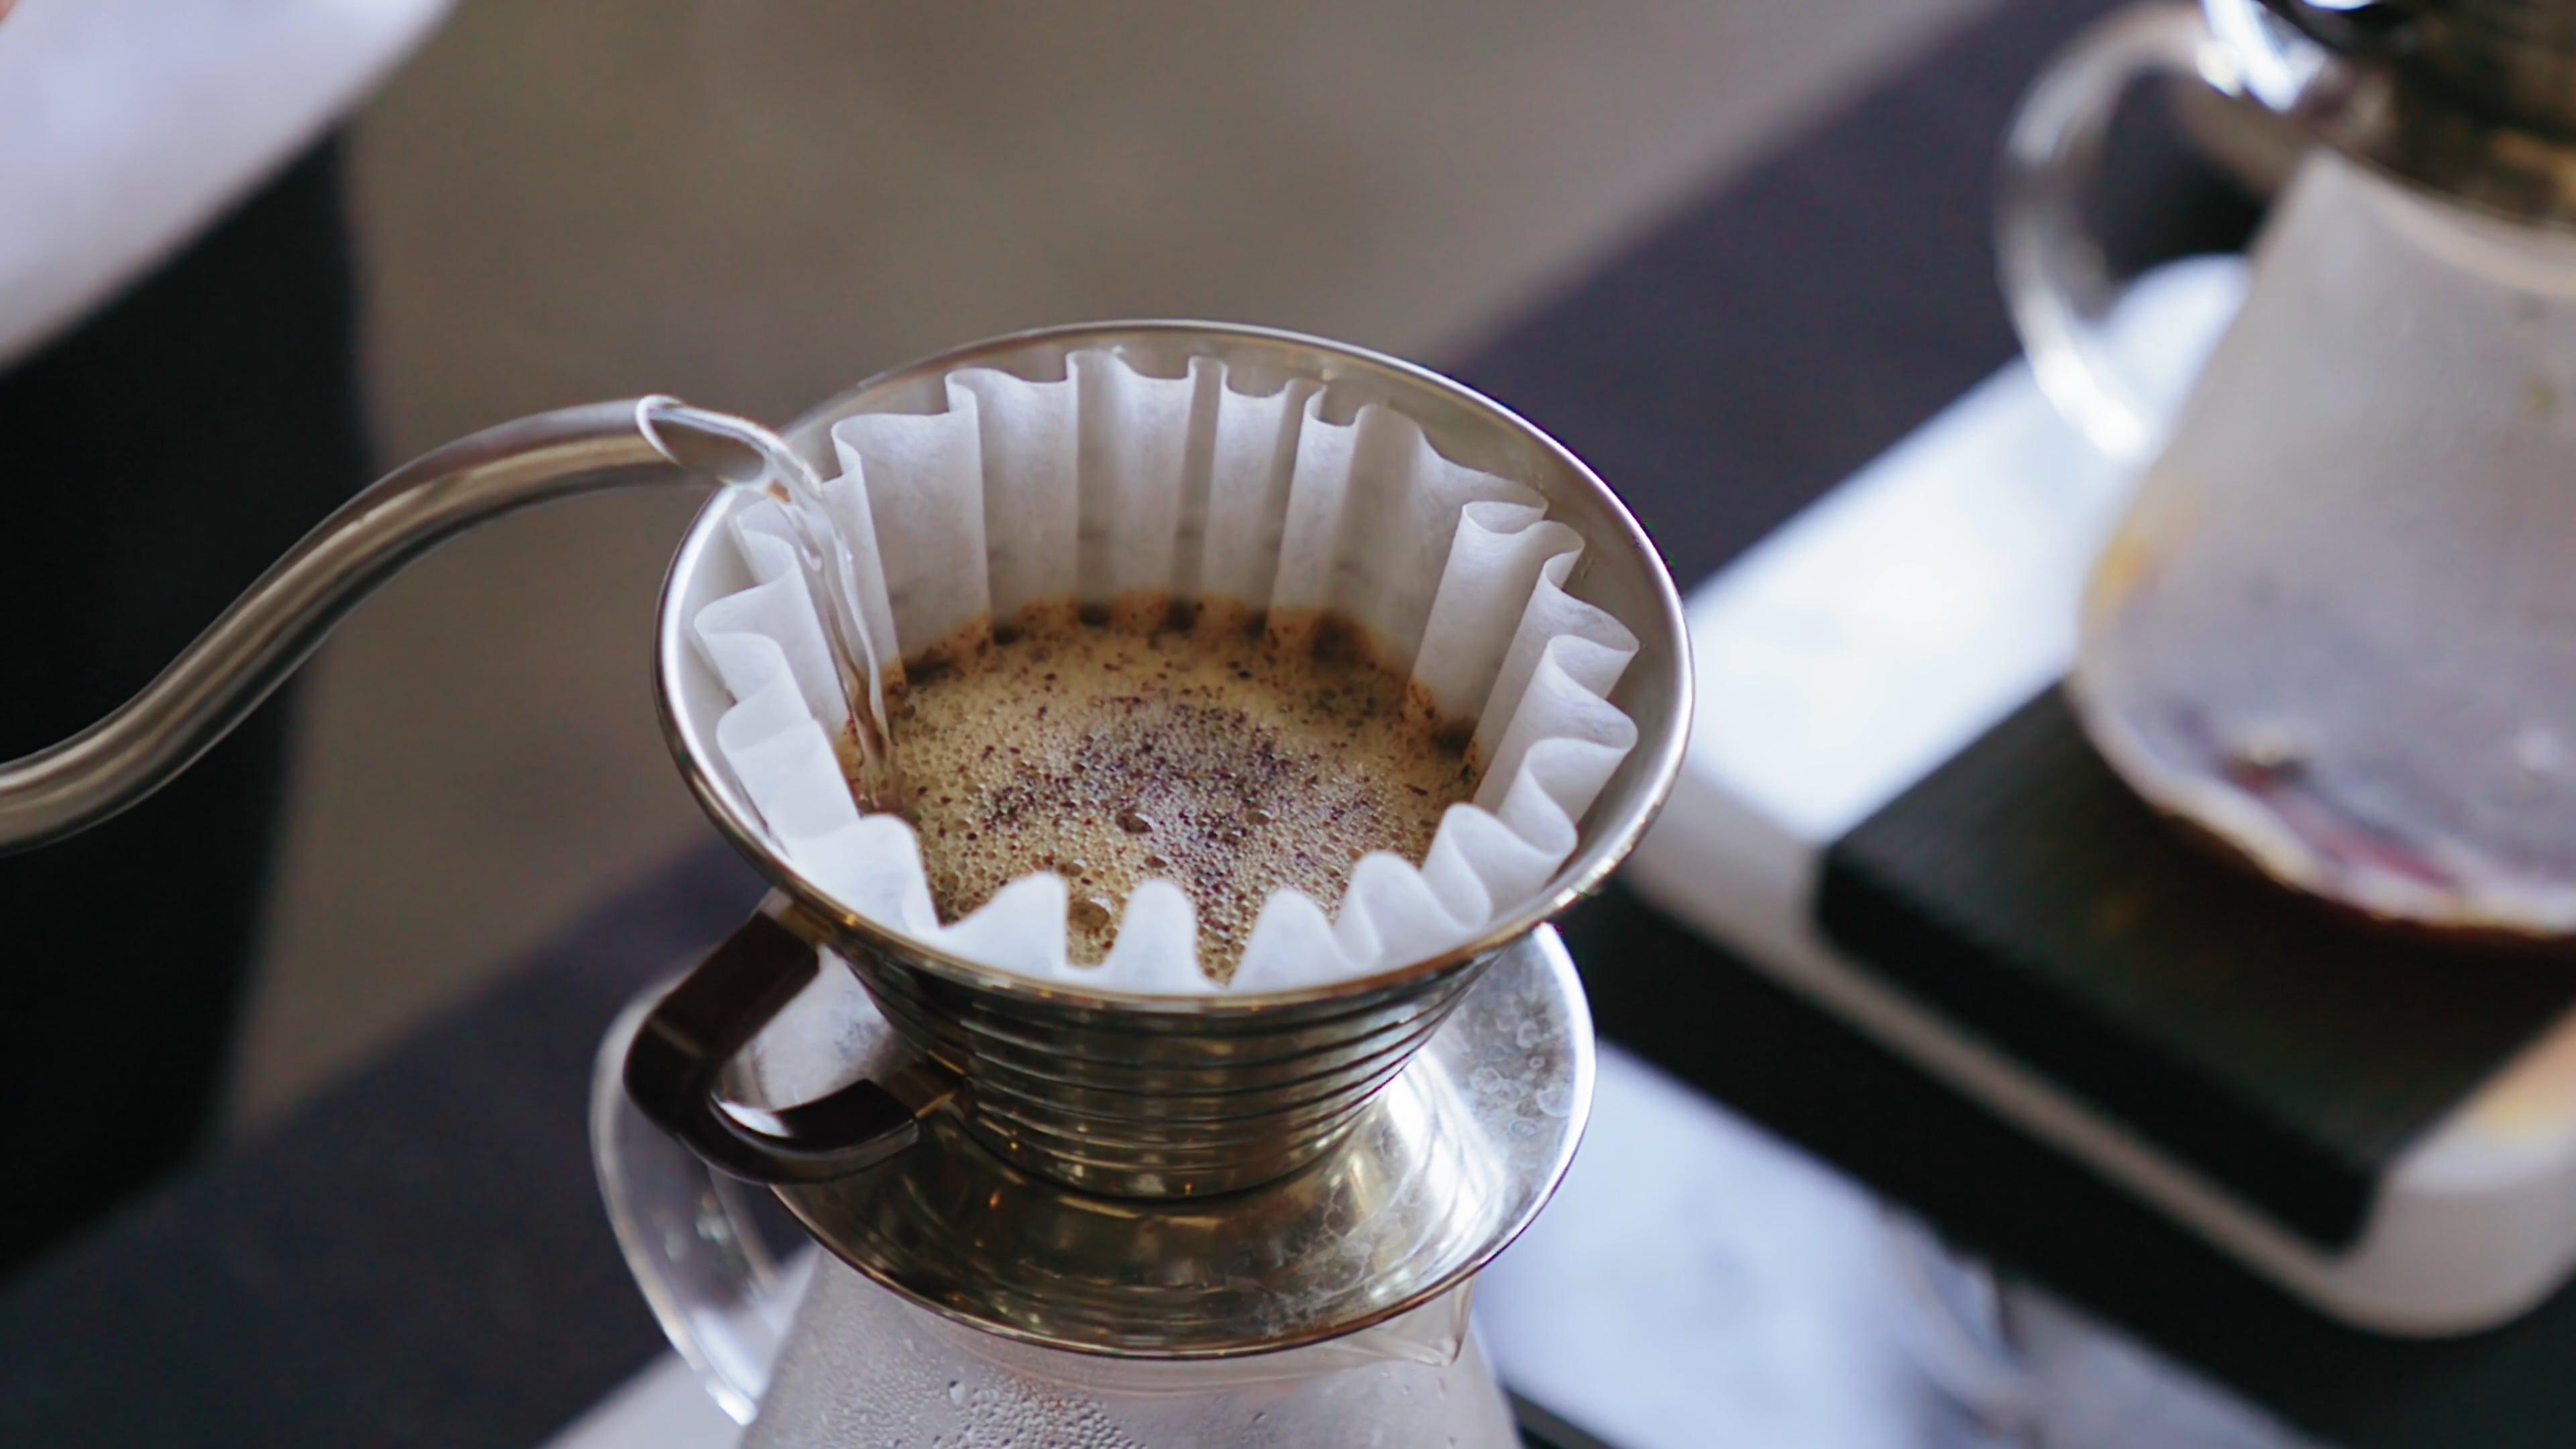
How Does the Soma Water Filter Work
Soma water filters work by using a combination of activated carbon and ion exchange technology to reduce impurities in your tap water. The activated carbon removes chlorine, odors, and bad tastes, while the ion exchange resin helps reduce heavy metals like mercury, cadmium, and copper. With its elegant design and sustainable materials, the Soma filter not only provides clean water but also adds a touch of style to your hydration routine.
How Do You Put a Brita Lid Back On
Putting a Brita lid back on is a breeze! If your Brita pitcher has a flip-top lid, align the lid with the pitcher opening and press it down until you hear a click. This indicates that the latch has securely locked the lid in place. For pitchers with a screw-on lid, simply twist the lid clockwise until it is snug and tightly sealed. Voila! The seal is formed, and your pitcher is ready to quench your thirst.
Can You Take Apart a Brita Pitcher
While it’s possible to disassemble some parts of a Brita pitcher for cleaning and maintenance purposes, caution is advised. Brita pitchers are not designed to be fully taken apart, and attempting to do so may damage the pitcher or affect its performance. It’s best to follow the manufacturer’s guidelines for cleaning and maintenance, which typically involve hand-washing the pitcher components, ensuring they’re thoroughly dried, and avoiding the use of harsh chemicals.
So, there you have it! We hope this FAQ-style guide has answered your burning questions about putting the lid on a Brita pitcher and more. With these insights, you’ll be on your way to savoring every refreshing sip from your Brita pitcher with confidence and convenience. Cheers to clean, tastier water and happy hydrating!
To ensure the longevity of your Brita pitcher and a delightful filtration experience, remember to consult the manufacturer’s instructions for specific recommendations and guidelines. This blog post is for informational purposes only and should not substitute for professional advice or expertise.