Welcome to our comprehensive guide on how to outline strokes in InDesign! If you’re a graphic designer or someone looking to enhance their design skills, understanding how to manipulate strokes in InDesign is essential. Whether you want to create a solid shape from a stroke or trace text or shapes, this blog post has got you covered. We’ll walk you through the step-by-step process of outlining strokes in InDesign, along with some helpful tips and tricks.
You might be wondering, what exactly is a stroke in InDesign? A stroke is a line or border that outlines an object, text, or shape. By outlining strokes, you can transform them into closed shapes, modify their appearance, and unleash your creativity. So, whether you want to convert a stroke to a shape, add a second stroke, or make text outlines thicker, we’ll cover it all.
So, get ready to dive into the world of stroke outlining in InDesign and take your design projects to the next level! Let’s get started!
How to Outline a Stroke in InDesign
So you’ve created a stunning design in Adobe InDesign, but something feels missing. Fear not! I’m here to show you how to outline that stroke and take your design from good to fabulous. Stick with me, and we’ll have you rocking those perfectly outlined strokes in no time!
Make Your Stroke Stand Out with Style
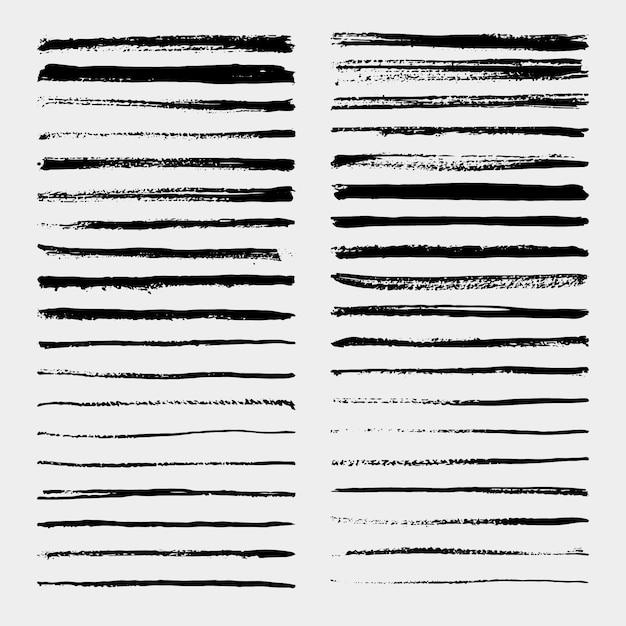
Let’s start by diving into the wonderful world of stroke styles in InDesign. Open up your Stroke panel (no need to be shy, it won’t bite), and you’ll see a whole array of stroke options just waiting to be explored.
Get Bold and Sassy with Your Stroke Weight
Bold is beautiful, my friend. To outline a stroke, first, select the object you want to transform into a work of art and then head over to the Stroke panel. Here, you can adjust the weight of your stroke to make it as thin as a pin or as thick as a milkshake. Go ahead, have some fun with it!
Lock ‘Em Down: Applying a Solid Stroke
Sometimes, subtlety is overrated. If you’re looking to make a statement, why not add a solid stroke to your design? It’s as easy as ordering your favorite pizza. Just make sure your object is selected, take a glance at the Stroke panel again, and choose the solid stroke option. Bam! Your stroke is officially locked and loaded.
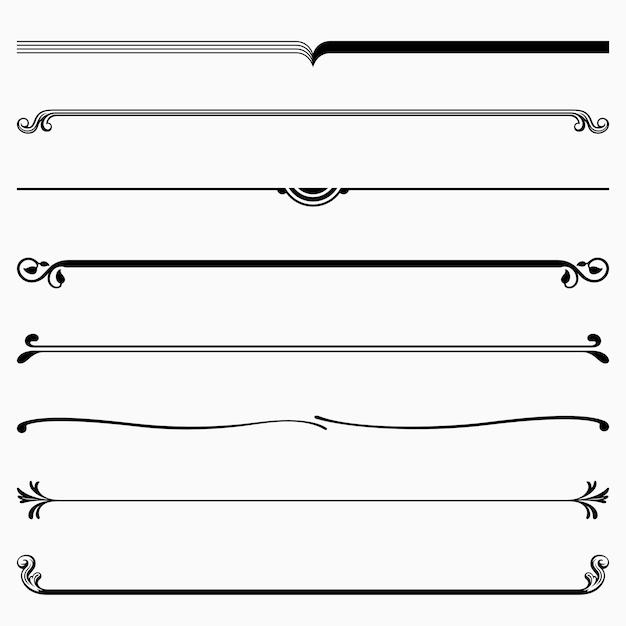
Jazz It Up: Dashing through the Strokes
If solid strokes leave you feeling a little too straight-laced, fear not, my adventurous friend. InDesign won’t let you down. Click on the “Stroke Type” dropdown menu in the Stroke panel, and you’ll be greeted by a plethora of dash options. From dotted to dashed, and even the elusive dash-dot-dash, your stroke is about to get a whole lot jazzy. Go on, don’t be shy, your strokes deserve to be seen in style!
In the Spotlight: The Stroke Corner and Cap
When it comes to outlines, it’s all about the details, darling. InDesign allows you to choose the appearance of stroke corners and end caps. Whether you’re feeling sharp and pointy or smooth and rounded, the Stroke panel has got you covered. So go ahead, experiment with different corner and cap styles until your stroke looks like it’s ready to walk the red carpet.
Exporting Your Outlined Strokes: Saving the Best for Last
Congratulations, you’ve successfully outlined your stroke and elevated your design game to a whole new level. But wait, there’s more! Don’t forget to export your masterpiece. You can choose from various file formats, such as PDF or JPEG, to showcase your work to the world. Oh, the sweet taste of victory!
There you have it, my stroke-outlining champion. With a stroke of your stylus and a little InDesign magic, you can turn any design into a stroke of genius. So go forth, conquer InDesign, and let your strokes outline the way to design domination in 2023 and beyond!
FAQ: How to Outline Stroke in InDesign
You have questions, and we have answers! Welcome to our comprehensive FAQ section where we’ll tackle all your queries on how to outline stroke in InDesign. So, let’s dive right in!
How do You Outline Text in InDesign
Outlining text in InDesign may sound like something you’d do to annoy your English teacher, but it’s actually quite useful. To outline text, follow these steps:
- Select the text you want to outline.
- Go to the “Type” menu and click on “Create Outlines.”
- Voila! Your text is now converted into a vector shape with editable paths.
How do You Trace a Shape in InDesign
Tracing shapes in InDesign is akin to being a modern-day Sherlock Holmes. To trace a shape, channel your inner detective and do the following:
- Select the shape you want to trace.
- Head over to the “Object” menu, choose “Path,” and then click on “Offset Path.”
- Adjust the settings to your liking, and click “OK.”
- Congratulations, you’ve successfully traced a shape in InDesign!
How do You Create an Outline in InDesign
Creating outlines in InDesign isn’t just reserved for experienced cartographers. Here’s how you can create outlines:
- Select the object or text frame that you want to outline.
- Navigate to the “Object” menu, choose “Path,” and then click on “Outline Path.”
- Boom! Your object is now outlined, ready to embark on its own independent journey.
What is Stroke in InDesign
Stroke in InDesign isn’t about delivering a killer punch or trying to be cooler than The Fonz. In design lingo, stroke refers to the appearance or outline of a path or shape. You can adjust the stroke’s weight, color, and style to give your design that extra pizzazz.
Is There an Outline Mode in InDesign
Yes, my friend! InDesign has an outline mode, a nifty feature built to blow your creative socks off. To enter outline mode, simply press Ctrl + Y (Windows) or Cmd + Y (Mac). Suddenly, your elaborate layout is stripped down to bare-bones paths and shapes. It’s like seeing the world in grayscale, but for typography enthusiasts.
How do You Outline a Stroke in Illustrator
Aha! I see you’re looking for Illustrator solutions. Have no fear, we’ve got you covered. To outline a stroke in Illustrator, execute the following covert operation:
- Select the object with the stroke you wish to outline.
- Go to the “Object” menu, hover over “Path,” and click on “Outline Stroke.”
- Presto! Your stroke is now an independent shape.
How do You Outline Text on InDesign
Outlining text is like giving your words a superhero cape. To outline text in InDesign, unveil your inner typography hero and perform these fearless actions:
- Select the text that needs outlining.
- In the “Type” menu, click on “Create Outlines.”
- Voilà! Your text is now transformed into a stunning outline, ready to save the world (or at least your design).
How do You Convert an Outline to an Object in Illustrator
Converting an outline to an object in Illustrator is like turning a caterpillar into a magnificent butterfly. Here’s how you perform this remarkable metamorphosis:
- Select the outlined shape or text.
- In the “Object” menu, navigate to “Path” and click on “Outline Stroke.”
- Marvel at the magic as your outline becomes a full-fledged vector object.
How do I Add a Second Stroke in InDesign
Just like you can’t resist adding extra whipped cream to your coffee, you may want to spruce up your design with a second stroke. Here’s how you do it in InDesign:
- Select the object or text frame.
- Open the “Stroke” panel by going to the “Window” menu, selecting “Stroke,” and brace yourself for stroke-tastic adventure!
- Click on the little plus icon (+) at the bottom of the panel to add a second stroke.
- Customize the stroke to your heart’s desire using the available options.
- Enjoy the stroke of genius you’ve created!
How do I Change a Stroke to an Object in InDesign
Sometimes, a stroke longs for more in life and dreams of becoming a fully-fledged object. Give that stroke the chance it deserves with these steps:
- Select the object with the stroke you want to convert.
- Visit the “Object” menu, hover over “Path,” and click on “Outline Path.”
- The stroke will burst out of its confines and become a magnificent independent shape. Huzzah!
Can You Offset Path in InDesign
If you want to give your design a little twist and turn, offsetting a path in InDesign is the answer. Here’s what you need to do:
- Select the desired path or shape.
- Go to the “Object” menu, choose “Path,” and click on “Offset Path.”
- Adjust the offset values and watch as your path takes a mesmerizing detour.
How do You Make a Stroke into a Shape
Turning a stroke into a shape is like witnessing a caterpillar transform into a butterfly. To perform this enchanting feat, follow these steps:
- Select the object or text with the stroke.
- Visit the “Object” menu, hover over “Path,” and click on “Outline Stroke.”
- Behold! Your stroke has emerged as a full-fledged shape, ready to soar through the design world.
What is a Stroke Outline
A stroke outline is like the fine edge that completes a masterpiece. It refers to the visible line that surrounds a path or shape in InDesign. By adjusting its properties, such as color, weight, and style, you can elevate your design from ordinary to extraordinary.
How do You Make the Outline of Text Thicker in InDesign
Some say that thicker is always better, and that might just be true for text outlines too. If you’re looking to beef up those outlines in InDesign, follow these meaty steps:
- Select the outlined text.
- In the “Window” menu, click on “Stroke” to open the Stroke panel.
- Increase the stroke weight to your desired thickness.
- Bam! Your text outlines are now on the juicy side of thickness.
Do You Need to Outline Text in InDesign
While outlining text may seem like a wizard’s trick, it’s not always a necessary spell to cast. Outlining text is primarily done for two reasons: to convert it into a vector shape or to ensure the correct display of custom fonts. So, depending on your design’s requirements and your magical preferences, outlining text may or may not be needed.
How do You Turn a Shape into a Frame in InDesign
Turning a shape into a frame in InDesign is like giving a tadpole a little nudge to become a frog. To perform this transformation, here’s what you need to do:
- Select the shape you want to turn into a frame.
- Right-click (or Ctrl + click) on the shape and choose “Convert Shape to Frame.”
- The shape will morph into a frame, ready to hold all your fantastic content. Ribbit!
How do You Flatten an InDesign File
Flattening an InDesign file is like pressing the command for ultimate design smoothness. To flatten your file, follow these steps:
- Open your InDesign document.
- Go to the “File” menu, choose “Export,” and select “Adobe PDF.”
- In the PDF settings, choose “High Quality Print” or a similar preset.
- Ensure that the “Output” section has the “Color” option set to “Convert to Destination” and select your desired color profile.
- Finally, click on “Export” to create a flattened PDF version of your InDesign file.
Where is Stroke in InDesign
Stroke in InDesign can be as elusive as the Holy Grail, but fear not, for we shall guide you to its secret location. To find the mystical stroke options, simply follow these steps:
- Open your InDesign document.
- Locate the “Window” menu and hover over “Stroke.”
- Click on “Stroke” to reveal the hidden treasure trove of stroke settings.
- Brace yourself for a stroke of design brilliance!
How do You Create an Outline on Every Page in InDesign
If you want to extend your design prowess across every page, creating an outline on every page is what you seek. Here’s the magical recipe:
- Open your InDesign document.
- Select the object or text frame you want to outline.
- Press Ctrl + Shift + Option + O (Windows) or Cmd + Shift + Option + O (Mac).
- Abracadabra! Your selected object or text frame is now outlined on every page, spreading joy and design magic throughout your document!
And that’s a wrap on our FAQ section on how to outline stroke in InDesign. Feel free to bookmark this page for future reference, or even share it with your fellow design wizards. Until next time, keep outlining and creating awe-inspiring designs!