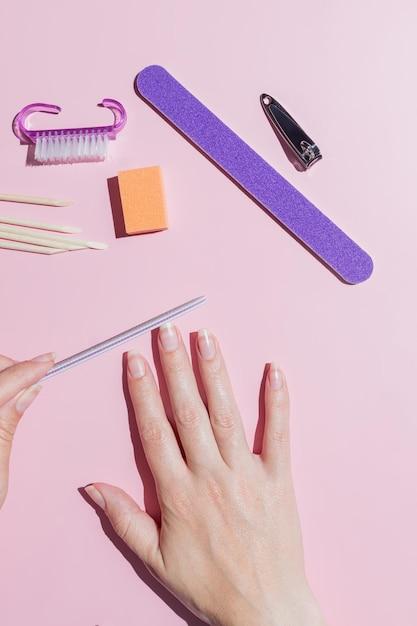
Are you in need of a nail file but don’t have one at hand? Worry not! In this helpful guide, we’ll show you how to make your very own DIY nail file, using simple household items. Whether you’ve run out of nail supplies or prefer a more eco-friendly approach, making your own nail file is not only cost-effective but also allows you to customize it to your liking.
In this blog post, we’ll address common questions like, “Can you make your own sandpaper?” and “What can I substitute for sandpaper?”. We’ll also explore the differences between sandpaper and emery paper, along with safe alternatives for natural nail care. Additionally, we’ll delve into the world of metal and glass nail files, and share tips on achieving smooth and shapely nails. So, let’s get started and discover the art of DIY nail filing!
How to Create Your Own DIY Nail File
Have you ever found yourself in a nail emergency with no nail file in sight? Don’t panic! With a few simple household items and a touch of creativity, you can whip up your very own DIY nail file. Here’s a step-by-step guide to help you out:
Gather Your Materials
Before diving into the world of DIY nail files, let’s gather the necessary materials. Here’s what you’ll need:
- Emery Board: This is the foundation of your DIY nail file. Look for a small, medium-grit emery board that suits your nail size and shape.
- Cardboard: Find some sturdy cardboard that can be easily cut into a small rectangular piece.
- Glue: Get your hands on some glue that can bond the emery board to the cardboard securely.
- Decorative Tape: This is purely optional, but a fun patterned or colorful tape can add a touch of personality to your DIY creation.
Assembling Your DIY Nail File
Now that you have everything you need, let the creativity flow and start constructing your very own nail file:
Step 1: Cut and Shape the Cardboard
Using a pair of scissors, carefully cut the cardboard into a rectangular shape that is slightly larger than your emery board. This will serve as the base for your DIY nail file.
Step 2: Glue the Emery Board
Apply a thin layer of glue onto one side of the cardboard. Press the emery board firmly onto the glued surface, ensuring it is centered and aligned.
Step 3: Add a Personal Touch
If you’re feeling extra fancy, grab that decorative tape and wrap it around the edges of the cardboard. This will not only make your DIY nail file visually appealing but also give it some added durability.
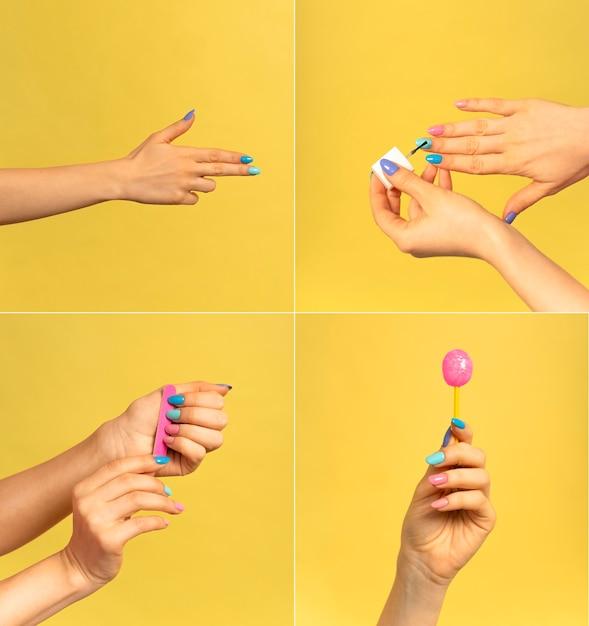
Using Your DIY Nail File
Now that your DIY nail file is complete, it’s time to put it to good use:
- Prepping Your Nails: Before filing, make sure your nails are clean and dry. This will help prevent any damage or splitting.
- File in One Direction: To achieve smooth, even nails, file in one direction rather than going back and forth. This will minimize any roughness or jagged edges.
- Be Gentle: Remember to apply gentle pressure when filing your nails. Being too forceful can weaken the nail and cause breakage.
Voila! You’re now the proud owner of a DIY nail file that can save the day in those unexpected nail emergencies. Plus, you get to add a personal touch to your beauty routine. So, wave goodbye to nail catastrophes and hello to happy, well-groomed nails!
FAQ: How to Make a DIY Nail File
Can You Make Your Own Sandpaper
Yes, you can! If you find yourself in a pinch without any sandpaper, fear not. You can actually make your own DIY sandpaper at home. All you need is some regular paper and a little bit of elbow grease. Simply take a sheet of paper and sprinkle some fine-grit sand onto it. Voila! You’ve got yourself homemade sandpaper ready to tackle those unruly nails.
How Do You Make a Nail File at Home Without Sandpaper
If you don’t have sandpaper lying around the house, don’t fret! There are alternative options to make your own nail file. One option is to use a good ol’ matchbox. The striking surface on the box can act as a makeshift file. Just gently rub your nails against it until they’re nice and smooth.
What Can I Substitute for Sandpaper
If you’re fresh out of sandpaper, there are a variety of household items you can use as substitutes. One popular choice is using an emery board. Emery boards are made with fine-grit sandpaper and are often used to shape and smooth nails. Another option is using a pumice stone, which works wonders for buffing away rough edges.
Is Emery Paper the Same as Sandpaper
Emery paper and sandpaper are similar in function but differ in composition. Emery paper is made with abrasive particles bonded to a paper backing, while sandpaper uses a variety of abrasive materials, such as aluminum oxide or silicon carbide, on a similar backing. Both are effective for filing nails, so feel free to use whichever you have on hand.
What Can I Use Instead of Emery Cloth
If you don’t have emery cloth on hand, fret not! There are alternative options that can work just as well. One option is using a fine-grit nail file. These can be found at most beauty supply stores and are perfect for shaping and smoothing natural nails. Another option is a glass nail file, which provides a gentler filing experience and can last longer than traditional files.
How Do You Get Smooth Nails
Achieving smooth nails doesn’t have to be a daunting task. Start by filing your nails in one direction, moving from the edges towards the center. This helps prevent nail splitting and ensures a smoother finish. After filing, gently buff the surface of your nails with a buffing block or a soft nail buffer to give them a polished, smooth appearance.
Which Abrasives Are Safe to Use on Natural Nails
When it comes to filing natural nails, it’s important to choose abrasives that are gentle yet effective. Emery boards, glass nail files, and fine-grit sandpaper are all safe options that won’t cause excessive damage or weakening to your natural nails. Remember to file in one direction and avoid excessive pressure to minimize potential harm.
What Can I Use If I Don’t Have a Nail File
If you find yourself without a nail file, fear not! There are plenty of household items that can come to the rescue. You can use a clean, unused matchbook striking surface, a rough surface of a ceramic mug, or even the rough edge of a piece of unglazed pottery. Just be sure to file in one direction to avoid any damage to your nails.
What Sandpaper Grit Are Nail Files
Nail files typically come in a variety of grit options, ranging from coarse to fine. For regular nail filing, a medium grit of around 180 to 240 is usually sufficient. If you have softer nails, you might want to opt for a finer grit of around 240 to 400 for a smoother finish. Experiment with different grits to find the one that suits your nail type and desired result.
How Do You Make a Nail File
Making a nail file is a breeze! Start by cutting a small piece of sandpaper or emery cloth to your preferred size. Then, attach it to a small wood block, a popsicle stick, or even the end of a clothespin using strong adhesive or double-sided tape. Voila! You’ve just created your very own DIY nail file.
Can You Use Sandpaper as a Nail File
Absolutely! In fact, sandpaper can be a handy alternative if you don’t have an actual nail file on hand. Just grab a small piece of sandpaper, fold it, and use it to shape and smooth your nails. Just be sure to choose a sandpaper with a fine grit to avoid being too abrasive on your delicate nails.
How Do You Smooth Your Nails
Smoothing your nails is a simple process that can be done with a few easy steps. Start by filing your nails in one direction, using gentle strokes to shape them to your desired length and style. Next, use a buffing block or a soft nail buffer to gently glide over the surface of your nails in a back-and-forth motion. This will help smooth out any ridges and give your nails a polished appearance.
What Are Metal Nail Files Made Of
Metal nail files are typically made of stainless steel or tempered glass. Stainless steel files are durable and have a grit etched onto their surface to provide effective nail filing. Glass files, on the other hand, have a finely abrasive surface that helps prevent the nails from chipping or peeling. Both options are great choices for long-lasting nail files.
How Are Glass Nail Files Made
Glass nail files are made using a specialized manufacturing process. The glass is first shaped into the desired file shape, whether it be a rectangular or pointed design. Then, the surface of the glass is chemically treated to create a fine-grit abrasive surface. Finally, the edges are smoothed to ensure a safe and comfortable filing experience.
Is It Better to File or Cut Your Nails
When it comes to nail care, filing is generally considered a better option than cutting. Filing allows you to shape your nails with greater precision and control, reducing the risk of accidentally cutting too short or causing damage. Additionally, filing helps prevent the nails from splintering or snagging, resulting in healthier and smoother nails overall.
What Can I File My Nails With
There are various options available for filing your nails, depending on your preference and needs. Some popular choices include emery boards, glass nail files, metal nail files, and even sandpaper. Each option has its own unique benefits, so feel free to experiment and find the one that suits your nail care routine and personal style.
How Do I Make My Nail File Rough Again
Over time, nail files can lose their roughness and become less effective. But don’t worry, there’s a simple trick to revive that roughness. Take a pencil eraser and gently rub it along the surface of the nail file. This will help remove any buildup or residue and make the file rough again, giving it a new lease on life.
Now that you have all the answers to your DIY nail file questions, it’s time to get those nails in tip-top shape. Whether you choose sandpaper, emery cloth, or a trusty emery board, you can now file away with confidence. Remember, a little bit of filing can go a long way when it comes to achieving fabulous nails. Happy filing, and may your nails always be on point!