Are you a coffee lover who dreams of creating beautiful latte art right in the comfort of your own home? Look no further than the Nespresso Aeroccino! In this blog post, we will delve into the world of latte art and explore how you can achieve picture-perfect designs using the Nespresso Aeroccino milk frother.
From understanding the basics of frothing milk to exploring the different milk options for latte art, we will cover it all. We will also address common questions such as whether the Nespresso Aeroccino is capable of producing latte art, the differences between the Aeroccino 3 and 4, and how to heat milk using the Aeroccino.
So, grab your favorite Nespresso machine, and let’s dive into the art of creating stunning latte designs with the Nespresso Aeroccino!
How to Master the Art of Latte with the Nespresso Aeroccino
Want to take your morning caffeine routine to the next level? Look no further than the Nespresso Aeroccino, a magical device that can transform your ordinary cup of joe into a work of art. With a bit of practice and a touch of creativity, you’ll be a latte artist extraordinaire. In this guide, we’ll show you how to make latte art with the Nespresso Aeroccino and impress your friends and Instagram followers. Let’s dive in!
Choosing the Right Milk
The key to creating stunning latte art starts with choosing the right milk. Whole milk is ideal for beginners, as it has a higher fat content that lends itself to better foam. If you prefer a lighter option, go for low-fat or non-dairy alternatives like almond or oat milk. Just keep in mind that they may produce slightly different results.
Frothing Like a Pro
Now that you have your milk of choice, it’s time to master the art of frothing. Fill the Aeroccino with your desired amount of milk, but be sure not to exceed the maximum level indicated. Place the lid back on and press the button. The Aeroccino will work its magic, heating and frothing the milk to perfection.
Once the frothing is complete, give the Aeroccino a little tap on the counter to release any trapped air bubbles. This step ensures a smooth canvas for your latte art masterpiece.
Picking the Right Cup
While the Nespresso Aeroccino takes care of the creamy canvas, your choice of cup is equally important. Opt for a rounded, wide-mouthed cup to give your design ample room to shine. Remember, latte art is all about presentation, and a good canvas can make all the difference.
The Pouring Technique
Now comes the fun part—pouring your milk to create those intricate designs. Hold your cup at a slight angle and start pouring the milk into the espresso slowly. As the cup fills, gradually raise it to bring the milk closer to the surface. This technique allows for better control and helps prevent unwanted splatters.
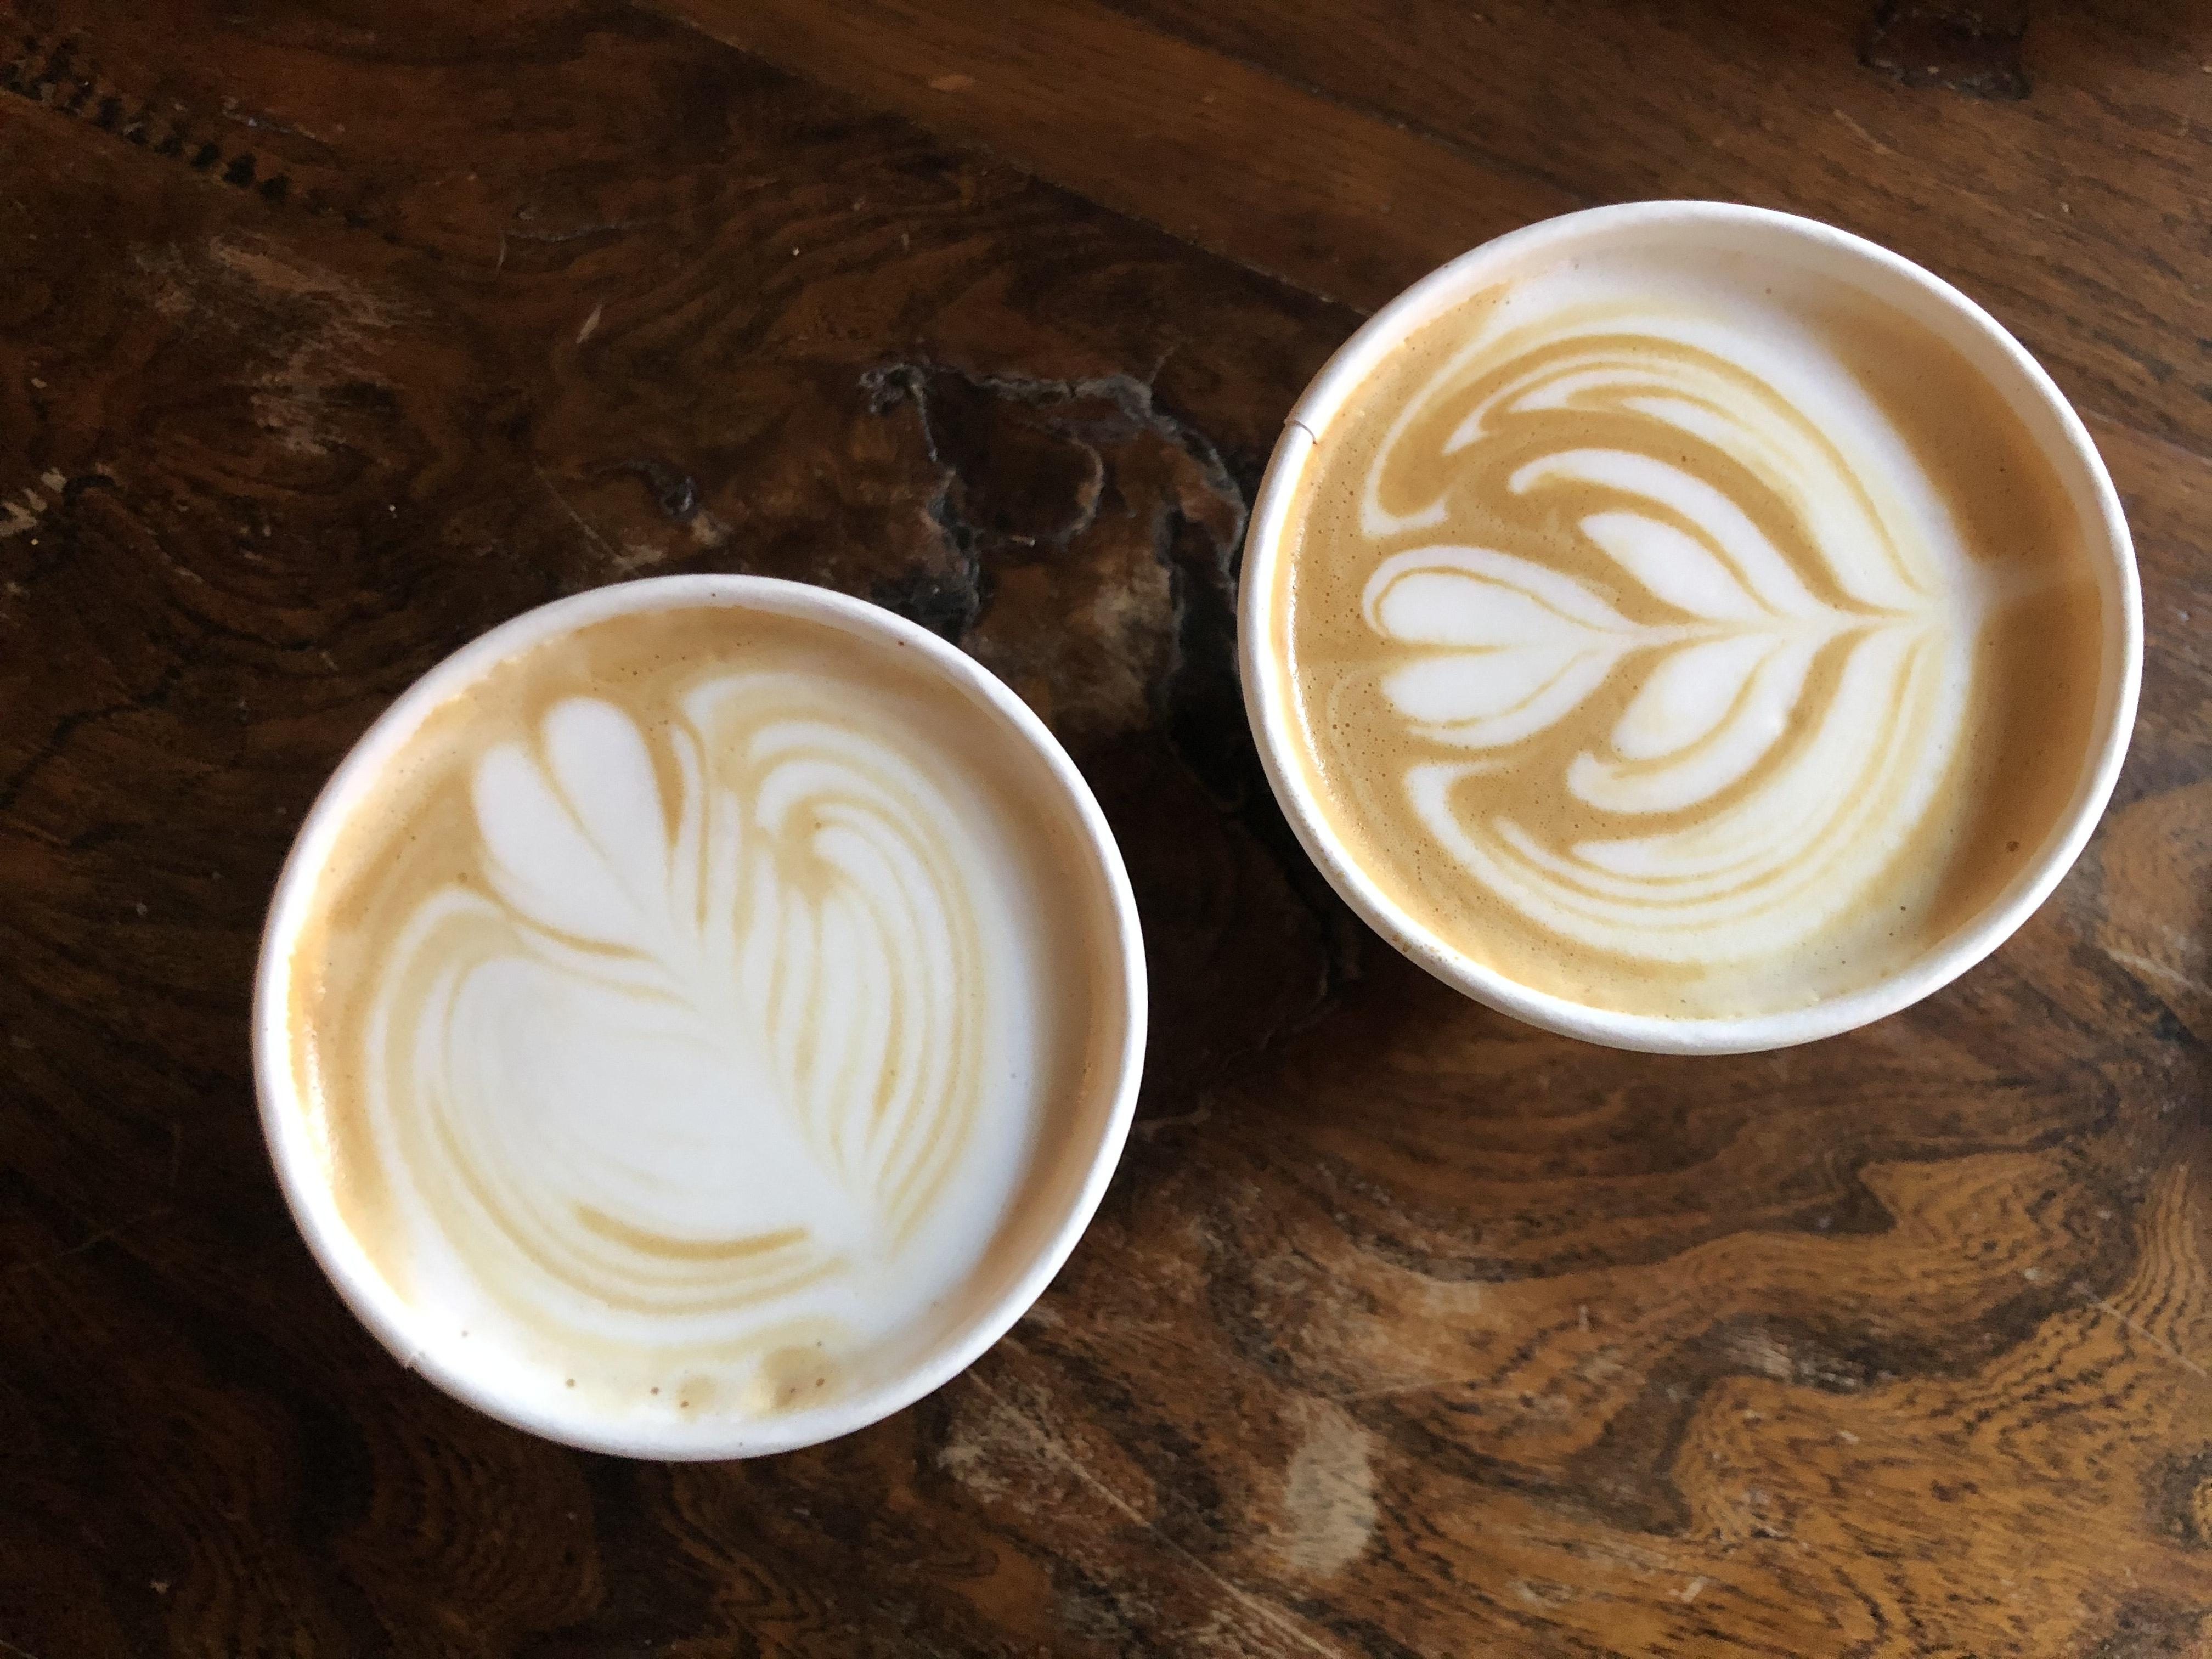
Getting Artsy with Designs
Once you’ve nailed the fundamentals of pouring, it’s time to unleash your inner artist. Start with simple designs like hearts or tulips. As you gain confidence, challenge yourself with more intricate patterns like rosettas or even freehand designs. The possibilities are endless!
The Magic of Etching
If you’re feeling particularly artistic, take your latte art to the next level with etching. Using a toothpick or a fine-tipped tool, gently drag it through the milk foam to create intricate details or add some personal flair. This finishing touch can turn an impressive creation into a true masterpiece.
Capturing Your Creations
Don’t forget to document your latte art creations for the world to marvel at. Snap a quick photo to share on social media and let your friends bask in the glory of your newfound talent. Who knows, you might even become the next latte art sensation!
With the Nespresso Aeroccino by your side, making latte art is both accessible and enjoyable. Remember, practice makes perfect, so don’t be discouraged if your first attempts aren’t museum-worthy. Embrace the process, experiment with different techniques, and soon you’ll be creating latte art masterpieces like a seasoned barista. So, get your creativity brewing and start impressing the world, one cup of latte at a time!

Frequently Asked Questions About Making Latte Art With Nespresso Aeroccino
Can You Use Frothed Milk for Latte Art
Yes, absolutely! Frothed milk is the key to creating beautiful latte art designs. With the Nespresso Aeroccino, you can easily froth milk to create a silky and creamy texture perfect for latte art masterpieces.
Why Is My Nespresso Aeroccino Not Frothing
If you’re experiencing trouble with your Nespresso Aeroccino not frothing, don’t fret! It could be due to a few reasons. First, make sure you’re using fresh and cold milk. Room temperature or warm milk won’t froth as well. Additionally, check that the frother whisk attachment is clean and free from residue. If the problem persists, try adjusting the milk level and experimenting with different milk brands.
Are There Milk Pods for Nespresso
While Nespresso is known for its coffee pods, unfortunately, there are no milk pods specifically designed for the Nespresso machines. However, fear not! The Nespresso Aeroccino allows you to froth milk separately, giving you the freedom to customize your coffee creations.
How Do You Make a Cappuccino with a Nespresso Aeroccino 4
Creating a luscious cappuccino with the Nespresso Aeroccino 4 is a breeze. Start by brewing a shot of espresso using your Nespresso machine. Then, froth milk with the Aeroccino until you achieve a thick and velvety foam. Pour the frothed milk over the espresso shot, focusing on creating a balanced distribution. Voila! You now have a delectable cappuccino ready to be enjoyed.
Does the Nespresso Aeroccino Heat the Milk
Absolutely! The Nespresso Aeroccino not only froths milk but also heats it simultaneously. Say goodbye to lukewarm or cold milk in your coffee. The Aeroccino ensures that your milk is heated to the perfect temperature, giving your latte art the ideal canvas.
How Do You Froth Milk for Latte Art with a Milk Frother
Creating frothed milk with a milk frother like the Nespresso Aeroccino is a straightforward process. Fill the Aeroccino with cold milk up to the appropriate level for your desired amount of froth. Attach the whisk, close the lid, and select the desired froth setting. Press start, and let the Aeroccino work its magic. In no time, you’ll have wonderfully frothed milk ready to be used for your latte art adventures.
What Kind of Milk Do You Use for Latte Art
When it comes to creating latte art, the choice of milk plays an important role. Whole milk tends to produce the best results due to its higher fat content, resulting in a creamier texture. However, feel free to experiment with different milk varieties like 2% or non-dairy alternatives such as almond or oat milk. Each type of milk will yield slightly different results, so have fun and find your perfect match!
Can You Make Latte Art with Nespresso Aeroccino
Absolutely! The Nespresso Aeroccino is a versatile milk frother that allows you to achieve the ideal texture for latte art. Whether you’re a beginner or a seasoned latte artist, you’ll find that the Aeroccino provides the perfect canvas for your creative designs.
What Is the Difference Between Aeroccino 3 and 4
The main difference between the Aeroccino 3 and Aeroccino 4 lies in their functionality. The Aeroccino 4 features a more advanced design with additional settings, allowing you to froth or heat milk to your preferred level of perfection. It also has a sleek and modern appearance that will impress both coffee enthusiasts and design aficionados.
How Do You Make a Latte Art Stencil
Creating a latte art stencil is a fun way to add intricate designs to your coffee creations. To make a stencil, you will need a thin, food-safe material like cardstock or acetate. Using a sharp craft knife or scissors, carefully cut out your desired design. Place the stencil over your cup of coffee and gently dust cocoa powder or cinnamon onto the surface. Lift the stencil, and your beautiful design will be revealed!
What Is an Aeroccino Milk Frother
The Aeroccino milk frother is a handy device that allows you to easily froth and heat milk for your coffee creations. Whether you’re making a simple latte or a complex latte art masterpiece, the Aeroccino simplifies the frothing process, giving you barista-quality results at home.
Why Does Aeroccino Blink Red
If you notice your Aeroccino blinking red, it’s trying to communicate with you! The blinking red light usually indicates that there’s an issue with the temperature sensor. This could be due to the milk being too warm or the sensor needing a quick clean. In most cases, a thorough cleaning and ensuring the milk is fresh and cold should resolve the issue. If the problem persists, reach out to Nespresso customer support for further assistance.
Does Cappuccino Have Latte Art
Yes, cappuccinos often have latte art! Cappuccinos traditionally consist of equal parts espresso, steamed milk, and frothed milk. The velvety frothed milk poured over the espresso provides the perfect canvas for baristas to showcase their latte art skills. So, the next time you order a cappuccino, keep an eye out for a delightful design gracing the surface of your cup.
What’s the Difference Between Latte and Cappuccino
The main difference between a latte and a cappuccino lies in the milk-to-espresso ratio and the texture of the milk. A latte typically contains more steamed milk and less foam, resulting in a smoother and creamier texture. On the other hand, a cappuccino has equal parts espresso, steamed milk, and frothed milk, resulting in a balanced and bolder flavor profile with a drier foam texture.
What Milk Is Best for Frothing
When it comes to frothing milk, whole milk is often considered the best option. Its higher fat content helps create a rich and creamy foam. However, if you prefer a lighter alternative, 2% milk also works well. For non-dairy options, oat and almond milk can produce satisfactory results. Experiment with different types of milk and find the one that suits your taste and dietary preferences best.
How Do You Heat Milk in Aeroccino 3
Using the Aeroccino 3 to heat milk is a simple process. Fill the Aeroccino with cold milk up to the appropriate level for heating. Attach the whisk, close the lid, and press the button once to start the heating function. The Aeroccino will automatically heat the milk to the ideal temperature, ensuring a warm and inviting beverage.
How Long Do You Froth Milk for a Latte
The ideal froth time for milk when making a latte varies depending on personal preference and the type of frother you’re using. As a general guideline, aim to froth the milk for around 30 to 60 seconds. This duration allows the milk to reach a smooth and velvety consistency without overheating or losing its natural sweetness. Adjust the froth time to achieve your desired texture.
Can You Put Heavy Cream in Aeroccino
While the Aeroccino is primarily designed for frothing and heating milk, it can provide satisfactory results with heavy cream as well. The result will be a rich and decadent foam, perfect for indulgent drinks like a creamy latte or hot chocolate. However, be mindful that heavy cream has a higher fat content than regular milk, so it may require additional attention to prevent overheating.
Is the Nespresso Barista Worth It
The Nespresso Barista, a versatile milk frother and coffee machine accessory, is certainly worth considering if you’re serious about expanding your coffee repertoire. With the Barista, you can experiment with a wide range of coffee-based recipes, from elaborate latte art to unique cold brew creations. Its intuitive interface and precise control over milk texture and temperature make it a valuable tool for aspiring home baristas. If you’re passionate about coffee and love experimenting with different flavors, the Nespresso Barista is a top-notch investment.
And there you have it, folks! A comprehensive FAQ on making latte art with the Nespresso Aeroccino. Now go forth, unleash your creativity, and create latte art masterpieces that will make your friends green with envy. Cheers to a rich, creamy, and visually stunning coffee experience!