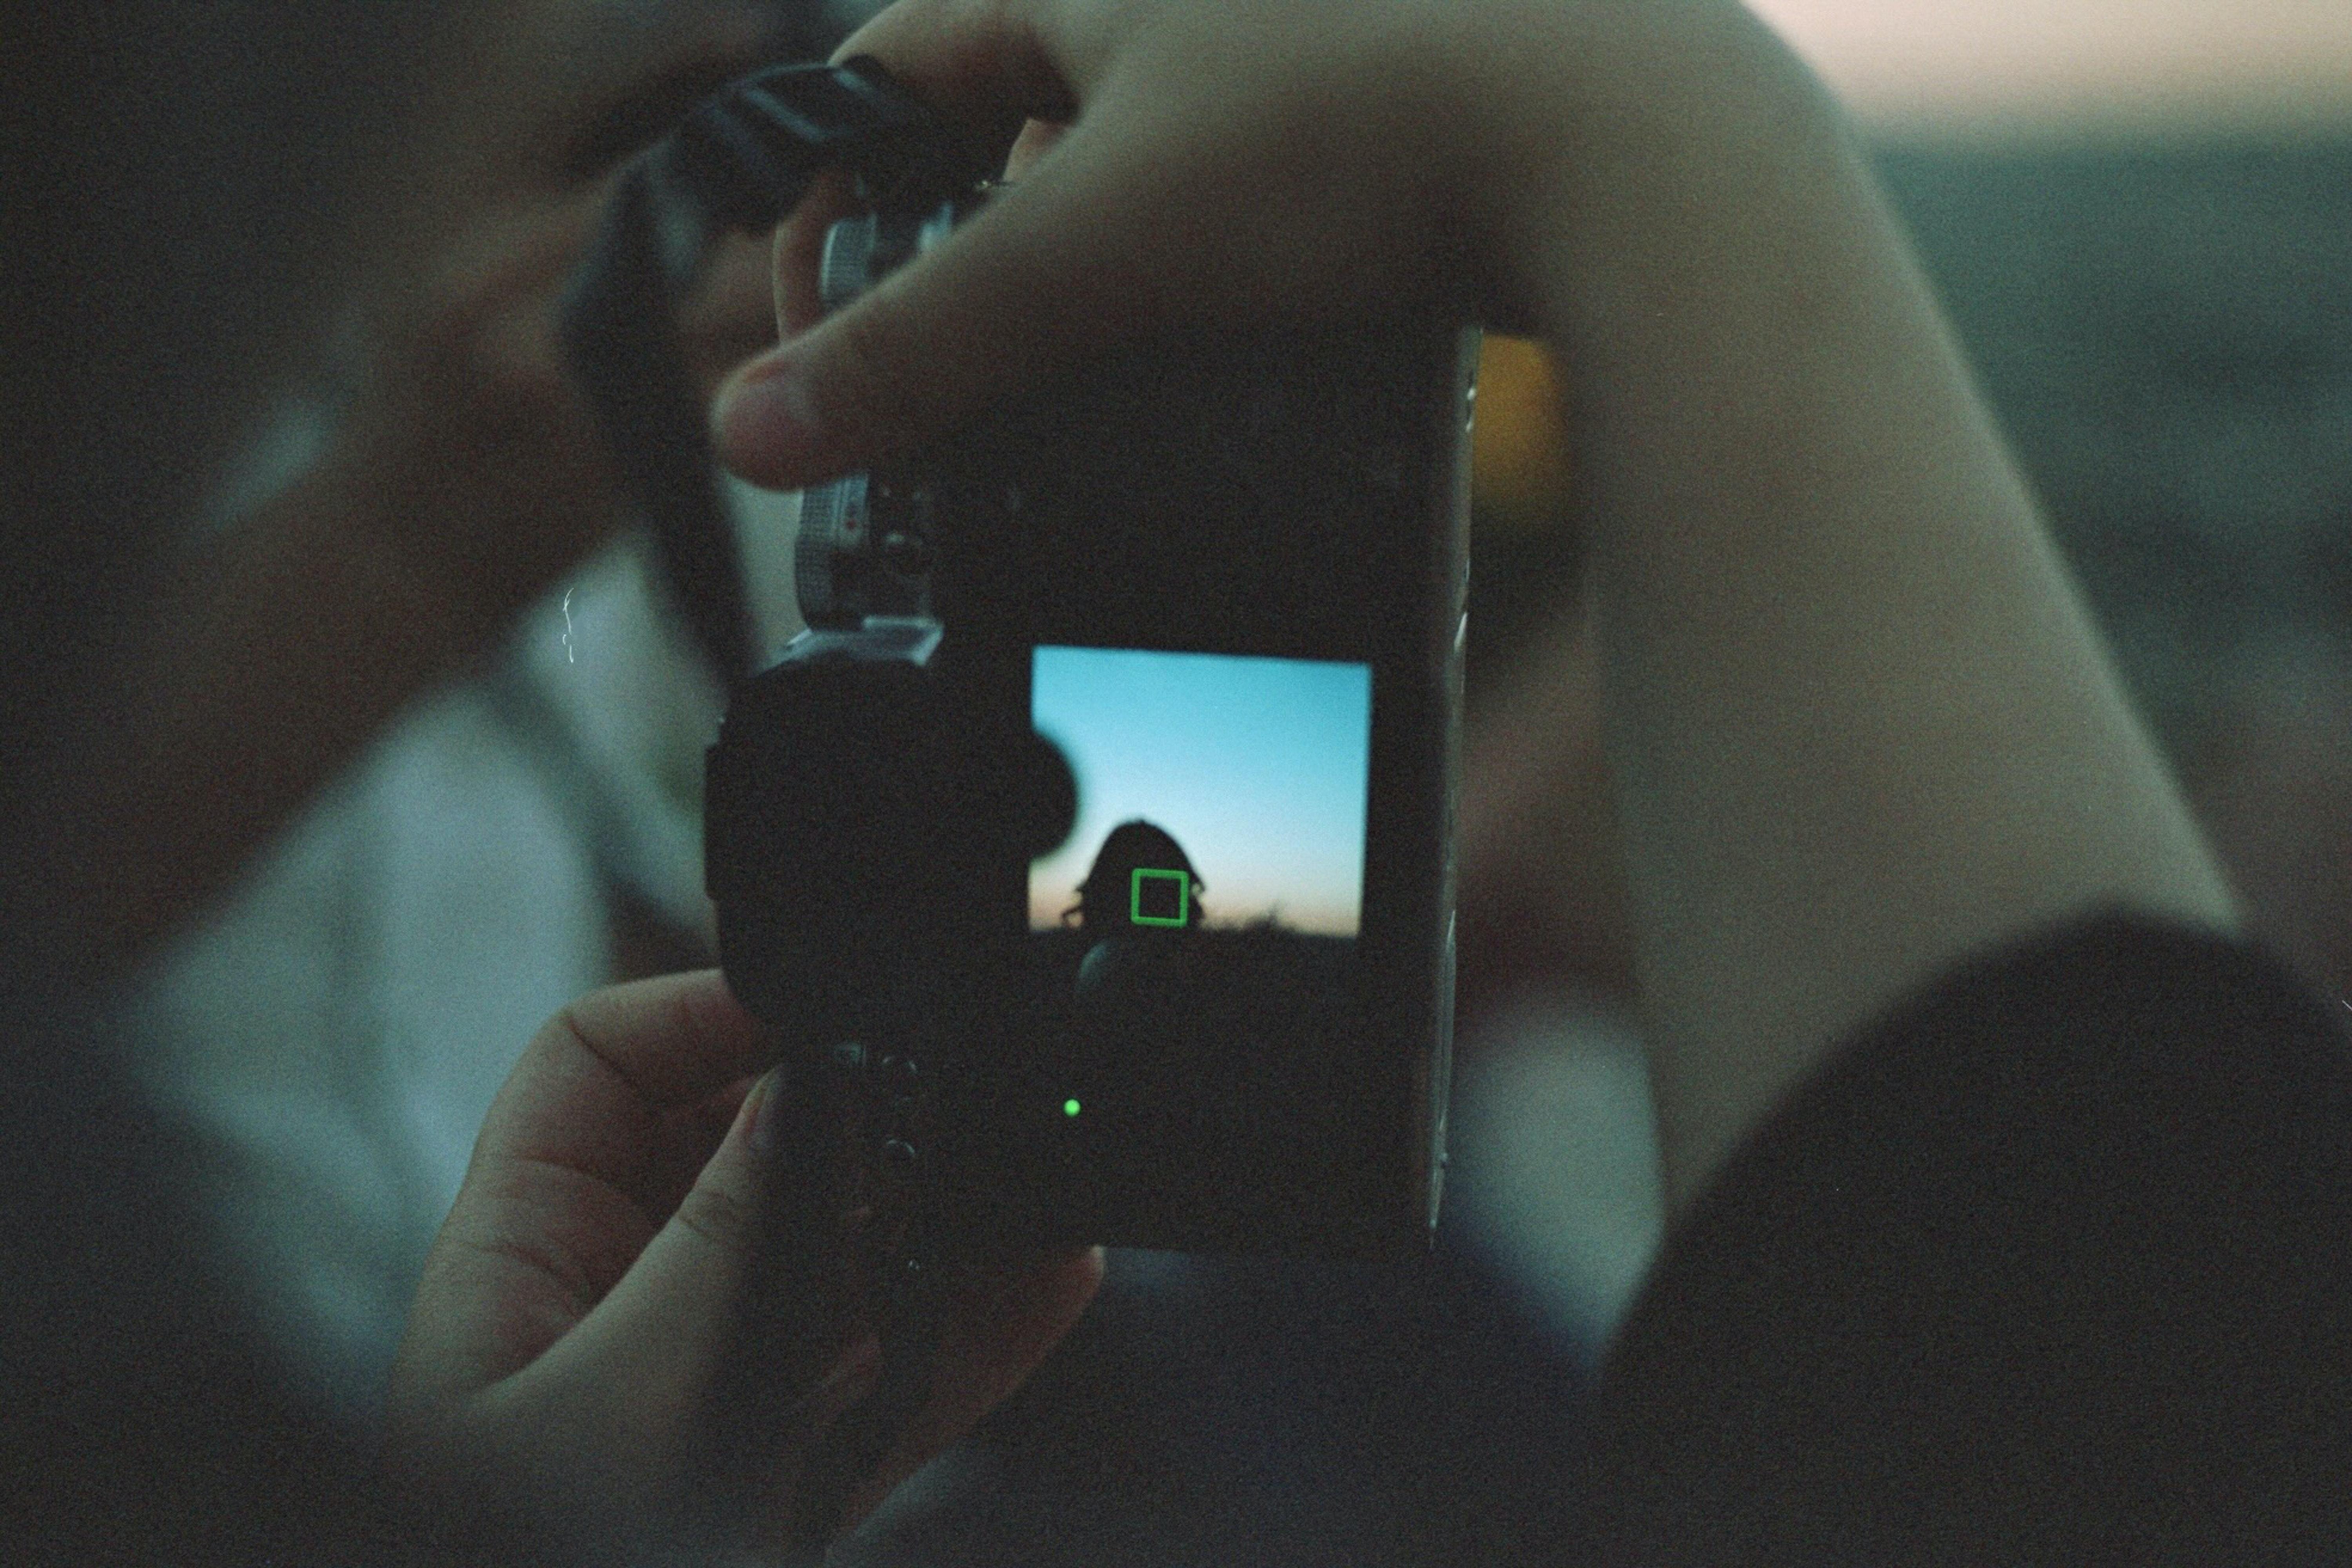
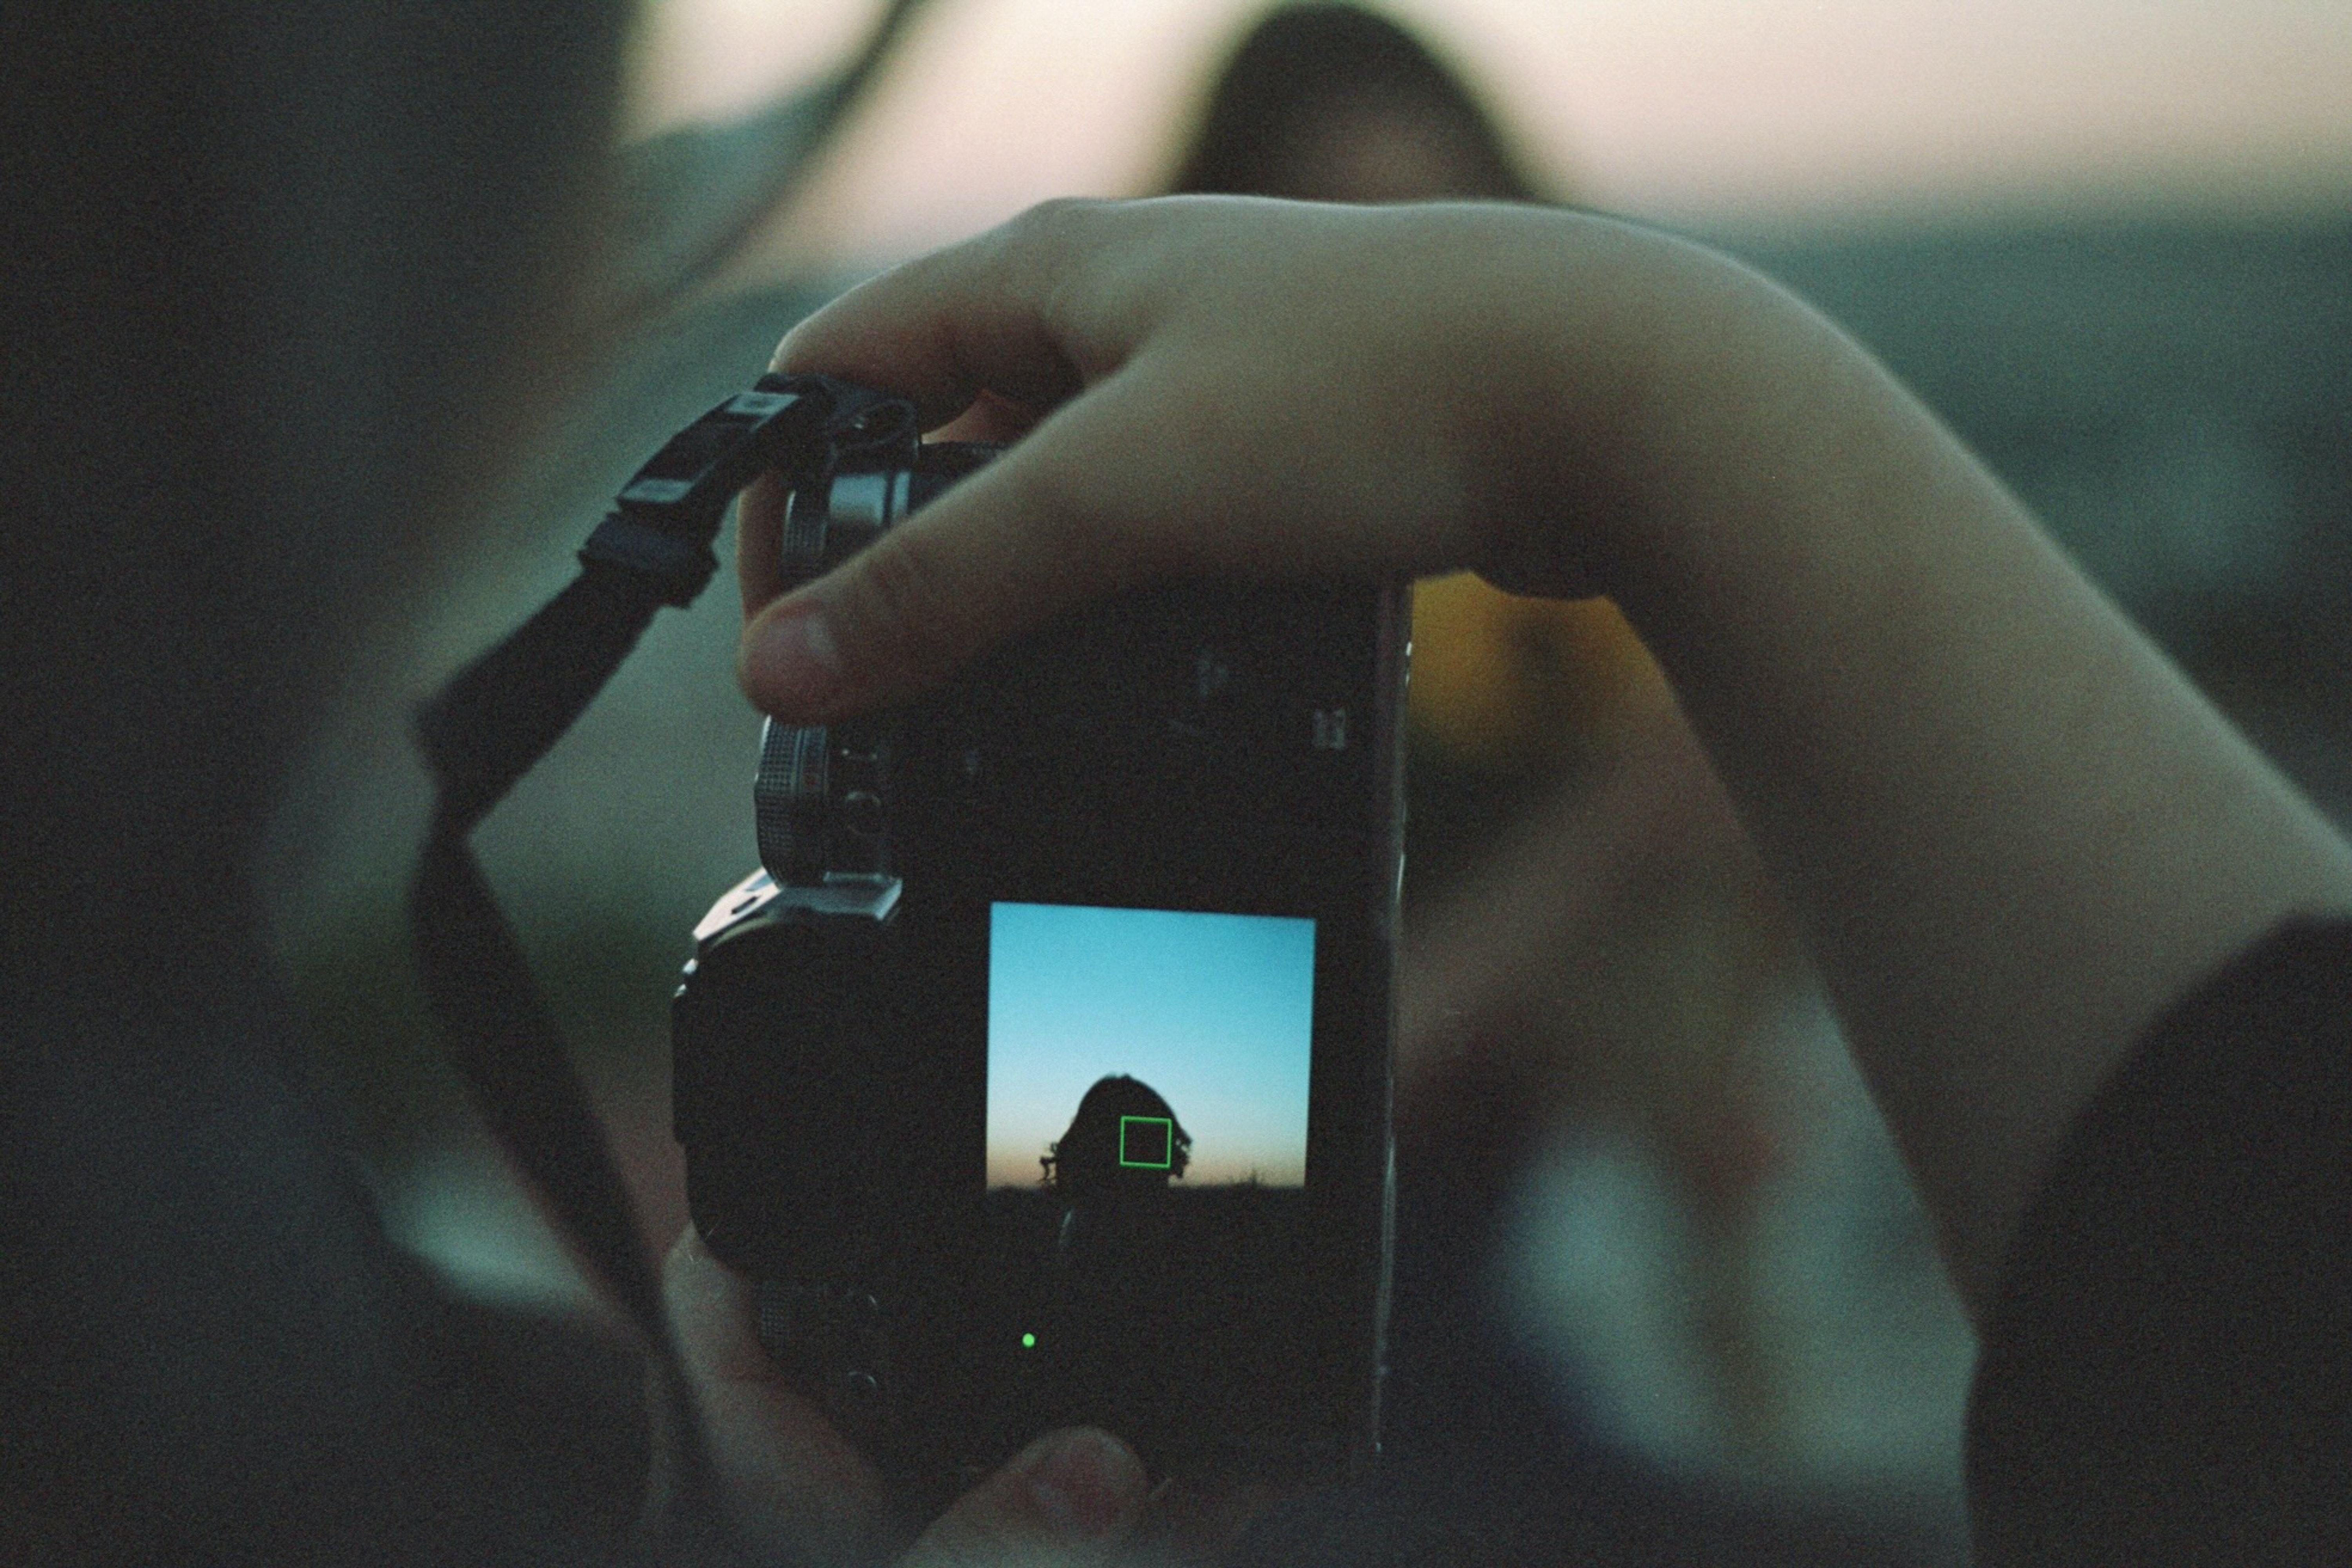
In today’s digital age, sharing visual content has become an integral part of our lives. Whether it’s for personal expression, social media engagement, or professional use, having the skills to create captivating images is incredibly valuable. One popular technique that can enhance your visual storytelling is the split screen picture. By combining two or more images in a single frame, you can convey contrasting or complementary narratives, compare before-and-after shots, or simply make your photos more visually appealing.
In this blog post, we will walk you through the process of creating a split screen picture, whether you’re using an Android device, an iPhone, or an app. We’ll cover everything from choosing the right images to the step-by-step editing process. So, grab your smartphone and let’s dive into the exciting world of split screen photography!
Finding the Perfect App: Making Split Screen Pictures on Android and iPhone
How to Create a Split Screen Picture Like a Pro
So you’ve seen those cool split screen pictures on social media, and now you’re itching to try it out for yourself. Well, you’re in luck! In this guide, we’ll walk you through the steps to create an awesome split screen picture that will have your friends saying, “Wow, you’re a wizard!”
Choosing the Right Tools and Software
Before we dive into the nitty-gritty of split screen picture creation, let’s make sure you have the right tools for the job. You’ll need a photo editing software that allows you to work with layers, such as Adobe Photoshop or GIMP. If you don’t already have one of these programs, fear not! There are plenty of free alternatives available online that can get the job done.
Collect and Prepare Your Images
To create a stunning split screen picture, you’ll need two or more images that complement each other. Think about the story you want to tell or the mood you want to convey, and select images that align with that vision. For example, if you’re showcasing different travel destinations, choose pictures that highlight the unique features of each place.
Once you’ve chosen your images, it’s time to prepare them for the split screen treatment. Use your photo editing software to crop and resize the images so that they have the same dimensions. This will ensure a seamless split screen effect later on.
Setting up the Stage
Now that your images are ready, it’s time to create a blank canvas to work on. Open a new document in your photo editing software and set the dimensions to fit your images. For example, if your images are 1000 pixels wide and 500 pixels high, create a canvas that is 2000 pixels wide and 500 pixels high.
Divide and Conquer
Here comes the fun part – splitting your canvas into multiple sections to accommodate your images. Think of your canvas as a grid, and divide it into equal sections. How many sections you have will depend on the number of images you want to include in your split screen picture. For a classic two-image split screen, simply divide your canvas in half horizontally.
Placing Your Images
Now that you have your sections ready, it’s time to bring in your carefully prepared images. Open each image as a separate layer in your photo editing software and place them into the corresponding sections of your canvas. Pay attention to alignment and ensure that the images fit seamlessly together. You can adjust the size and position of each image as needed until you achieve the desired effect.
Adding a Touch of Magic
To take your split screen picture to the next level, consider adding some special effects or overlays. This can include text captions, graphics, or even filters that enhance the overall mood of your composition. Just remember, moderation is key – you don’t want to overpower your images with too many elements.
Finishing Touches
Once you’re satisfied with how your split screen picture looks, step back and admire your masterpiece. Take a moment to make any final adjustments or tweaks to ensure everything is just right. And don’t forget to save your work!
Show Off Your Split Screen Skills
Now that you’re armed with the knowledge and know-how to create amazing split screen pictures, the world is your canvas! Show off your newfound skills on social media and watch as your friends marvel at your creative prowess. Don’t be surprised if you start getting requests to create split screen pictures for others – your talent knows no bounds!
So go forth, dear reader, and unleash your inner split screen magician. With a little practice and a whole lot of imagination, you’ll be creating jaw-dropping split screen pictures in no time. Get ready to take the internet by storm!
FAQ: How To Make a Split Screen Picture
In this FAQ-style subsection, we’ll address some common questions about making split screen pictures, providing you with simple steps and handy tips to unleash your creativity. Whether you’re an Android or iPhone user, we’ve got you covered!
How Do I Create Side-by-Side Pictures on Android
Creating side-by-side pictures on Android is easier than you might think. Follow these steps:
- Open the Google Play Store on your Android device.
- Search for and install a photo editing app like “Split Pic” or “PhotoGrid.”
- Launch the app and select the “Grid” or “Collage” feature.
- Choose the layout that suits your style – side-by-side or divided in any proportion you desire.
- Import the two photos you want to use from your gallery.
- Adjust the position, size, and orientation of each photo independently.
- Apply fun filters, text, or additional effects if desired.
- Save your masterpiece and share it with the world!
How Can I Post a Divided Picture on Instagram
To post a divided picture on Instagram, you don’t need to be a tech whiz. Simply follow these steps:
- Open the Instagram app on your device.
- Tap the “+” button to create a new post.
- Choose “Gallery” and select the divided picture you want to share.
- Once the picture is loaded, tap the “Next” button.
- Apply filters, adjust brightness, or add captions to enhance your creation.
- When you’re satisfied, hit “Share” to showcase your divided picture to your followers.
How Do I Make a Collage of Photos in My Gallery
Don’t let your precious photos stay isolated! Create beautiful collages with these straightforward steps:
- Download a collage-making app like “Layout by Instagram” or “Pic Collage.”
- Open the app and choose the “Create Collage” option.
- Select the photos you want to include from your gallery.
- Experiment with different layouts and adjust the spacing between pictures.
- Add filters, stickers, or text to personalize your collage.
- Once you’re happy with your masterpiece, save it and share it with your friends and family across various social media platforms!
How Can I Split a Picture in Half
Splitting a picture in half can be an amusing way to create unique visual effects. Here’s how to do it:
- Install an image editing app like “Snapseed” or “Pixlr.”
- Launch the app and import the photo you want to split.
- Look for the “Crop” or “Tools” option and select “Divide” or “Split.”
- Choose the desired split style – vertical or horizontal.
- Adjust the dividing line to accurately cut the photo in half.
- Apply any other enhancements or filters to add flair to your creation.
- Save your split picture and let your friends marvel at your artistic prowess!
How Do I Make Before and After Pictures on iPhone
Impress your friends with amazing before and after pictures using your iPhone:
- Open the App Store on your iPhone and install the “Before & After” app.
- Launch the app and tap the “+” to begin.
- Select the “Before & After” option to start a new project.
- Import the “before” and “after” photos from your gallery.
- Adjust the position and alignment of the photos as needed.
- Apply the desired transition effect between the two pictures.
- Add captions or descriptions to provide context if desired.
- Save your before and after masterpiece and share it proudly!
How Do I Use Photo Grid
Unleash your creativity with Photo Grid! Follow these steps to make the most of this versatile tool:
- Install the “Photo Grid” app from the App Store or Google Play Store.
- Launch the app and select the desired template or custom grid option.
- Import your photos from the gallery or capture new ones using the app.
- Customize the layout, adjusting the size and shape of each photo.
- Enhance your creation by adding filters, stickers, or text.
- Once you’re satisfied, save your masterpiece and share it on social media platforms or with your loved ones.
Can iPhones Create Split Screen Pictures
Absolutely! iPhones also offer the functionality to create split screen pictures. Here’s what you need to do:
- Open the App Store on your iPhone and download the “Split Pic Collage Maker” app.
- Launch the app and select the “Split Pic” option.
- Choose the desired grid layout for your split screen picture.
- Import your photos from the gallery or take new ones with the app’s camera.
- Adjust and resize each photo to fit perfectly within the grids.
- Apply filters or other effects to enhance your creation.
- Save your split screen picture and impress your friends with your iPhone magic!
How Do I Put Two Photos Side by Side
Putting two photos side by side is a breeze! Follow these steps:
- Install a photo editing app like “InstaSize” or “Snapseed.”
- Open the app and select the collage or grid feature.
- Choose the desired layout – two equal-sized squares, for example.
- Import the photos you want to place side by side.
- Adjust and resize each photo to fit into its respective square.
- Apply filters or add text to spice things up.
- Save your creation and share it with your friends on social media platforms!
What’s the Best Split Pic App
When it comes to split pic apps, several great options are available. Some popular choices include “Split Pic Collage Maker,” “Split Camera,” and “Split Lens 2.” Explore the App Store or Google Play Store to find the one that suits your preferences and unleashes your creative potential!
Can I Make a Collage on iPhone
Absolutely! iPhones provide a variety of apps that allow you to create stunning collages. Some popular applications include “Layout from Instagram,” “Pic Collage,” and “Moldiv – Collage Photo Editor.” Explore these options and let your creative juices flow!
How Do I Add a Picture to Another Picture on iPhone
To seamlessly add one picture to another on your iPhone, follow these steps:
- Install a photo editing app like “Superimpose X” or “Enlight Photofox.”
- Open the app and load the primary picture you want to use as the background.
- Look for the “Layer” or “Add Image” option and select it.
- Import the secondary picture you wish to add to the background.
- Adjust the size, position, and transparency level of the secondary image as desired.
- Ensure both pictures blend harmoniously, and save your final image.
- Share your captivating composition with the world!
How Do I Make a Collage on iPhone Without an App
If you prefer not to use an app to create a collage on your iPhone, follow these simple steps:
- Select the photos you want to include in your collage from your Camera Roll.
- Take a screenshot of each photo, ensuring they are all captured in one screenshot.
- Open the “Photos” app and go to the “Screenshots” album.
- Select the screenshots of your photos and tap the “Collage” button.
- Customize the layout, aspect ratio, and spacing of the photos.
- Adjust the size and rotation of individual photos, if necessary.
- Save your collage and share it with just a few taps!
How Do I Post Two Pictures Side by Side on Instagram
To post two pictures side by side on Instagram, follow these steps:
- Open the Instagram app and tap the “+” button to create a new post.
- Choose “Gallery” and select the first picture you want to include.
- Tap the “Next” button and then click on the “+” sign at the bottom to add another picture.
- Select the second picture you wish to include.
- Adjust the position and size of each picture to align them side by side.
- Apply filters, add captions, or use other creative features to enhance your post.
- Select “Share” to amaze your followers with your visually appealing side-by-side pictures!
How Do I Get Multiple Home Screens on iPhone
Having multiple home screens on your iPhone allows for better organization of your apps. Follow these steps to achieve this:
- Tap and hold any app icon on your home screen until they all start to wiggle.
- Drag an app to the right edge of the screen to create a new home screen.
- Continue dragging apps to the right to add more home screens as desired.
- To rearrange the screens, tap and hold on any home screen and drag it to the desired position.
- Press the home button to save your layout.
How Can I Put Two Pictures Together on My iPhone for Free
To combine two pictures on your iPhone using free apps, follow these steps:
- Install the “Adobe Photoshop Express” and “PicsArt Photo & Video Editor” apps from the App Store.
- Open “Adobe Photoshop Express” and select the first photo you want to combine.
- Choose the “Add” option and import the second photo.
- Use the app’s editing tools to adjust the size, position, and blending of the photos.
- Save your newly merged picture.
- Open “PicsArt” and select the combined picture as your background.
- Tap the “Add Photo” button and import another photo.
- Adjust and position the second photo as needed.
- Experiment with additional effects, filters, or overlays to further enhance your creation.
- Save your final composition, and voila – you’ve combined two pictures for free!
How Can I Put Two Pictures Together
Putting two pictures together is a simple task. Here’s what you need to do:
- Install a photo editing app like “Pic Collage” or “Canva.”
- Open the app and choose the “Create” or “New Project” option.
- Import your first photo as the background.
- Look for the “Add Photo” or “Layer” option and select it.
- Import the second photo and adjust its size and position as desired.
- To blend the pictures together seamlessly, experiment with opacity or blending options.
- Add text, stickers, or filters to add personality to your composition.
- Save your masterpiece and be proud of your picture-pairing prowess!
Is There an App to Split Pictures
Yes, indeed! There are multiple apps available to split pictures on both Android and iPhone devices. Some popular options include “Split Pic Collage Maker,” “Split Lens 2,” and “PhotoGrid.” Explore these apps and let your creativity soar!
Now that you have the know-how, it’s time to get started and create astonishing split screen pictures, collages, and captivating compositions. Unleash your imagination, and share your creations with the world!