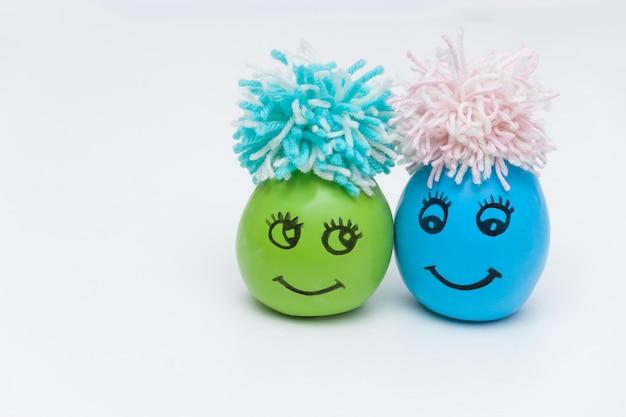
Are you feeling stressed and in need of a little relaxation? Look no further than a DIY stress ball! These homemade stress relievers are a great way to squeeze away your worries and promote a sense of calm. Whether you’re a kid looking for a fun craft activity or an adult seeking some tension relief, making your own stress ball is a simple, affordable, and customizable solution.
In this definitive guide to making a DIY stress ball, we’ll explore various methods and materials to suit your preferences. From using socks to balloons, flour to cornstarch, and even unconventional ingredients like baking soda and conditioner, we’ll cover it all. You’ll also learn how to make squishies with shaving cream, and discover the secrets behind those popular sticky Globbles. Don’t worry, we’ll also address any concerns about the safety and ingredients of these stress balls.
So, grab your supplies and get ready to unleash your creativity while de-stressing along the way. Let’s dive into the world of DIY stress balls and find the perfect one to help you unwind in 2023 and beyond!
How to Make Your Own DIY Stress Ball
Are you feeling stressed out and in need of a quick and easy solution? Look no further than a DIY stress ball! Making your own stress ball is not only a fun and creative activity but also a great way to release tension and anxiety. In this guide, we will walk you through the simple steps to create your very own stress ball. So roll up your sleeves and get ready to squeeze away that stress!
Gather Your Materials
Before we dive into the nitty-gritty of stress ball making, let’s gather the materials you’ll need. Don’t worry, you won’t need any rocket science gadgets for this project! Here’s what you’ll need:
1. Balloons
Grab a couple of balloons, preferably in vibrant colors that bring out your inner child. The stretchier the balloon, the better, so choose latex balloons if possible. You don’t want your stress ball to pop under pressure!
2. Filling
Now, let’s decide what will fill your stress ball. You can choose from a variety of options like rice, lentils, flour, or even sand. Get creative and experiment with different fillings to find what works best for you. Just make sure whatever you choose is not too lumpy or hard. We don’t want your stress ball feeling like a rock!
Let the Squeezing Begin!
-
Step 1: Preparation
Start by stretching out your balloon a few times to give it some extra elasticity. This step ensures that your stress ball won’t burst prematurely and leave you feeling deflated! -
Step 2: Pour in the Filling
Take the opening of the balloon and carefully stretch it wide enough to pour in your chosen filling. Be sure to leave some space at the top for tying a knot later. Remember, what goes inside the stress ball should help relieve stress, not add to it! -
Step 3: Seal the Deal
After filling the balloon, release the opening and watch the air rush out. Once the balloon is deflated, tightly tie a knot to secure the filling inside. Make sure it’s secure enough, so you don’t end up with a mess of rice or flour all over your desk! -
Step 4: Double Up
For extra reassurance (and to add a dash of style), you can take a second balloon and repeat steps 1 to 3. This double layer helps prevent leaks and adds a vibrant touch to your stress ball. Plus, it feels quite satisfying to pop the outer balloon when stress levels rise!
Enjoy the Stress-Relieving Squeeze
Congratulations on your DIY stress ball creation! Now, it’s time to put it to the test. Take your stress ball in hand, squeeze away, and let the tension melt away with every gentle or vigorous squeeze. Feel free to experiment with different textures, fillings, or even colors. After all, stress relief should not only be functional but also an outlet for your creativity!
So, go ahead and give this DIY stress ball a try. Whether you’re a fidgety individual or just need a moment of tranquility during a hectic day, this little handmade wonder can be your stress-busting companion. Enjoy the satisfying sensation of squeezing away the stress while maintaining your sanity in the chaos of everyday life. Remember, a little squish can go a long way in bringing balance and calmness to your world.
Now, excuse me while I squeeze my own stress ball and ponder the mysteries of life. Ahhhh… the sweet relief!
DIY Stress Ball FAQs: Answers to Your Burning Questions
Discover how to create your very own stress ball at home!
Welcome to our ultimate FAQ guide on making your own stress ball. We’ve rounded up the most common questions and provided you with comprehensive answers, so you can squeeze your stress away in no time! From materials to methods, we’ve got you covered.
How Do You Make a Stress Ball Out of Socks
If you’ve got some old socks lying around, put them to good use by transforming them into stress balls! Here’s a simple method:
- Grab a sock and cut off the toe part.
- Flip the sock inside out.
- Fill the sock with your desired filling (such as rice, flour, or dried beans).
- Tie a knot at the open end of the sock to secure the filling.
- Repeat the process with another sock if you want a double-layered stress ball.
How Much Flour Do You Need to Make a Stress Ball
The amount of flour you’ll need depends on the size of your stress ball. As a general guideline, start with half a cup of flour and adjust accordingly. If you want a smaller stress ball, you can reduce the amount of flour, or vice versa for a larger stress ball. Remember, make it just right for your stress-squeezing needs!
How Do You Make a Homemade Stress Ball
Creating a homemade stress ball is super simple! Here’s what you’ll need:
- Grab a balloon and stretch it out a bit.
- Find your desired filling, such as flour, rice, or beads.
- Using a funnel, carefully pour your chosen filling into the balloon.
- Fill the balloon to your desired size, ensuring it’s plump but not overstuffed.
- Tie a knot at the neck of the balloon to seal it, and voila!
How Do You Make a DNA Ball Without Balloons
No balloons? No problem! You can still make a DIY stress ball without them. Here’s an alternative method:
- Get a pair of latex-free gloves.
- Fill one glove finger with your desired filling (rice, flour, or beads).
- Tie a knot at the base of the finger to secure the filling.
- Repeat the process with the remaining fingers, using different fillings to create the DNA ball effect.
- Tie all the fingers together at their bases, and you’ve got yourself a stress-relieving DNA ball!
What Do You Put in a Balloon Stress Ball
You have various options for filling your balloon stress ball. Some popular choices include:
- Flour: Provides a soft and squishy texture.
- Rice: Offers a slightly firmer feel.
- Beads or Orbeez: Creates a bumpy and tactile experience.
- Slime or kinetic sand: Adds a unique and slimy sensation.
Feel free to experiment with different combinations to find the perfect stress ball consistency for you!
Can You Make a Stress Ball With a Ziploc Bag
Absolutely, you can! If you don’t have balloons on hand, Ziploc bags come to the rescue. Follow these steps to make your Ziploc stress ball:
- Take a Ziploc bag and fill it with your preferred filling (flour, rice, or beads).
- Seal the bag, ensuring to remove as much air as possible.
- To prevent any potential leaks or bursts, double-bag the stress ball by placing it inside another Ziploc bag.
- Give it a good squish, and your DIY Ziploc stress ball is ready to de-stress you!
How Do You Make Globbles Sticky
If you want to make your stress ball more sticky and tacky, simply roll it in your hands! The warmth and friction from your palms will create a stickier surface, allowing the stress ball to adhere to various surfaces. Get ready to have some squishy fun as it sticks, stretches, and bounces with ease!
How Do You Make a Stress Ball With Glue
Looking for a stress ball with a unique texture? Consider making a glue-based stress ball! Follow these steps:
- Take a balloon and stretch the neck.
- Pour clear glue into the balloon, using a funnel for easier pouring.
- Add liquid starch gradually while mixing, until the mixture reaches a slime-like consistency.
- Remove the balloon from the funnel, squeezing out any excess air and tying a knot to seal it.
- Allow the glue stress ball to sit and cure for at least 24 hours before enjoying its squishy goodness!
What Machine Makes Popits
Popits are all the rage right now! If you’re wondering about the machines behind these satisfying sensory toys, they are typically made using silicone molds and a specialized molding machine. However, keep in mind that DIY popits can also be made without a machine. With a mixture of silicone and catalyst, you can create your own custom designs right at home!
How Do You Make a Stress Ball With Cornstarch
Cornstarch can add an interesting texture to your stress ball. Here’s how to incorporate it into your DIY stress ball creation:
- Combine cornstarch and water in a bowl, mixing them until you achieve a thick and gooey consistency.
- Pour the mixture into a balloon, using a funnel if necessary.
- Tie off the balloon tightly to secure the cornstarch mixture inside.
- Allow the stress ball to dry for a few hours until the cornstarch solidifies.
- Now, get ready to knead, squeeze, and enjoy a delightfully gooey cornstarch stress ball!
How Do You Make a Stress Ball With a Balloon and Flour
When it comes to making a stress ball with a balloon and flour, the process is quite simple:
- Take a balloon and stretch out the neck.
- Insert a funnel into the balloon’s opening.
- Pour flour into the funnel, filling the balloon to your desired firmness.
- Remove the funnel and gently release any trapped air.
- Tie a knot in the balloon, and your flour-filled stress ball is good to go!
How Do You Make Squishies With Shaving Cream
Want to take your stress ball to the next level and add a fluffy element? Shaving cream squishies are the way to go! Follow these steps to create your own:
- Squeeze shaving cream into a bowl.
- Add liquid laundry detergent and mix until the mixture starts to thicken.
- Knead and fold the mixture until it forms a squishy consistency.
- Shape the mixture into your desired squishy form, such as cute animals or food items.
- Allow it to dry completely before getting your squeeze on with these soft and scented stress relievers!
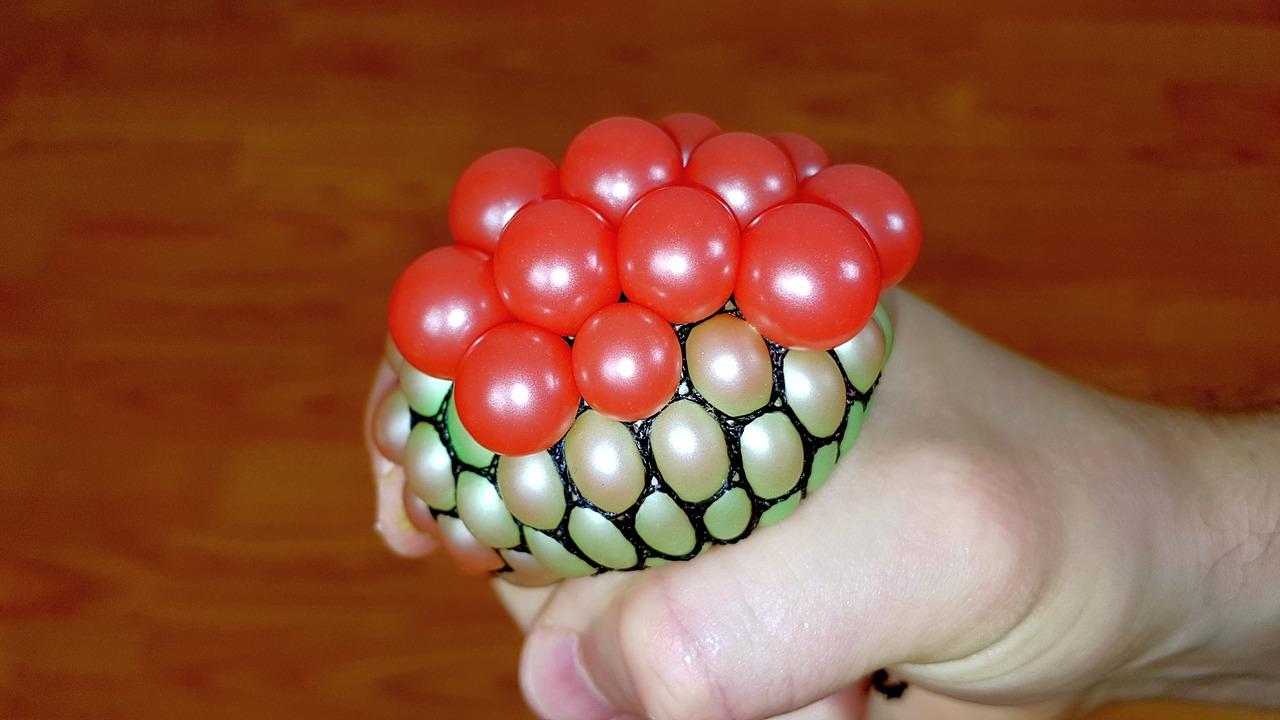
Is the Stuff in Squishy Balls Toxic
The stuff inside squishy balls varies depending on the manufacturer. While most commercially produced squishy balls are non-toxic, it’s essential to ensure they are made from safe materials, especially if they are intended for children. Always check the product labeling or do some research to ensure they meet safety standards.
How Do You Make a Baking Soda Ball
Baking soda balls are fantastic stress-relievers! Here’s how you can create your fizzy stress ball:
- Combine baking soda and water in a bowl, mixing until the baking soda dissolves completely.
- Fill a balloon with vinegar, leaving some space at the top for expansion.
- Attach the balloon to the neck of a plastic bottle, ensuring a tight seal.
- Carefully lift the balloon, allowing the vinegar to mix with the baking soda by emptying the balloon.
- Watch as the chemical reaction causes the balloon to inflate, providing a fizzy and tactile experience.
What Is Inside a Stress Ball
Stress balls can contain various materials, each offering a unique sensory experience. Common fillings include flour, rice, socks, sand, beans, or even kinetic sand. The choice of filling depends on personal preference and desired texture. Experiment and find the one that gives you the most satisfying squeeze!
What Can I Use Instead of a Stress Ball
If you don’t have a stress ball, fear not! You can use everyday items as stress relievers:
- Sponges: Grab a sponge and give it a squeeze to release some tension.
- Playdough: Mold and squish it to melt your stress away.
- Bubble wrap: Pop away your worries with the satisfying sound of bursting bubbles.
- Fidget toys: Spinner rings, fidget cubes, or even a regular pen can provide stress relief through tactile stimulation.
- Hand exercises: Simple hand stretches or squeezing a stressball-sized rubber ball can do wonders to relieve stress.
How Do You Make Homemade Toys at Home
Creating homemade toys is both fun and fulfilling! Here are some simple ideas to get you started:
- Paper Airplanes: Fold paper into cool airplanes and send them soaring through the air.
- Cardboard Forts: Build an epic fortress using recycled cardboard boxes and let your imagination run wild.
- DIY Slime: Mix glue, borax, and water to create colorful and stretchy slime.
- Popsicle Stick Puppets: Decorate popsicle sticks with googly eyes and craft materials, then put on a puppet show.
- Tin Can Stilts: Attach strings to clean tin cans and get your balance on while pretending to be a circus performer.
How Do You Make a Stress Ball With Baking Soda and Conditioner
To make a stress ball using baking soda and conditioner, follow these steps:
- Combine baking soda and hair conditioner in a bowl, mixing until you achieve a moldable consistency.
- Shape the mixture into a ball using your hands, adding more baking soda or conditioner as needed.
- Allow the stress ball to dry for at least 24 hours, until it hardens.
- Time to squeeze away that stress with your lovely scented baking soda stress ball!
We hope this FAQ guide has answered all your burning questions about DIY stress balls. Feel free to get creative and customize your stress ball to your heart’s content. Squeeze, squish, and let the worries melt away!
Disclaimer: The content provided in this article is for informational purposes only. Always exercise caution when using DIY stress balls, ensuring they are safe and appropriate for your individual needs.