If you’ve ever noticed uneven grout lines on your ceramic tile, you’re not alone. Uneven grout lines can be frustrating to look at and can detract from the overall appearance of your tile. But fear not! In this comprehensive guide, we’ll walk you through the steps to level grout lines on ceramic tile, ensuring a smooth and professional-looking finish.
We’ll cover everything from filling spaces between tiles to dealing with large gaps and uneven grout lines. You’ll also find answers to common questions like whether you need to remove all the grout when regrouting, if you can apply grout on top of grout, and even how to tell if you’ve had a bad tile job. So let’s get started and bring those grout lines back to perfection!
Keywords: leveling grout lines, ceramic tile, filling spaces between tiles, large gaps in tiles, even grout lines, removing grout, regrouting, applying grout on top of grout, touching up grout, bad tile job, uneven floor tile, self-leveling compound, silicone instead of grout, filling gaps with caulk.
How to Achieve Flawlessly Level Grout Lines on Ceramic Tile
Ensuring level grout lines on ceramic tile may seem like a daunting task, but fear not, my friend! With a touch of expert guidance, a sprinkle of humor, and a dollop of patience, you’ll be able to achieve grout line perfection in no time. So put on your DIY hat, grab your tools, and let’s dive into the wonderful world of leveling grout lines on ceramic tile!
1. Gather Your Tools of Glory
Before embarking on this leveling adventure, make sure you have the right tools by your side. You’ll need a trusty mallet, a grout float that rivals the sophistication of James Bond’s gadgets, and some fine sandpaper. Don’t forget your levels, because we’re all about achieving balance here!
2. Prepare Your Battle-weary Tiles
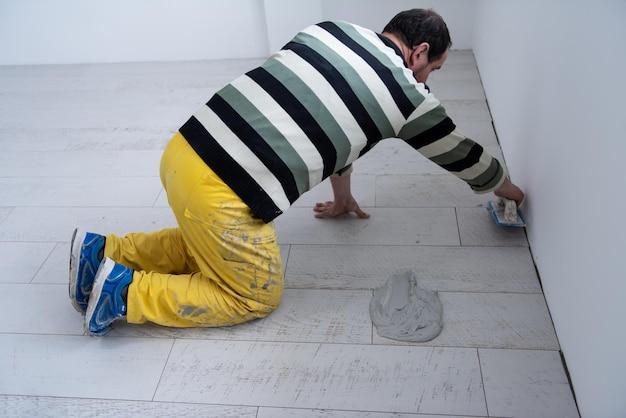
First things first, let’s prep those battle-weary tiles. Fill any low spots on the surface with a thin layer of thinset mortar, like a spa treatment for your tiles. Smooth it out with your trusty trowel, creating a blank canvas for grouting greatness.
3. Time to Lay Down the Grout Law
With your tiles prepared, it’s time to lay down the grout law. Grab your grout float and apply the grout to the tile surface, making sure to push it into those oh-so-vulnerable grout lines. Picture yourself holding a magic wand, spreading enchantment in the form of grout.
4. Magic Wand? More Like a Grout Removal Ninja!
Alright, now, let’s talk about those stubborn grout lines that refuse to play by the rules. Take your grout float and hold it at a 45-degree angle. With the finesse of a grout removal ninja, scrape off any excess grout on the tile surface, gently clearing the way for level lines that would make a tightrope walker green with envy.
5. The Patience Game: Awaiting Grout Set Time
Once the grout has been applied and ninja skills have been unleashed, it’s time to play the waiting game. Refer to the grout package for the recommended set time. In the meantime, grab a good book, put on your favorite tunes, or challenge your cat to a staring contest. It’s all about embracing the art of patience!
6. Sanding, the Gentle Persuasion Technique
Now that the grout has had its time to set and ponder the meaning of grout life, it’s time to bring out the sandpaper. Channel your inner gentle persuader and lightly sand the grout lines in even strokes. The goal here is to achieve a smooth, level surface without disturbing the harmony of your tiles.
7. Checkmate: Leveling Triumphant!
As you wipe away the sanding remnants and behold your grout masterpiece, a sense of victory washes over you. Congratulations, my fellow grout enthusiast! You have triumphed over uneven lines and transformed your tiles into a work of leveling art. Step back, admire your handywork, and revel in the satisfaction of a job well done.
And there you have it, the secret recipe for leveling grout lines on ceramic tile. Armed with your tools, a dash of whimsy, and a sprinkle of patience, you’ve achieved grout line greatness. So go forth, my friend, and may level lines grace your tiles for years to come.
FAQs: How To Level Grout Lines On Ceramic Tile
If you’ve ever tiled a floor or wall, you know how important it is for the grout lines to be level. Uneven grout lines not only look unsightly but can also trap dirt and water, leading to potential damage. In this FAQ-style guide, we’ll address some common questions about leveling grout lines on ceramic tile and ensure you have all the knowledge you need to achieve smooth, professional-looking results.
What should you use to fill spaces between tiles
To fill the spaces between tiles, you should use grout. Grout is a mixture of cement, sand, and water that not only fills the gaps but also provides stability and support to the tiles. It comes in various colors and types, allowing you to choose the best one for your project.
How do you fill large gaps in tiles
If you encounter large gaps between tiles, you may need to use a grout mix specifically designed for wider joints. These mixes contain larger particles and are more resistant to cracking. You can also consider using caulk or silicone to fill the gaps, as they offer greater flexibility and durability.
Should grout lines be even
Yes, grout lines should be even to ensure a polished and professional finish. Uneven grout lines can make the entire tile installation look sloppy and unappealing. Take the time to ensure the grout lines are consistently level throughout the project.
How much grout do you need to remove before regrouting
Before regrouting, you’ll need to remove enough of the existing grout to create a clean and stable surface. Aim to remove at least 1/8 to 1/4 inch of the old grout using a grout saw or scraper. This will provide enough depth for the new grout to adhere properly and level out any unevenness.
Why does my grout look uneven
Uneven grout lines can be caused by several factors. Improper mixing of the grout, inconsistent application, or using too much or too little water can all contribute to unevenness. Additionally, if the tiles themselves are not level or if the tile layout was not properly planned, the grout lines may appear uneven.
Can you apply grout on top of grout
No, you should not apply grout on top of existing grout. It is essential to remove the old grout before applying new grout to ensure proper adhesion and a smooth surface. Trying to grout over existing grout will result in a weak bond and an uneven finish.
Can you touch up grout
Yes, you can touch up grout to fix small imperfections or to fill in tiny gaps. Simply mix a small amount of grout according to the manufacturer’s instructions and apply it to the areas that need attention. Make sure to blend the touch-up grout seamlessly with the existing grout for a cohesive look.
How can you tell a bad tile job
Identifying a bad tile job is relatively easy if you know what to look for. Some common signs of a poorly done tile installation include uneven grout lines, cracked or loose tiles, inconsistent spacing between tiles, and visible adhesive squeezing out from the sides. If the overall appearance is not clean or professional, it’s likely a bad tile job.
How do you even out grout lines
To even out grout lines, you’ll need to remove the existing grout until the desired level is achieved. Use a grout saw or scraper to carefully scrape out the excess grout. Take your time and work in small sections, ensuring a consistent depth across the entire area. Once the grout lines are leveled, you can proceed with regrouting or touch-ups.
Do you have to remove all the grout when regrouting
In most cases, it is necessary to remove all the old grout before regrouting. Removing the old grout allows for a clean surface, proper bond, and even grout lines. However, if the existing grout is in good condition and only minor touch-ups are needed, you can leave it in place and add new grout on top.
Can you use self-leveling compound on ceramic tiles
No, self-leveling compound is not suitable for use on ceramic tiles. Self-leveling compounds are designed to level subfloors before tile installation. Applying self-leveling compound on top of ceramic tiles can lead to adhesion issues and an unstable surface. Remove the tiles first and then use the self-leveling compound if necessary.
How do you regrout tile without removing old grout
It is generally recommended to remove the old grout before regrouting. However, if the existing grout is in good condition and minor touch-ups are needed, you can lightly roughen the surface and apply new grout directly over the old grout. Be sure to clean the surface thoroughly and press the new grout firmly into the gaps for proper adhesion.
Is it OK to regrout over existing grout
While it is technically possible to regrout over existing grout, it is not the recommended approach for achieving a professional finish. Removing the old grout allows for better adhesion and a level surface. If you choose to regrout over existing grout, ensure that the old grout is clean, stable, and in good condition.
Can you put self-leveler over tiles
No, self-levelers are not designed to be applied directly over tiles. Self-leveling compounds are primarily used to level subfloors or prepare surfaces before installing new tiles. Applying self-leveler over tiles can result in poor adhesion and an unstable base. Remove the tiles first if you need to use a self-leveling compound.
Can you use silicone instead of grout
While silicone can be used as an alternative to grout in certain situations, it is not recommended for filling grout lines between ceramic tiles. Silicone has different properties compared to grout and may not provide the same level of stability or appearance. It is best to use silicone in areas where flexibility or waterproofing is required, such as around tubs or showers.
What is the biggest gap you can grout
The size of the gap you can grout depends on the type of grout you are using. Standard grout can generally be used for gaps up to 1/8 inch, while wider gaps may require sanded grout or grout mixes designed for larger joints. Consult the manufacturer’s instructions and choose the appropriate grout for your specific gap size.
What goes in between tiles
In between tiles, you should use grout or caulk to fill the gaps. Grout provides stability, prevents moisture penetration, and adds to the overall aesthetic appeal. Caulk, on the other hand, offers flexibility and is commonly used in areas where movement or expansion is expected, such as corners and joints.
Is grout supposed to be flush with wall tile
Ideally, grout should be slightly lower than the surface of the wall tile. Leaving a small recess ensures that the grout does not protrude above the tile surface when it dries. This recess also allows for caulk to be applied on top of the grout, creating a smooth transition and protecting the edges from water infiltration.
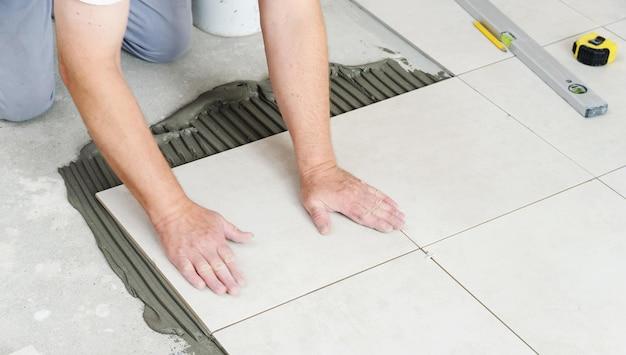
How do you level an uneven floor tile
To level an uneven floor tile, you’ll need to remove the tile and adjust the underlying substrate. Carefully chip away the adhesive beneath the tile and add or remove thinset mortar to achieve a level surface. Once the substrate is level, you can reinstall the tile using fresh adhesive, ensuring a stable and even finish.
How big of a gap can I fill with caulk
Caulk is primarily used for sealing joints and gaps where movement or flexibility is required. It is recommended for gaps up to 1/4 inch wide. If the gap is wider than that, you may need to consider using a backer rod or foam filler to reduce the gap size before applying caulk.
Now armed with the answers to these frequently asked questions, you have the knowledge and confidence to tackle leveling grout lines on your ceramic tile projects. Remember to take your time, follow proper techniques, and strive for that flawless finish. Happy tiling!