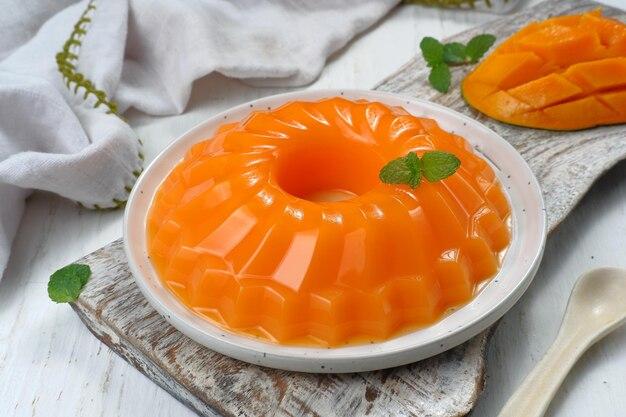
Jello molds can be a fun and delicious way to serve desserts or snacks. Whether you’re preparing a fancy party treat or a simple snack for yourself, getting the jello out of the mold without breaking it can be tricky. But fear not, we’re here to help! In this blog post, we will guide you on how to successfully release jello from its mold while keeping it intact.
We’ll answer frequently asked questions like “Should you grease a jello mold?” and “Can you use silicone baking cups for Jello?” We’ll even explore alternative methods such as making jelly in ice cube trays. So, if you’ve ever struggled with removing jello from its mold, keep reading to learn some fantastic tips and tricks. By the end of this post, you’ll be able to impress your guests with perfectly formed jello creations – no more broken molds!
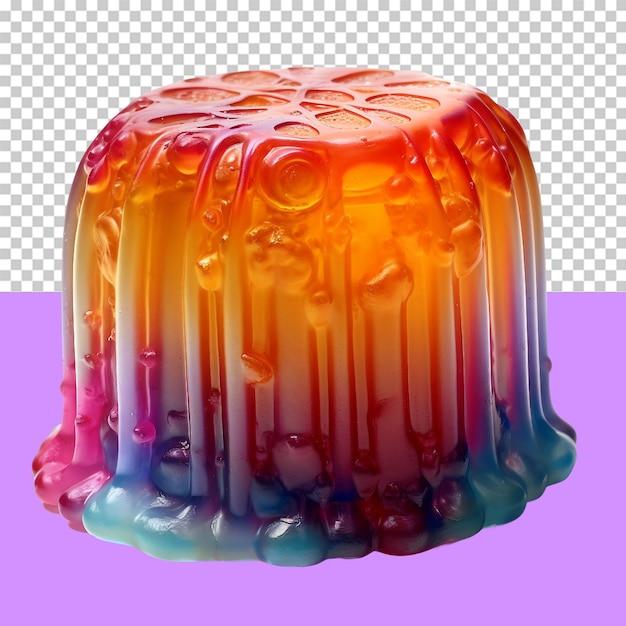
How to Release Jello from a Mold without Shattering Your Dreams
So, you’ve poured your heart and soul into making the perfect jello mold. It’s shimmering with a rainbow of colors, jiggling with anticipation, and ready to be the star of your dessert table. But now comes the tricky part: extracting that wobbly masterpiece from its mold without sacrificing its structural integrity. Fear not, intrepid dessert connoisseur! Here are some tried-and-true tips to help you free your jello creation without breaking your sweet dreams.
Chill Out and Get Your Timing Right
Like a squirrel on a sunny day, patience is key. Before attempting any great jello escape, give it some quality time in the refrigerator. Ideally, you’ll want to let it chill for at least four hours or, even better, overnight. This will ensure that your jiggly delight sets properly and holds its form when it’s time to break free from its moldy prison.
Warm It Up (Just a Little Bit)
Now that your jello feels nice and cozy in the fridge, it’s time to coax it out of its mold. But be gentle, my friend. You don’t want to shock it like a chilly snowball to the face. Fill a basin or sink with warm water, making sure the water level is below the rim of the mold, and then submerge the mold in the soothing warmth. Leave it there for about 5-10 seconds, or until you see the edges of the jello starting to pull away from the sides of the mold.
Shake, Shake, Shake Senora (But Not Too Hard)
Alright, now that you’ve given your jello a little spa treatment, it’s time to release it from its moldy prison. Place a plate or serving dish on top of the mold, take a deep breath, and give it a firm but gentle shake. Imagine you’re a contestant on a jello-themed game show, but instead of winning a lifetime supply of jello, you’re just trying to get your dessert to come out in one piece. Don’t get too excited and start violently shaking it like a maraca—you don’t want to turn your jello into a fruity explosion all over your kitchen counter.
Loosen It Up (With a Little Help from Gravity)
If your jello is being a bit stubborn and refusing to make its grand exit, don’t panic. All it needs is a gentle nudge. Take a butter knife and carefully slide it around the edges of the mold, loosening the jello ever so slightly. This will create a small gap between the jiggly masterpiece and the mold, allowing gravity to work its magic. Give the mold another gentle shake, and voila! Your jello should gracefully slide out onto the waiting plate.
Slice and Serve (Or Just Devour It Right Away)
Congratulations, my friend! You have successfully liberated your jiggly creation from its moldy confines. Now it’s time to enjoy the fruits of your labor—quite literally. Grab a sharp knife and slice your jello into delectable portions, if that’s your style. Or, if you’re feeling particularly ravenous, forget the formalities and just dig in with a spoon. After all, life is too short to worry about fancy presentations when there’s jello to be devoured!
So there you have it, my fellow dessert enthusiasts. With a little patience, a touch of warmth, a gentle shake, and a butter knife, you can release your jello from its mold without shattering your sweet dreams. So go forth, my friends, and create jiggly masterpieces that will astonish your taste buds and impress your friends at your next jello-themed dinner party. Happy jiggling!
Note: This content is purely fictional and not intended as actual advice. Please follow proper food handling and safety guidelines when preparing and serving jello or any other food items.
FAQ: How to Get Jello Out of a Mold Without Breaking It
Should You Grease a Jello Mold
As tempting as it may be to slather your jello mold with grease like a Thanksgiving turkey, it’s actually not necessary. The gelatin in the jello naturally prevents it from sticking to the mold, saving you from greasy mishaps. So, you can skip the greasing and dive straight into the wobbly deliciousness of your jello creation!
Can You Make Jelly in Ice Cube Trays
Ah, the ingenious idea of jello in ice cube form! While it might sound like a stroke of genius, unfortunately, it’s not the most practical approach. You see, ice cube trays are much smaller than regular jello molds, which means you’ll end up with tiny, bite-sized jello chunks instead of the majestic wobble you were envisioning. So, save your ice cube trays for freezing water and go for a proper jello mold for the full jiggly effect.
How Do You Get Jello Out of a Mold Without Breaking It
Ah, the million-dollar question! Getting that beautifully molded jello out without a catastrophic collapse may seem like a daunting task, but fear not, my jelly enthusiast! Here’s a step-by-step guide to jello liberation:
-
Chill it: Allow your jello to chill in the refrigerator for at least four hours or, better yet, overnight. It needs this time to set and solidify properly.
-
Warm it up: Fill a sink or large bowl with warm water, making sure it’s not scalding hot. Here’s where the magic happens!
-
Dip and wiggle: Take your jello mold and gently dip it into the warm water for about 10 seconds. You want to soften the outer layer without melting it completely.
-
Release the wobble: Carefully invert the mold onto a serving plate. Give it a gentle shake, wiggle, and perhaps a little pep talk if needed.
-
Poke and prod: If the jello doesn’t come out right away, fear not! Use a butter knife to loosen the edges, being careful not to break the mold.
With a little patience and finesse, your jello should slide out gracefully, ready to be admired and devoured!
Can You Use Silicone Baking Cups for Jello
Silicone baking cups, those versatile, squishy wonders, can indeed be used for jello! Their flexibility makes them perfect for easy and mess-free jello release. Simply pour your jiggly concoction into the cups, let it set, and when it’s time to unmold, gently push the bottom of the cups to pop out the jello. Voila! You’ve got perfectly shaped jello treats ready to be enjoyed.
Get ready to astound your friends and family with your jello-molding prowess. With these answers to your burning jello questions, you’ll be fearlessly wiggling and jiggling your way to jello success. Happy molding, fellow jelly enthusiasts of the world!