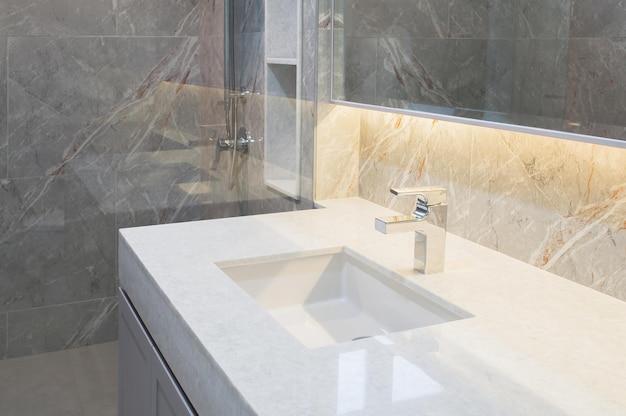
Are you tired of seeing that unsightly gap between your bathroom vanity top and the wall? It’s not just an eyesore, but it can also be a haven for dirt and grime. Fortunately, there’s a simple solution – a vanity extender. In this blog post, we’ll show you how to extend your bathroom vanity top and eliminate that pesky gap. Plus, we’ll tackle the common question of how to fill the gap between a vanity top and wall. Say goodbye to that awkward space and hello to a beautiful, seamless bathroom vanity!
How to Give Your Bathroom Vanity Top a Boost
Have you ever looked at your bathroom vanity top and thought, “Man, I wish this thing was just a little bit longer”? Well, you’re not alone. Many of us struggle with limited countertop space, and it can be a real pain when you’re trying to get ready in the morning. But fear not! I’m here to show you how to extend your bathroom vanity top and give yourself some much-needed extra inches.
Step 1: Measure Twice, Cut Once
Before you start hacking away at your vanity top like a maniac, take a deep breath and grab yourself a tape measure. You want to make sure you know exactly how much extra space you need before you start making any permanent changes. Measure the width and length of your existing vanity top, and jot down these measurements somewhere safe. Trust me, you’ll thank me later.
Step 2: Get Your Materials
Once you have your measurements in hand, it’s time to head to the hardware store and gather your materials. You’ll need a piece of wood that matches the color and style of your existing vanity top, as well as some screws, a saw, and a drill. Don’t forget to grab some sandpaper too, because nobody likes a splinter in their morning routine.
Step 3: Saw Like a Pro
Now comes the fun part – making the cuts. Using your trusty saw, carefully cut the piece of wood to fit the dimensions of your vanity top. Take your time with this step; you want to make sure you get it right the first time. Once you’ve made the cuts, give them a quick sanding to smooth out any rough edges.
Step 4: Secure the Extension
With your newly cut piece of wood in hand, it’s time to attach it to your vanity top. Use your drill to make some pilot holes in the underside of the vanity top, then screw the extension into place. Make sure everything is nice and secure – you don’t want any wobbly countertops in your life.
Step 5: Finishing Touches
Now that your extension is in place, it’s time to give it a little TLC. Grab some wood stain or paint that matches your vanity top, and give the whole thing a good coat. This will help the extension blend in seamlessly with the rest of your bathroom decor. Once the paint or stain has dried, give everything a good wipe down and step back to admire your handiwork.
Voila! You’ve successfully extended your bathroom vanity top and added some much-needed space to your morning routine. Now you can spread out all your beauty products and even have a little extra room for that cute succulent you’ve been eyeing. So go ahead, give your vanity top a boost, and start your mornings off right!
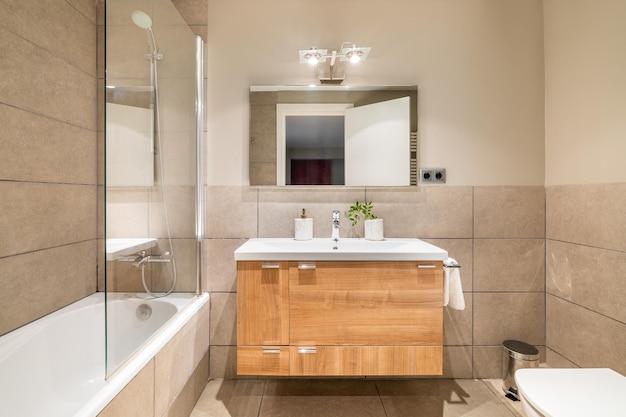
How to Fill the Gap Between a Vanity Top and Wall
Before we dive into filling the gap between your vanity top and the wall, let’s discuss why it’s there in the first place. Well, let’s face it – no matter how perfectly measured your vanity top is, walls have a sneaky way of being slightly uneven. It’s like they’ve got a hidden sense of humor, just waiting to throw off your perfectly aligned vanity plans!
Step 1: Measure Twice, Fill Once
To ensure you fill the gap accurately, start by measuring the width of the gap at multiple points. You might be surprised by how inconsistent those measurements can be! Once you’ve got an average measurement, it’s time for some fillin’ fun.
Step 2: Caulk-It-Up Comedy Show
Caulk, the unsung hero of DIY projects, is our star performer here. Grab a tube of paintable caulk (you’ll want it to blend with your wall color) and a caulk gun. Cut off the tip of the caulk tube at a 45-degree angle – think of it as giving your caulk tube a sleek new haircut.
Step 3: Get Into Character
Now it’s time to become your very own caulk comedian! Hold the caulk gun at a 45-degree angle to the gap and squeeze the trigger with precision and confidence – you don’t want to overdose on caulk here. Slowly move the caulk gun along the gap, applying a smooth, even line of caulk.
Step 4: Smooth Operator
Once you’ve caulked the entire length of the gap, grab a damp rag or sponge. Wet it (the rag or sponge, not your sense of humor), and gently smooth the caulk line, removing any excess or bumps. This step gives your vanity top that extra polished look and feel – like a stand-up comedian delivering a punchline flawlessly.
Step 5: Let the Jokes Settle
Now it’s time to give your caulk masterpiece some time to dry and settle in. Depending on the type of caulk you use, this process typically takes anywhere from 24 to 48 hours. So be patient, resist the urge to touch your handiwork, and let the comedic magic happen!
Step 6: Admire Your Handiwork
Congratulations! You’ve successfully filled the gap between your vanity top and the wall. Take a step back, admire your work, and revel in the fact that you’ve become a DIY comedian extraordinaire. Your perfectly aligned bathroom vanity top will now have that seamless and polished finish you’ve always desired.
Wrapping Up
Remember, filling the gap between your vanity top and the wall is not just about aesthetics – it’s about bringing harmony and balance to your bathroom. So embrace your inner comedian, have some fun with caulk, and let your sense of humor shine brighter than a spotlight on center stage.