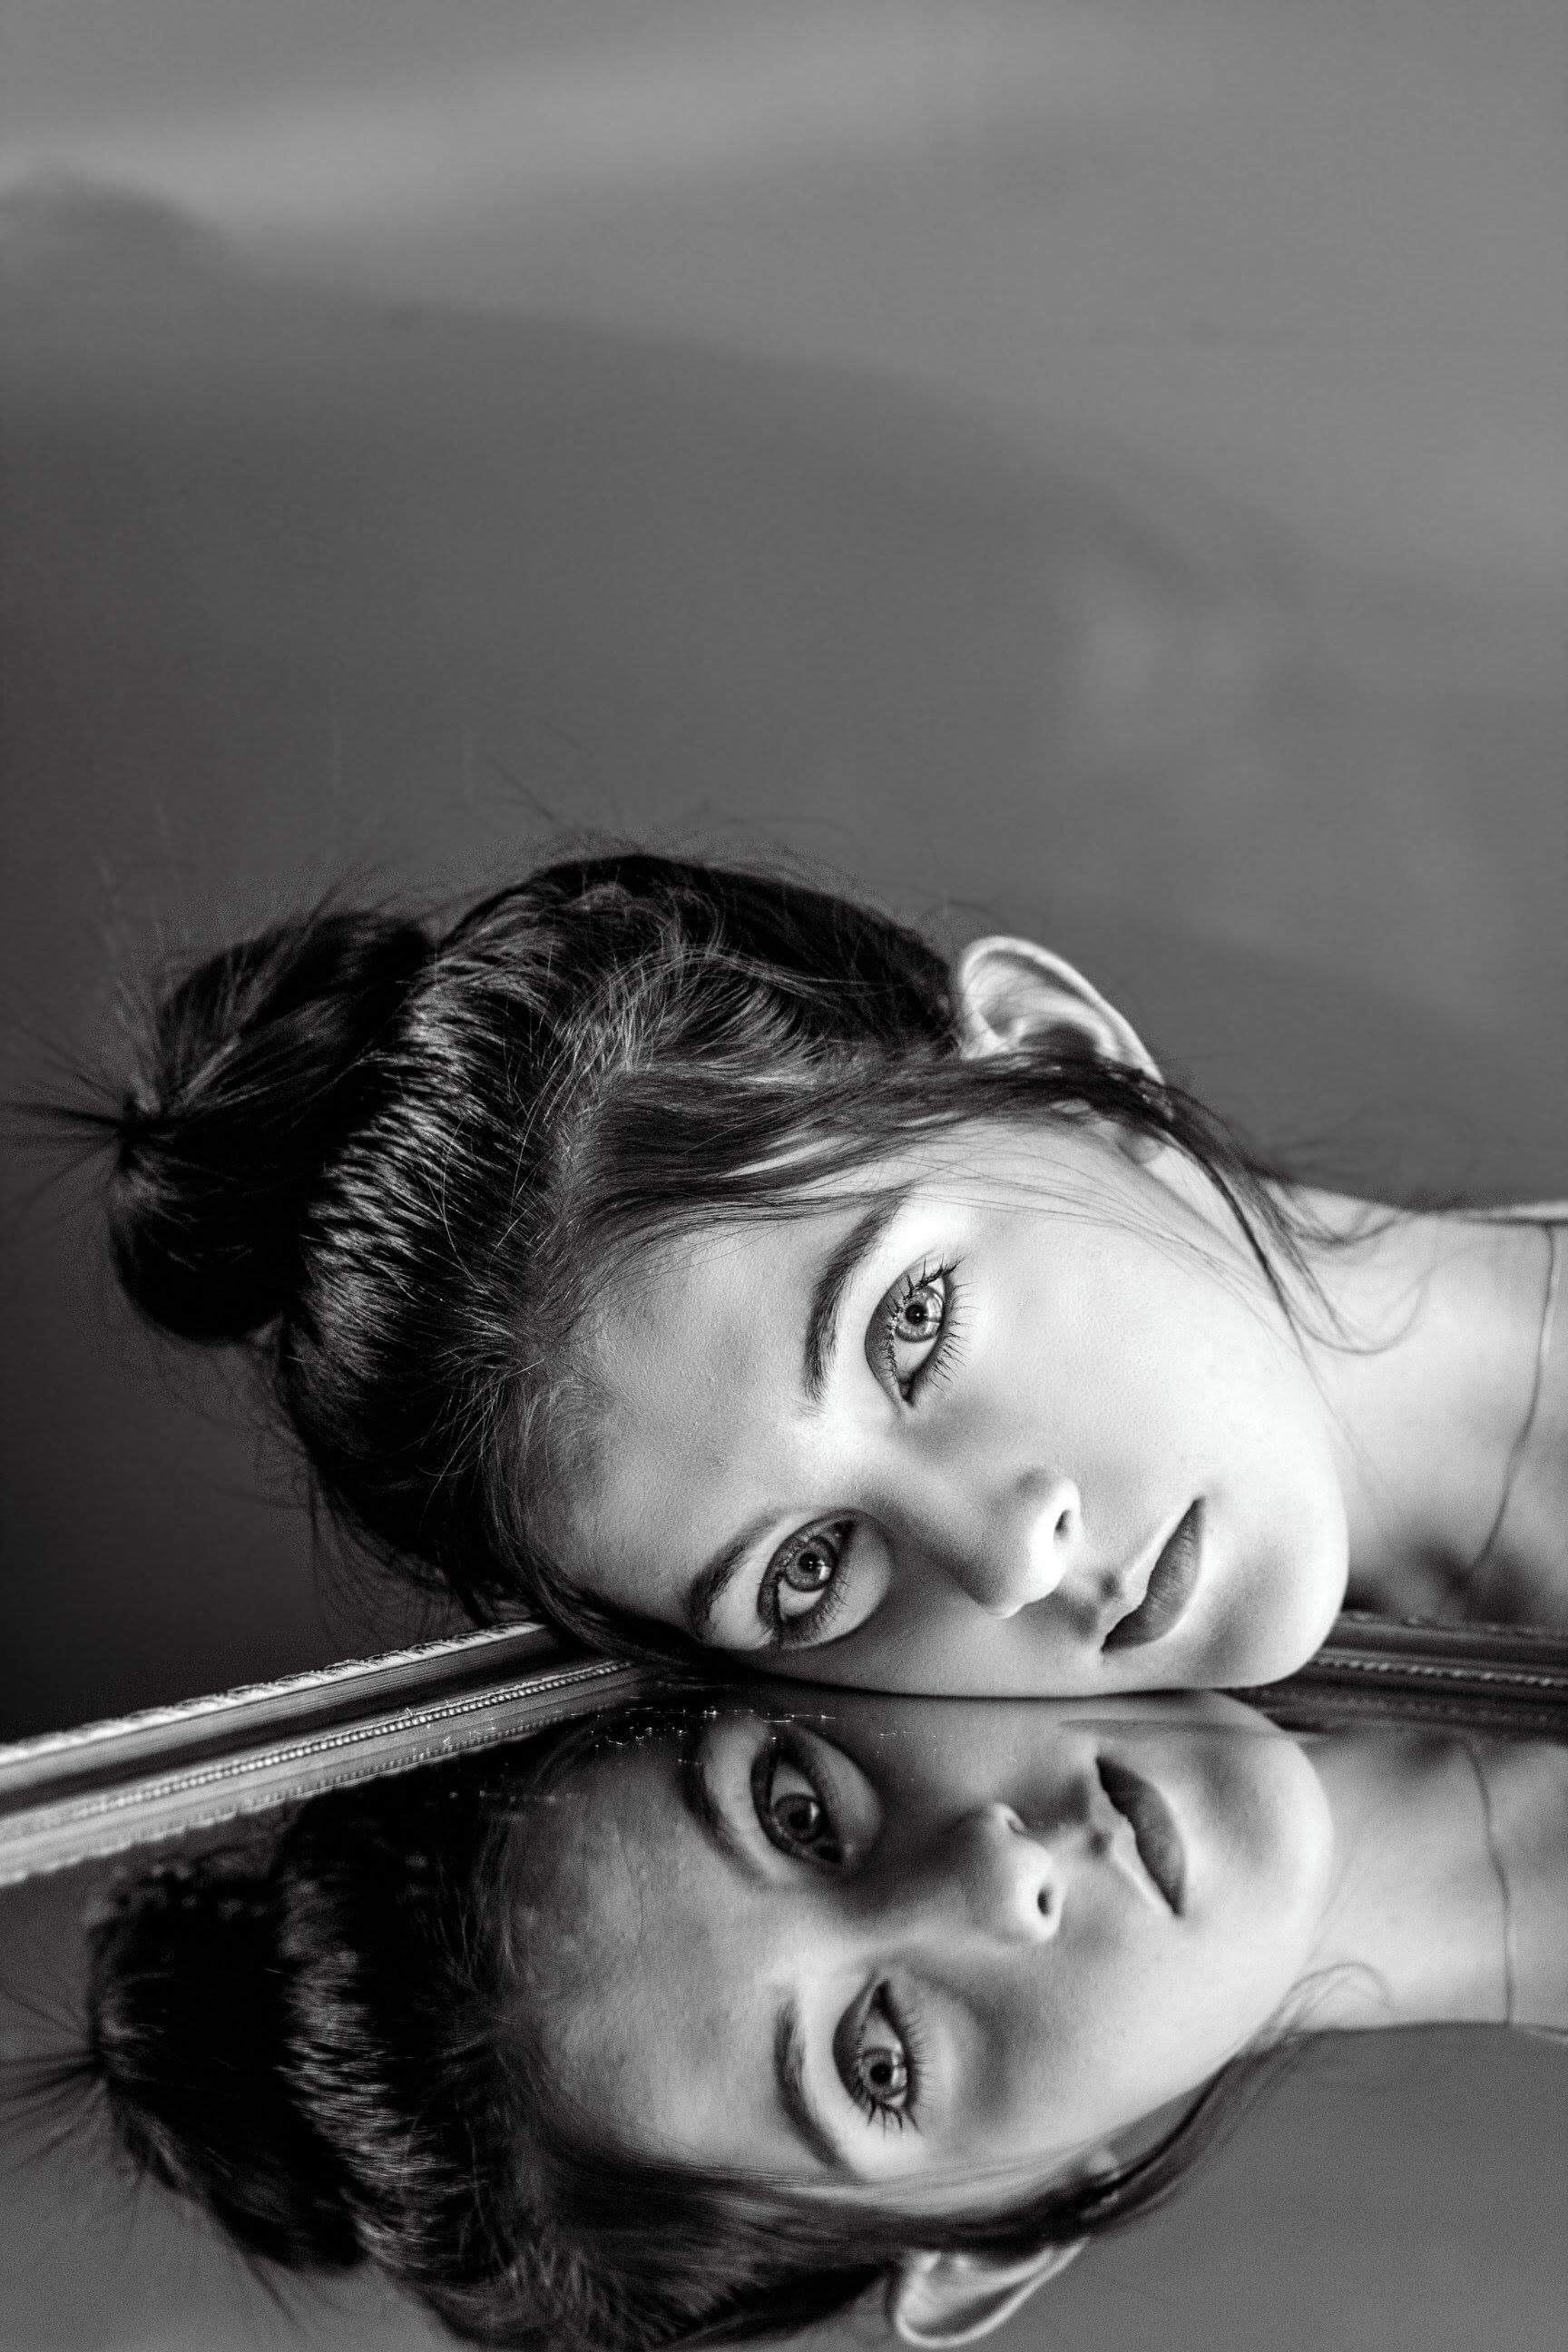
So, you’ve seen those trendy photos where a face is seamlessly blended into another picture and wondering, “How do they do that?” Well, you’ve come to the right place! In this guide, we’ll walk you through the process of cropping a face onto another picture, whether you’re using an iPhone, Android device, or even an iPad. No matter if you want to create a funny meme, a personal avatar, or a creative masterpiece, we’ve got you covered.
We’ll cover various techniques, including using face changer apps, utilizing built-in editing tools on your mobile device, and even freehand cropping for irregular shapes. With our step-by-step instructions, you’ll be able to master the art of face morphing and picture merging in no time. So, let’s dive in and turn your imagination into reality!
How to Master the Art of Face-Cropping: A Picture-Perfect Guide
So you want to take your photo-editing skills to the next level by mastering the art of face-cropping? Well, you’ve come to the right place! In this comprehensive guide, we’ll walk you through the step-by-step process of seamlessly cropping a face onto another picture. Get ready to create some hilarious, mind-blowing, and perhaps even slightly disturbing images that will leave your friends wondering, “How did they do that?”
The Face-Cropping Basics: Finding the Right Images
Before we dive into the intricacies of face-cropping, let’s start with the fundamentals. The key to a successful face-crop lies in choosing the right images. You want two pictures that can work together harmoniously, as if they were meant to be. Think: peanut butter and jelly, Beyoncé and Jay-Z, or cats and the internet!
Step 1: Prepping Your Tools and Workplace
First things first, gather your digital tools of artistic deception. Open your favorite photo editing software and create a new project. Make sure the resolution and canvas size match the image you plan to paste the face onto. You don’t want your final masterpiece to look like a Picasso from the wrong angle!
Step 2: Selecting the Perfect Face
Now comes the fun part: selecting the face you want to transplant onto another body. Remember, this is where creativity blossoms, so don’t limit yourself! You can go for a famous celebrity, your best friend, or even your beloved pet – the choice is yours!
Step 3: Preparing the Face for a Seamless Transition
To avoid any visual hiccups, it’s crucial to prepare the face you’ve chosen before cropping it. Make sure the lighting, angle, and proportions of both images align to create a natural-looking result. It’s like giving your face a virtual spa day before introducing it to its new home!
Step 4: The Art of Precise Cropping
Now that your images are ready, it’s time to embark on the magical journey of face-cropping. Using your software’s selection tools, carefully outline the face you want to crop. Don’t be afraid to use zoom to navigate the precise facial features. Remember, art lies in the details!
Step 5: Blend and Merge – Like a Boss!
To make your face transplant look seamless, it’s crucial to master the art of blending and merging. Play with the opacity of the cropped face layer, experiment with different blending modes, and refine until you achieve that “oh-my-gosh” effect. You want to leave people questioning reality itself!
Step 6: Adjustments and Finishing Touches
Once you’ve successfully merged the face onto its new abode, it’s time to refine and perfect your creation. Adjust the colors, brightness, and contrast to ensure harmony between the face and the background. Use your artistic flair to make the final tweaks that will truly make your cropped face shine!
Beware of the Face-Crop Fails!
While we’ve explored the exhilarating process of face-cropping, it’s essential to embrace the fact that not all attempts will be successful. Sometimes, a face just doesn’t want to be cropped onto another picture, just like some jeans refuse to zip up after a feast. Embrace the giggles and cherish the beautiful disasters!
Now Go Forth and Conquer the Art of Face-Cropping!
Armed with these step-by-step instructions, you’re now ready to embark on your own face-cropping adventures. Remember, the limit of creativity is boundless, so don’t hesitate to push the boundaries and explore new horizons. Just promise us one thing: use your newfound power for good, not for pranks or blackmail!
So go ahead, become the Picasso of face-cropping, and let your imagination run wild. Who knows, maybe in the not-too-distant future, you’ll be the one people turn to when they need a face transplant that brings laughter and amazement to all who see it. Happy face-cropping!
FAQ: How To Crop A Face Onto Another Picture
Have you ever wanted to have a little fun with your pictures by swapping faces or adding your face to someone else’s body? Well, you’re in luck! In this comprehensive FAQ-style guide, we’ll show you the ins and outs of how to crop a face onto another picture. From basic techniques to using specialized apps, we’ve got you covered. So grab your sense of humor and let’s dive right in!
How do I Put a Picture on Another Picture
Putting a picture on top of another is easier than you might think. Here’s a step-by-step guide to get you started:
- Choose your images: Select the picture you want to put another picture on (let’s call it the base image) and the picture you want to place on top (let’s call it the overlay image).
- Use a photo editing software: There are many photo editing software options available for both desktop and mobile. Choose one that suits your needs and open the base image.
- Position the overlay image: Paste the overlay image onto the base image and adjust its position until it looks just right.
- Blend and merge: Use the software’s blending or layering tools to seamlessly merge the two images together. Adjust the opacity of the overlay image if needed to create a more realistic effect.
- Save and share: Once you’re happy with the result, save your newly created image and share it with the world!
How do you Crop Around a Picture
Cropping around a picture is a useful technique when you want to remove unwanted parts of an image or focus on a specific area. To crop around a picture, follow these steps:
- Open your photo editing software: Choose your preferred software and open the image you want to crop.
- Select the cropping tool: Look for the cropping tool in the software’s toolbar. It typically resembles a square or rectangle.
- Adjust the crop area: Click and drag the corners or edges of the crop tool to define the area you want to keep. You can also fine-tune the selection by entering specific dimensions.
- Crop the image: Once you’re satisfied with the selected area, hit the crop button to remove everything outside of it.
- Save your cropped image: Don’t forget to save your cropped masterpiece to preserve all your hard work!
How do I Put a Picture into Another Picture on iPhone
If you’re an iPhone user, fear not, as there are plenty of apps available to help you put a picture into another picture. Here’s a step-by-step guide specifically for iPhone users:
- Browse the App Store: Head over to the App Store and search for photo editing apps that specialize in placing pictures onto other pictures. Some popular choices include Face Swap Live, Snapseed, and PicsArt.
- Choose your app: Select the app that suits your needs and download it onto your iPhone.
- Open the app and select your images: Open the app and choose the base image and overlay image you want to work with.
- Follow the app’s instructions: Each app will have its own set of instructions, typically involving selecting the area to place the overlay image and adjusting its position to fit seamlessly.
- Save and share: Once you’re satisfied with your creation, save the image to your iPhone and show it off to your friends and family!
What is the Best Face Changer App
When it comes to face-changing antics, choosing the right app can make all the difference. While personal preferences may vary, here are a few popular face changer apps worth checking out:
-
FaceApp: FaceApp has gained fame for its impressive face morphing and aging effects. Want to see how you’ll look as an elderly person? FaceApp has got you covered!
-
Snapchat: Known for its fun filters and face-swapping capabilities, Snapchat offers a wide range of entertaining options to transform your appearance.
-
MSQRD: With MSQRD, you can swap faces, add masks, and even turn into your favorite movie characters. It’s a whimsical app that will keep you entertained for hours.
Remember, the best app ultimately depends on your preferences and the specific features you’re looking for. So go ahead, have fun, and let your creativity run wild!
How do you Crop Another Picture on my iPhone
Cropping another picture on your iPhone is a breeze with the built-in editing tools. Here’s how you can do it:
- Open the Photos app: Locate and open the image you want to crop in the Photos app on your iPhone.
- Tap on “Edit”: Once the image is open, tap on the “Edit” button located in the upper-right corner of the screen.
- Select the Crop tool: In the editing options at the bottom of the screen, look for the crop icon (usually represented by two overlapping right angles) and tap on it.
- Adjust the crop area: Use your finger to drag the corners or edges of the crop tool to define the area you want to keep. You can also fine-tune the selection by entering specific dimensions.
- Crop the image: When you’re happy with the selected area, hit the “Done” button to crop the image.
- Save your cropped image: Tap on the “Done” button again to save your cropped creation.
Your newly cropped image is now ready to be shared, printed, or used in any way your heart desires!
How do you Morph a Picture
Morphing pictures can create fascinating transformations and surreal effects. To morph a picture, here’s what you need to do:
- Choose your software: Select a photo editing software that offers morphing capabilities. One popular option is FaceApp, which allows you to morph faces with impressive accuracy.
- Open your image: Launch the software and open the image you want to work with. Make sure it’s a clear and well-lit photo for best results.
- Follow the software’s instructions: Each software will have its own interface and specific instructions for morphing. Generally, you’ll be asked to select key points on the face you want to morph and then choose the destination face for the transformation.
- Preview and adjust: Once you’ve set the parameters, preview the morphed image and make any necessary adjustments to ensure a seamless blend.
- Save and share: When you’re satisfied with the result, save your morphed masterpiece and share it with your friends and social media followers.
Remember, morphing pictures can be a playful way to experiment with visuals, so don’t be afraid to let your imagination run wild!
What App Can I Put a Picture on Top of Another
If you’re looking for an app that allows you to easily place a picture on top of another, look no further! There are several user-friendly options available:
-
PicPlus: PicPlus is a versatile app that lets you overlay pictures, add text, and apply various effects. It’s a great choice for adding that extra touch to your images.
-
Superimpose X: This app is specifically designed for layering and blending images. With its intuitive interface, you can seamlessly combine pictures to create stunning compositions.
-
Pixlr: Pixlr offers a range of editing tools, including the ability to overlay one image onto another. Its user-friendly interface makes it accessible to both beginners and more experienced editors.
So go ahead and explore these apps to find the one that suits your needs and puts your picture on top of another in a snap!
How do you Crop a Picture and Put it on Another
Cropping a picture and putting it on another is a fun way to create unique compositions. If you want to give it a try, follow these steps:
- Choose your images: Select the picture you want to crop and the picture you want to put the cropped image on.
- Open your photo editing software: Launch your preferred editing software and open both images.
- Crop the first image: Use the cropping tool to select a specific area of the first image that you want to use. Crop it and save it separately.
- Paste the cropped image onto the second image: Copy the cropped image and paste it onto the second image in your editing software.
- Position and blend: Adjust the position and size of the cropped image to fit seamlessly onto the second image. Use blending or layering tools to ensure a natural and convincing result.
- Save your creation: Once you’re satisfied with the placement and blending, save your final image and share it with your friends and followers.
Get ready to impress everyone with your eye-catching and creative compositions!
How can I Crop My Face into a Picture
If you want to have some fun by cropping your face into a picture, here’s how you can do it:
- Choose your source image: Select the picture you want to crop your face from. Make sure it’s a clear photo where your face is easily recognizable.
- Open your photo editing software: Open your preferred editing software and import both the source image and the image you want to put your face into.
- Crop your face: Use the cropping tool to isolate your face from the source image. Adjust the size and position to capture just the facial area.
- Transfer your face: Copy the cropped face from the source image and paste it into the image where you want to place it.
- Blend and adjust: Blend the face into the new image using layering techniques and adjust the size, position, and color if necessary for a seamless integration.
- Inspect and save: Take a moment to inspect your creation and make any final adjustments. When you’re satisfied, save your image and showcase your face-cropping skills!
How can I Put My Face on Another Picture App for Free
Putting your face on another picture doesn’t have to cost a fortune. There are plenty of free apps available that allow you to indulge in face-swapping and photo fun! Here are a few popular options:
-
FaceSwap Live: FaceSwap Live lets you swap faces with friends, family, or even celebrities in real-time. It’s a hilarious app that promises endless entertainment.
-
MixBooth: With MixBooth, you can morph your face with a friend or celebrity seamlessly. It offers a fun and easy way to put your face on another picture.
-
Photo Lab Picture Editor: This versatile app not only lets you place your face on other images but also offers a wide range of effects and filters to enhance your creations.
So why spend money on expensive apps when you can have a blast with these free options? Enjoy putting your face on another picture without breaking the bank!
How do You Edit Your Face into Someone Else’s Body Video
Editing your face into someone else’s body video might sound like something out of a science fiction movie, but with the right tools, it’s absolutely doable. Here’s how you can have some fun with this whimsical idea:
- Find your video footage: Look for a video where you’d like to replace the face with your own. Keep in mind that the video should have a clear view of the face you want to replace.
- Choose your editing software: Select a video editing software that offers advanced face-tracking and replacement capabilities. Adobe After Effects is a powerful tool commonly used for these kinds of edits.
- Import your video footage: Import both your video footage and the video that contains your face into the editing software.
- Track and replace: Use the face-tracking or motion-tracking tools provided in your editing software to track the face in the video you want to replace and then replace it with your own face.
- Blend and tweak: Adjust the position, scale, and blend of your face to make it look as natural as possible within the video footage.
- Export and share: Once you’re satisfied with the result, export your video and share it with your friends, family, or social media followers. Get ready for some laughter and amazed reactions!
Keep in mind that this type of editing requires some technical skills and may take some time to get right. But with practice and a touch of creativity, you can bring your face into someone else’s body video!
How do you Crop an Irregular Shape
Cropping irregular shapes may sound like a challenge, but fear not! With the right tools, you can easily crop around any irregular shape. Here’s how:
- Open your photo editing software: Launch your preferred photo editing software and open the image you want to work with.
- Select the Pen tool or Freeform selection tool: Look for the Pen tool or Freeform selection tool in your software’s toolbar. These tools allow you to draw custom shapes around the area you want to keep.
- Trace the irregular shape: Use the Pen tool or Freeform selection tool to trace the outline of the irregular shape. Take your time and ensure that the selection closely follows the shape’s contours.
- Create a selection: After you’ve traced the shape, the software will create a selection based on your drawn outline.
- Crop the image: Once the selection is created, go ahead and crop the image using the software’s cropping tool or by choosing the “Crop” option.
- Save your masterpiece: Give yourself a pat on the back, save your newly cropped image, and marvel at your ability to conquer irregular shapes like a pro!
How do you Face Morph on FaceApp
FaceApp, the wizard of face transformations, offers an easy and entertaining way to face morph. Here’s how you can do it within the app:
- Choose your photo: Open FaceApp and select the photo you want to morph. It can be a selfie, a picture of a friend, or even a historical figure if you’re feeling particularly adventurous!
- Navigate to the “Morph” feature: Look for the “Morph” option within the app’s interface. It’s usually represented by two faces blending together.
- Adjust the sliding scale: FaceApp provides a sliding scale to control the intensity of the morph. Move the slider to your desired level – from a subtle morph to a full-blown transformation.
- Wait for the magic: FaceApp will process your photo and generate the morphed version based on the selected intensity level.
- **Save