Are you tired of your gradients appearing in black and white only? Do you want to learn how to make them fade to transparent or adjust their opacity? Look no further! In this comprehensive guide, we’ll walk you through all the steps you need to know about changing gradient colors in Adobe InDesign CC. Whether you’re a seasoned graphic designer or just starting out, this tutorial will equip you with the knowledge and techniques to create stunning gradients that will add depth and visual interest to your designs.
We’ll cover various topics, including how to change the color of a gradient, create a radial gradient, blend colors, and more. If you’ve ever wondered about the gradient tool in Photoshop or Illustrator, we’ve got you covered too. By the end of this blog post, you’ll be able to effortlessly create eye-catching gradients that will make your design projects pop. So let’s dive in and explore the wonderful world of gradient color customization in InDesign CC!
How to Master the Art of Changing Gradient Colors in InDesign CC
Are you ready to take your design game to the next level and create eye-catching, mesmerizing visual effects? Look no further! In this guide, we will delve into the magical world of InDesign CC and unravel the secrets of changing gradient colors like a pro. Prepare to wow your audience with stunning designs that seize their attention and hold it hostage!
The Basics: Understanding Gradients
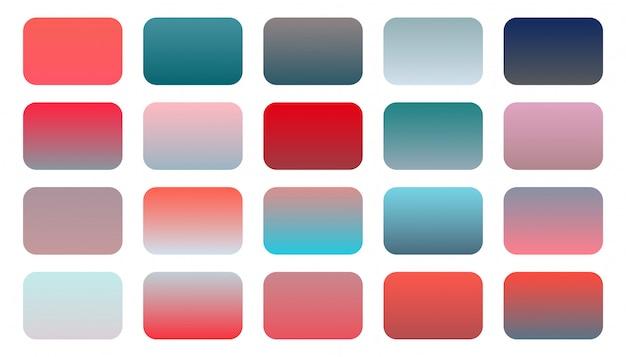
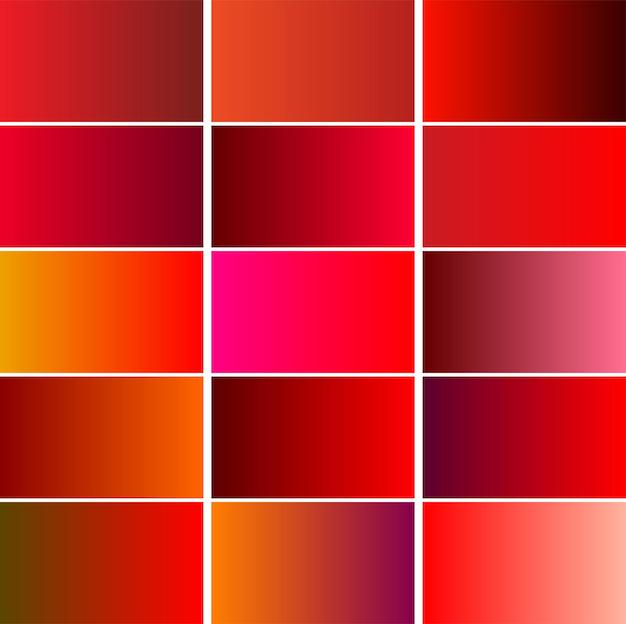
Before we dive into the captivating world of changing gradient colors, let’s have a quick refresher on what gradients are. Remember those beautiful color transitions you’ve seen on everything from logos to web banners? That, my friend, is a gradient!
In simple terms, a gradient is a gradual blend from one color to another. It’s like watching a sunset, with hues softly melting into each other, creating a visually pleasing effect. With InDesign CC, you have the power to manipulate these gradients and make them dance to your creative tune.
Step-by-Step Guide: Changing Gradient Colors
1. Selecting Your Desired Object
The first step on our gradient journey is to choose the object you want to sprinkle your colorful magic on. It can be anything from a text box to a shape or even an image. InDesign CC empowers you to liberate your creativity, so don’t hold back!
2. Accessing the Gradient Panel
Now that you’ve set your sights on the object, it’s time to access the Gradient panel. To do this, head over to the Window menu and click on “Color” to reveal the dropdown options. From there, select “Gradient” and watch with awe as the Gradient panel materializes before your eyes!
3. Applying a Gradient Color
With the Gradient panel at your fingertips, it’s time to work some colorful sorcery. Simply click on the object you wish to apply the gradient to, and marvel as it gets shrouded in the default gradient style. But hold your horses, we’re not done yet!
4. Altering the Gradient Colors
Now comes the fun part: customization! To change the gradient color, click on one of the “Gradient Stops” located at the bottom of the panel, and prepare to unleash your inner artist. A world of captivating colors awaits your command!
5. Refining the Gradient
Once you’ve settled on your main colors, it’s time to sprinkle some finesse onto your gradient creation. Use the “Type” dropdown menu to experiment with different gradient types, such as linear or radial. Play around with the sliders to adjust the angle, opacity, and location to achieve that perfect blend. Don’t worry, practice makes perfect!
6. Embracing Creativity with Multiple Gradients
Why settle for one gradient when you can have multiple? Thanks to InDesign CC’s generosity, you can add as many color transitions as your heart desires. Click on the plus icon next to the “Gradient Stops” to create additional points of color-blending glory.
Rule the Gradient Kingdom: Mastering InDesign CC!
Congratulations, you’ve now unlocked the secrets of changing gradient colors in InDesign CC! With this newfound knowledge, you are armed and ready to conquer the design realm and captivate audiences with your imaginative creations. Remember, practice and experimentation are the keys to becoming a gradient guru. So go forth, be bold, and let your inner artist run wild!
FAQ: How To Change Gradient Color In InDesign CC
Why is my gradient only black and white
If your gradient in InDesign is only appearing in black and white, it’s likely due to the default settings for your gradient. In order to change the colors, you’ll need to adjust the gradient stops and select the desired colors. Keep reading to find out how.
How do you make a gradient fade to transparent in InDesign
To create a gradient that fades to transparent in InDesign, follow these steps:
1. Select the object or text frame you want to apply the gradient to.
2. Open the “Swatches” panel (Window > Color > Swatches).
3. Click on the “Gradient” button in the Swatches panel.
4. Double-click on the gradient slider to open the Gradient panel.
5. Adjust the opacity stops on the slider to create a fade-out effect.
6. If necessary, adjust the position of the gradient stops to fine-tune the fade effect.
How do you change the gradient tool color in Photoshop
Unfortunately, you won’t find a direct “gradient tool color” setting in Photoshop. Instead, the color of the gradient tool is determined by the colors or pattern you choose for your gradient. To change the color, you’ll need to modify the color stops of the gradient itself.
How do you make a gradient fade in InDesign
To make a gradient fade in InDesign, here’s what you should do:
1. Select the object or text frame you want to apply the gradient to.
2. Open the “Swatches” panel (Window > Color > Swatches).
3. Click on the “Gradient” button in the Swatches panel.
4. Double-click on the gradient slider to open the Gradient panel.
5. Adjust the gradient stops and their positions to create the desired fade effect.
6. You can also experiment with different gradient types, such as linear, radial, or freeform, to achieve different fading results.
Can you change the opacity of a gradient in InDesign
Yes, you can change the opacity of a gradient in InDesign. By adjusting the transparency of the gradient stops, you can control how opaque or transparent the colors appear. Double-click on the gradient slider to open the Gradient panel, and then adjust the opacity stops to your liking.
How do you change the color on your gradient
To change the color of your gradient in InDesign, follow these steps:
1. Select the object or text frame that has the gradient applied.
2. Go to the “Swatches” panel (Window > Color > Swatches).
3. Click on the “Gradient” button in the Swatches panel.
4. Double-click on the gradient slider to open the Gradient panel.
5. Click on the gradient stops to select them.
6. In the “Swatches” panel, choose a new color for each selected stop.
7. Repeat this process for any other gradient stops you want to change the color of.
How do you change the gradient color in InDesign 2023
To change the gradient color in InDesign 2023, follow these steps:
1. Select the object or text frame that has the gradient applied.
2. Open the “Swatches” panel (Window > Color > Swatches).
3. Click on the “Gradient” button in the Swatches panel.
4. Double-click on the gradient slider to open the Gradient panel.
5. Click on the gradient stops to select them.
6. In the “Swatches” panel, choose a new color for each selected stop.
7. Repeat this process for any other gradient stops you want to change the color of.
How do I change the opacity in InDesign
To change the opacity of an object or text frame in InDesign, follow these steps:
1. Select the object or text frame you want to adjust the opacity of.
2. Open the “Transparency” panel (Window > Output > Transparency).
3. In the “Transparency” panel, adjust the opacity slider to your desired level.
4. You can also enter a specific value in the “Opacity” field or use the arrow buttons to fine-tune the opacity.
What is the Gradient tool
The Gradient tool is a versatile feature in software like InDesign that allows you to create smooth color transitions or fades across objects or text frames. By defining the gradient stops and their positions, you can achieve various color effects, from simple blends to complex multi-color gradients.
How do I change the color of an element in Canva
To change the color of an element in Canva, follow these steps:
1. Select the element you want to change the color of.
2. Look for the “Fill” or “Color” option in the editing toolbar.
3. Click on the color swatch and choose a new color from the color picker or select a preset color.
4. You can also enter specific color codes if you have a particular color in mind.
How do you change the color of the gradient in Illustrator
To change the color of a gradient in Illustrator, here’s what you need to do:
1. Select the object or text frame with the gradient applied.
2. Open the “Gradient” panel (Window > Gradient).
3. Click on the gradient stops to select them.
4. In the “Color” panel or “Swatches” panel, choose a new color for each selected stop.
5. You can select a color from the swatches or use the color picker to define a custom color.
6. Repeat this process for any other gradient stops you want to change the color of.
How do you construct a gradient
Constructing a gradient involves defining the color stops and their positions to create a smooth transition between colors. In software like InDesign, Illustrator, or Canva, you can typically accomplish this by following these steps:
1. Access the gradient options via the swatches or properties panel.
2. Set the color stops by selecting them and setting the desired colors.
3. Adjust the position of the stops to control the color transition.
4. Experiment with different gradient types, such as linear, radial, or freeform, to achieve different effects.
5. Fine-tune the gradient settings as needed until you achieve the desired result.
How do you blend colors in InDesign
To blend colors in InDesign, you can utilize the gradient tool, which allows you to smoothly transition between multiple colors. By adjusting the gradient stops, their colors, and positions, you can create beautiful color blends that seamlessly merge from one color to another.
How do you make a radial gradient in InDesign
To create a radial gradient in InDesign, follow these steps:
1. Select the object or text frame you want to apply the radial gradient to.
2. Open the “Swatches” panel (Window > Color > Swatches).
3. Click on the “Gradient” button in the Swatches panel.
4. Double-click on the gradient slider to open the Gradient panel.
5. Choose the “Radial” gradient type.
6. Adjust the gradient stops, colors, and their positions to achieve the desired radial effect.
Why is InDesign highlighting in pink
If your text or objects in InDesign are highlighted in pink, it usually indicates that there is an overset text or image, meaning that the content exceeds the boundaries of its container. This overset text or image is highlighted in pink to alert you to the issue. You can either resize the container or adjust the content to resolve the pink highlighting.
How do I remove a gradient color in InDesign
To remove a gradient color from an object or text frame in InDesign, follow these steps:
1. Select the object or text frame that has the gradient applied.
2. Open the “Gradient” panel (Window > Color > Gradient).
3. Click on the gradient stops you want to remove.
4. Press the “Delete” key on your keyboard or click on the trash bin icon in the panel to remove the selected stops.
5. Repeat this process for any other gradient stops you want to remove.
How do I make a 3-color gradient in Illustrator
To create a three-color gradient in Illustrator, follow these steps:
1. Select the object or text frame you want to apply the gradient to.
2. Open the “Gradient” panel (Window > Gradient).
3. Choose the “Linear” or “Radial” gradient type.
4. Click on the gradient slider to add a new color stop.
5. Set the color for the new stop.
6. Repeat steps 4 and 5 to add additional color stops and set their colors.
7. Adjust the position of the stops to define the blending points between the colors.
8. You can also adjust other gradient settings, such as opacity or transparency, to further enhance your three-color gradient.
Why is my gradient grey in Photoshop
If your gradient appears grey in Photoshop, it could be due to various factors. One possibility is that the colors you’ve chosen for the gradient stops are too similar, resulting in a subtle transition with minimal color variation. Try selecting different colors with more contrast to achieve a more noticeable gradient effect. Additionally, ensure that the opacity settings for the gradient stops are not set to a low percentage, as this can also affect the perceived color intensity.