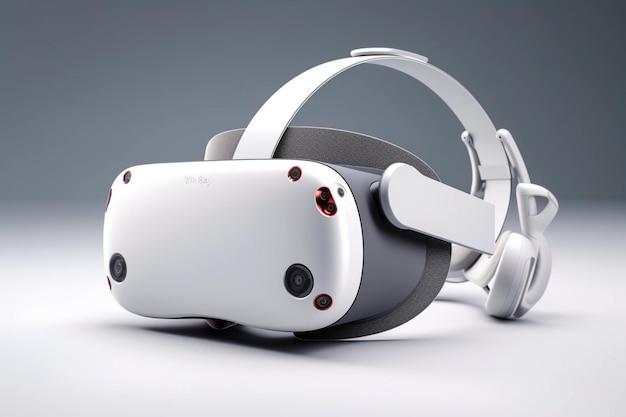
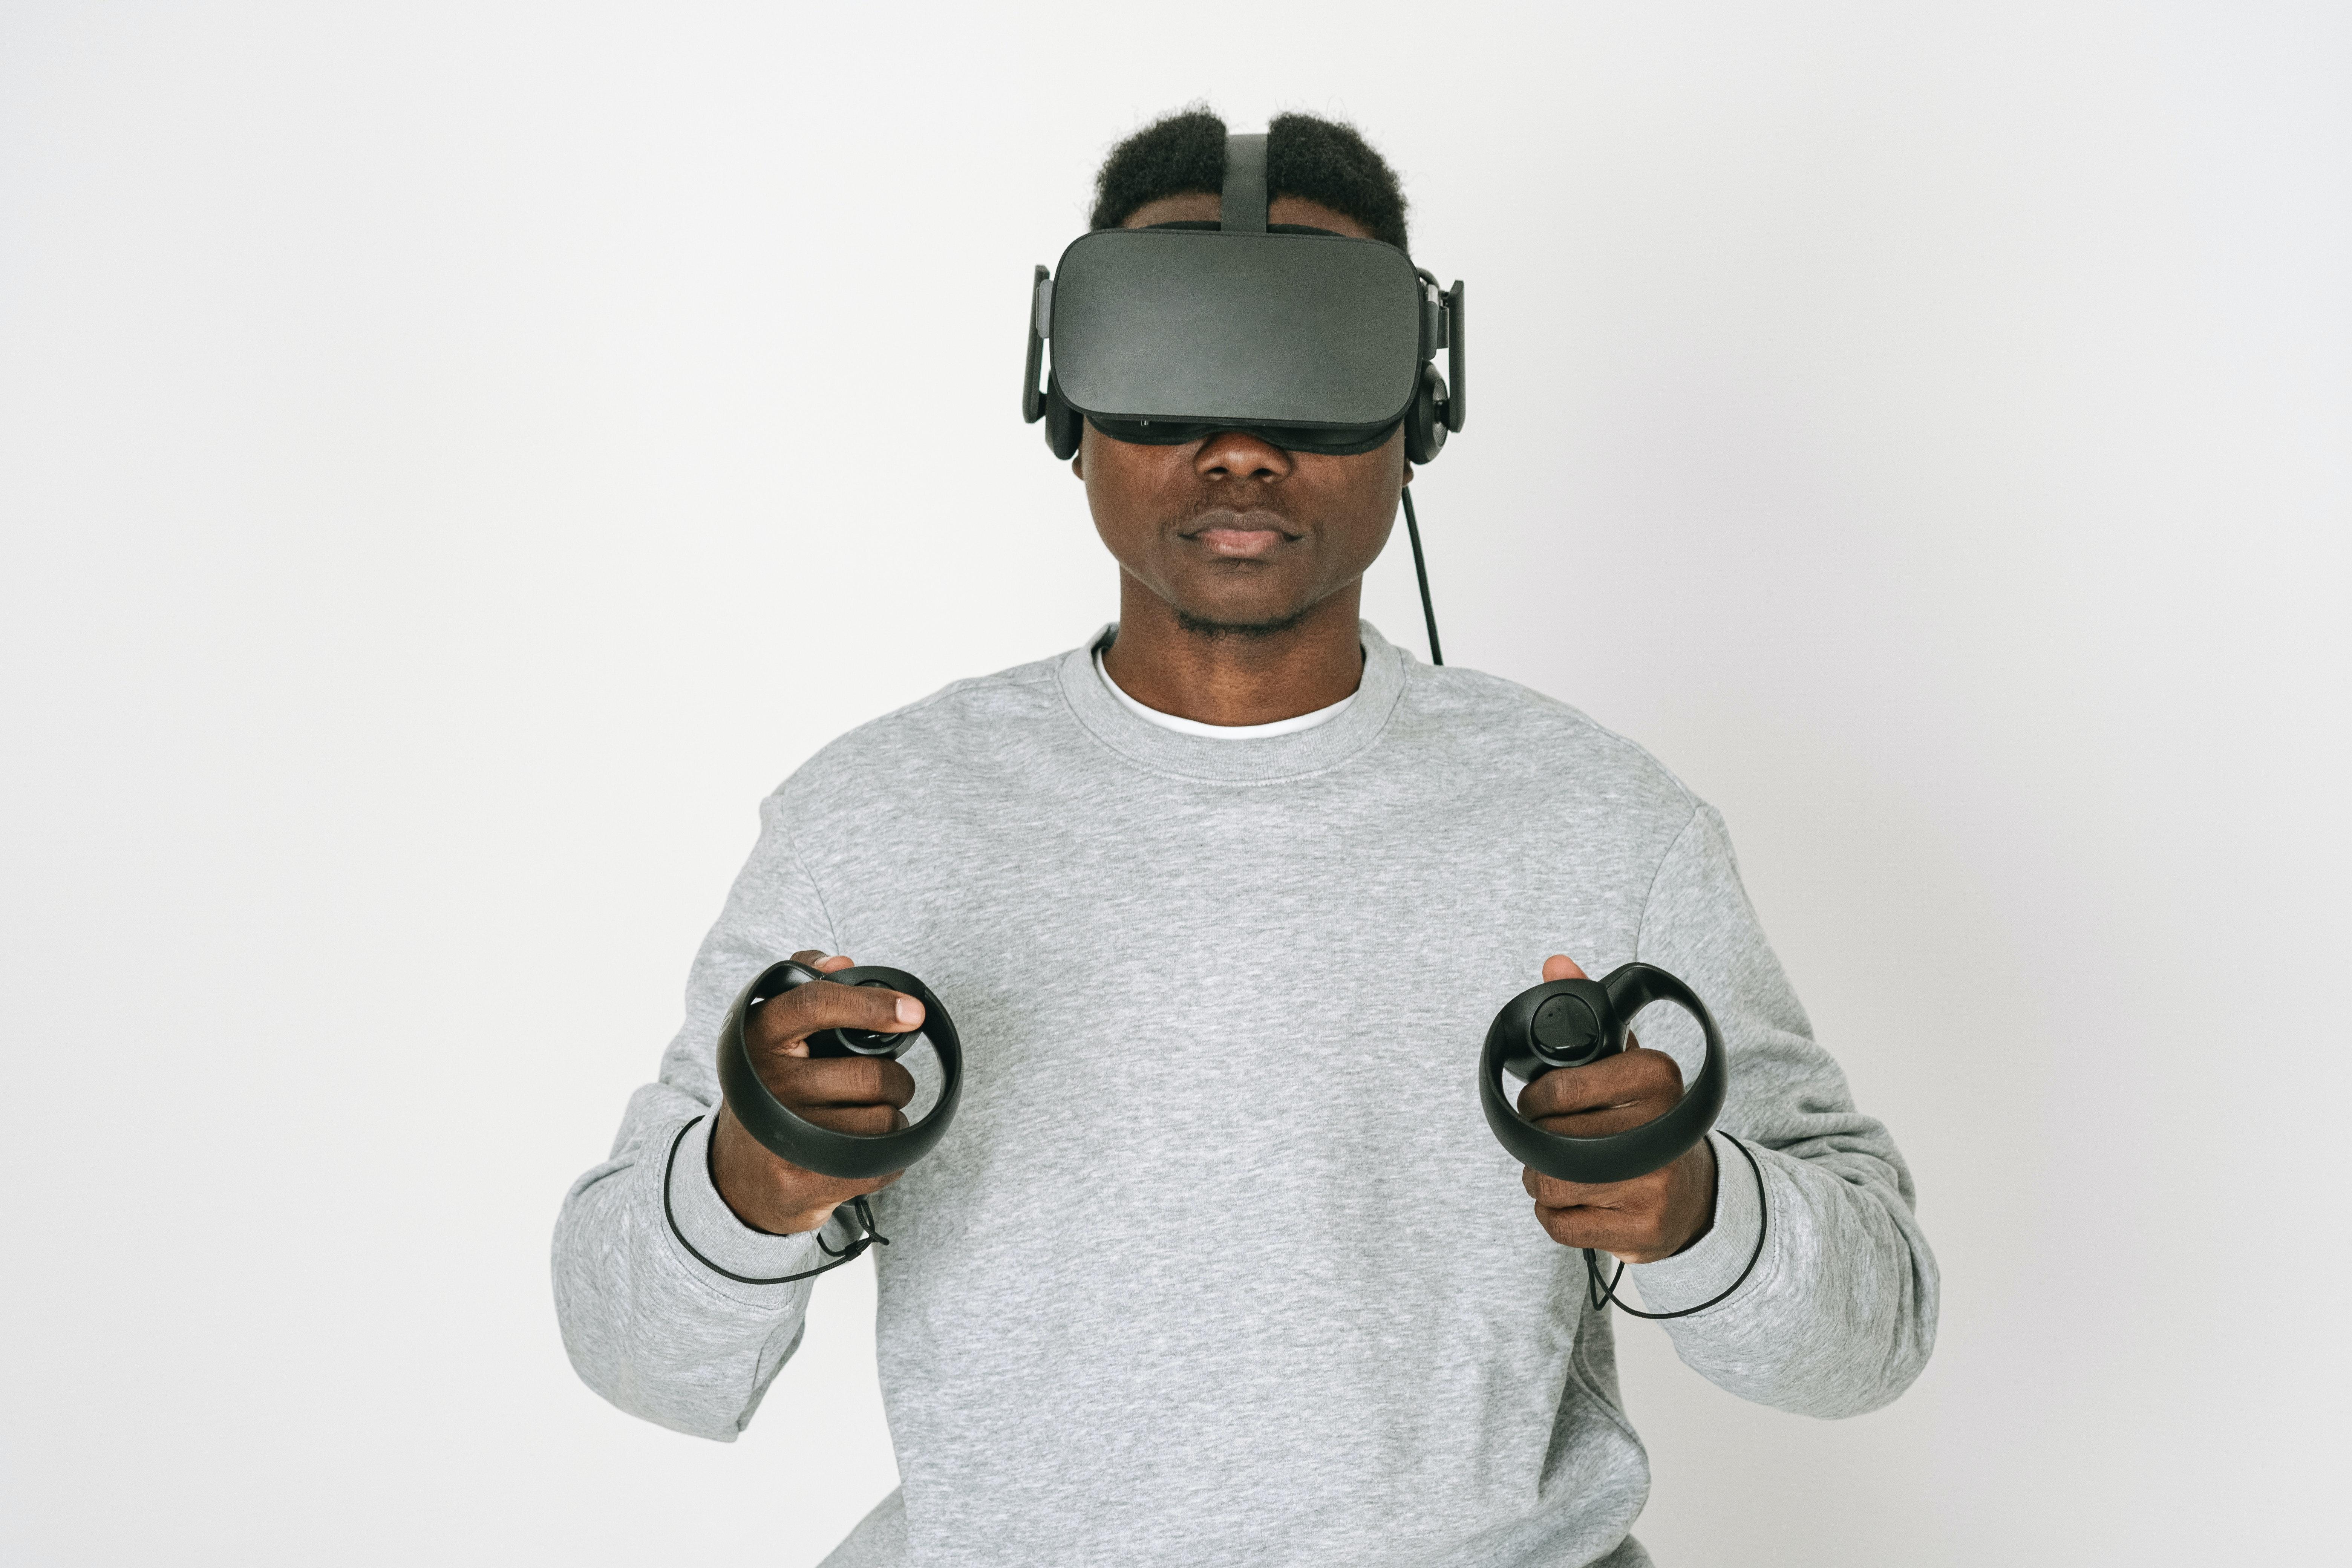
Are you ready to take your virtual reality experience beyond the confines of your Oculus headset? If you’ve been wondering how to cast your Oculus onto other devices without the Oculus app, you’ve come to the right place! In this blog post, we’ll explore different methods to watch VR on your TV, cast your Oculus Quest 2 to Chrome, connect Quest 2 to your phone screen, and much more. Say goodbye to limitations and let’s dive into the exciting world of casting Oculus without the app!
How to Cast Oculus Without Using the Oculus App
So, you want to cast your Oculus but don’t want to deal with the hassle of using the Oculus app? Well, you’re in luck because we’ve got some nifty tricks up our sleeve to help you out. Grab your virtual reality headset, put on your gaming cap, and let’s dive into the world of casting without the Oculus app!
Finding an Alternate Route
Stream It Like a Pro
Who needs the Oculus app when you can be a rebel and find your own way? One option is to use a third-party streaming software like OBS (Open Broadcaster Software) to cast your Oculus to your preferred screen. Imagine being the director of your own virtual reality play, streaming it to the world without the constraints of the Oculus app. It’s like a Netflix binge but with your own awesome virtual adventures!
Going Wireless with a Twist
If you’re tired of dealing with pesky cables, there’s another workaround for you. You can use a Chromecast or a streaming device like Roku to wirelessly cast your Oculus to your TV or monitor. Simply connect your Oculus to the device, like magic, and voila! You’ve got a front-row seat to your virtual escapades, without the need for the Oculus app. It’s like having a personal theater at your fingertips!
Discovering the Joy of SideQuest
Delve into the World of SideQuest
Hey, have you heard about SideQuest? It’s like a secret society for Oculus enthusiasts who want to explore beyond the limits set by the Oculus app. SideQuest is an unofficial platform where you can find all sorts of VR goodies, including apps, games, and, you guessed it, casting options. With the magic of SideQuest, you can unlock a whole new level of casting freedom, all while thumbing your nose at the Oculus app. It’s like being a rebellious VR virtuoso!
The ADB and You
Now, this might sound a bit technical, but bear with us. ADB (Android Debug Bridge) is a developer tool that can help you cast your Oculus without the Oculus app. It allows you to connect your Oculus to your computer, opening up a world of possibilities. With a few fancy commands and a sprinkle of technical know-how, you can sidestep the Oculus app and cast to your heart’s content. It’s like being a VR wizard, waving your ADB wand and making the Oculus app disappear!
Embracing the Brave New VR World
VR Nirvana, Here We Come!
Casting your Oculus without the Oculus app may seem like a daunting task, but with a little ingenuity, you can break free from the shackles and venture into a world of endless possibilities. Whether you choose to stream like a pro, unleash the power of SideQuest, or delve into the world of ADB, the choice is yours. Embrace your inner rebel and cast your Oculus without the limitations of the Oculus app. It’s like discovering a whole new dimension within your virtual reality realm!
Conclusion
So there you have it, folks! You now know the secrets of casting your Oculus without the Oculus app. With these alternative methods in your back pocket, you can enjoy your virtual reality adventures without the unnecessary restrictions. So go forth, cast your Oculus like a boss, and let the world see the awesomeness that unfolds within your virtual realm. Happy casting!
How to Watch VR on Your TV
So you’ve delved into the fantastic world of VR, and now you want to share the excitement with your friends and family. While strapping on a virtual reality headset offers an immersive experience, wouldn’t it be great if you could also enjoy it on the big screen? Well, you’re in luck! In this guide, we’ll show you how to cast your Oculus without using the Oculus app, so you can watch VR on your TV and have everyone join in on the fun.
What You’ll Need
Before we get started, let’s make sure you have everything you need for VR casting greatness. First off, you’ll obviously need an Oculus VR headset. Secondly, grab yourself a Chromecast device, which will act as the bridge between your headset and your television. Make sure your TV has an HDMI port, and you’re good to go!
Step 1: Set Up Your Chromecast
First things first, let’s get your Chromecast up and running. Plug the device into your TV’s HDMI port, and power it up. Make sure it’s connected to the same Wi-Fi network as your Oculus headset, so they can buddy up and work their magic together.
Step 2: Connect Your Oculus to Chromecast
Now that your Chromecast is ready, let’s connect it to your Oculus headset. Begin by putting on your headset and entering the Oculus Home menu. From there, navigate to Sharing and select Cast. This will open up the casting options for you to explore.
Step 3: Select Your Chromecast Device
Within the casting options, you should see a list of available Chromecast devices on your network. Choose the one connected to your TV, and if prompted, grant the necessary permissions to establish the connection.
Step 4: Start Casting
You’re almost there! Once your Oculus and Chromecast are happily synced up, you can start casting your VR experience to your TV. Simply select the content you want to share, be it a game, a 360-degree video, or an immersive app, and hit the Start button. Enjoy the show as your virtual world comes to life on your television screen!
Extra Tips for a Better Experience
To make the most of your VR casting extravaganza, remember to keep a few things in mind:
Adjust Your Casting Settings
To ensure a smooth and optimal casting experience, head over to the Oculus app on your phone and find the casting settings. From there, you can adjust the resolution, frame rate, and other parameters to match your TV’s capabilities and personal preferences.
Create a Comfortable Viewing Space
Watching VR on a TV means you’re no longer confined to the virtual realm, so take advantage of it! Prepare a comfortable viewing area in your living room, complete with cozy seating and enough room for everyone to marvel at the VR wonders.
Engage with Your Audience
Don’t forget that watching VR on a big screen turns it into a shared experience. Let your audience get involved by handing them gamepads or controllers, so they can participate and interact with the virtual world alongside you. It’s bound to create a memorable and laughter-filled gathering!
So there you have it! With a simple Chromecast and a few quick steps, you can cast your Oculus VR experience onto your TV and invite your friends and family to be a part of the action. Now go forth, showcase your virtual prowess, and let the VR extravaganza begin!
What are the Alternatives to Casting Oculus
So you don’t have the Oculus app, but you still want to cast your Oculus to another device like a phone, tablet, or even your TV? Fear not, my friend, for there are other ways to achieve this grand feat! Here are a few clever alternatives that will let you cast your Oculus to different screens without the need for the Oculus app.
1. Miracast your way to glory
One nifty option is to use Miracast, a wireless display standard that works like magic. If you have a smart TV or a streaming device that supports Miracast, you’re in luck! Simply enable the feature on your TV and connect your Oculus device to cast your virtual reality adventures directly onto the big screen. It’s like having front-row seats to your own personal blockbuster!
2. The power of Chromecast
Ah, Chromecast, the little dongle that could. Plug this marvelous device into your TV’s HDMI port and watch as it works its magic. To cast your Oculus, make sure your Chromecast and Oculus are connected to the same Wi-Fi network, and then select the “Cast” option within your Oculus settings. Voila! Your virtual escapades will come to life on the big screen, making you the envy of all your friends.
3. The good ol’ USB-C cable trick
For those who crave a more direct connection, look no further than the trusty USB-C cable. Just grab yourself a compatible cable, connect one end to your Oculus and the other end to your phone or PC, and you’ll be ready to cast your Oculus action to a smaller screen. It may not have the same allure as a TV, but it gets the job done. Plus, you won’t have to worry about any wireless hiccups or lag ruining your experience.
4. Third-party casting apps to the rescue
If you’re feeling a bit adventurous and want to explore even more options, there are few third-party casting apps available that can help you achieve your casting dreams. Apps like AirScreen or SideQuest can offer alternative methods to cast your Oculus to various devices. Just make sure to do a bit of research, read some reviews, and find the one that suits your needs best.
5. A friendly reminder
Before you head off to cast your Oculus onto new horizons, keep in mind that not all Oculus apps or games may support casting. So, while you may be all set with the necessary hardware and software, it’s always a good idea to double-check if the specific content you wish to cast is compatible.
Now that you’re armed with these alternative casting methods, it’s time to let your Oculus roam free outside the confines of the Oculus app. Choose the option that tickles your fancy the most, grab your popcorn, and get ready to immerse yourself in jaw-dropping virtual reality experiences like never before! Happy casting, my friend!
How to Cast Oculus Quest 2 to Chrome
So you’ve got your shiny new Oculus Quest 2 and you want to show off your virtual reality adventures to your friends and family. But what if you don’t have the Oculus app handy? Don’t worry, we’ve got you covered! In this guide, we’ll show you how to cast your Oculus Quest 2 to Chrome without using the Oculus app. It’s easier than you might think!
What You’ll Need
Before we get started, make sure you have a few things ready:
- Oculus Quest 2: Obviously, you’ll need the Quest 2 headset itself. Strap it on your head and get ready for some VR fun!
- A Compatible Device: You’ll need a device that supports Chrome, like a computer or a laptop. Make sure it’s connected to the same Wi-Fi network as your Quest 2.
- Strong Wi-Fi: A stable and reliable internet connection is crucial for a smooth casting experience. So, double-check that your Wi-Fi signal is strong enough to handle the task.
Step 1: Setting up Chrome
The first thing you’ll need to do is make sure your Chrome browser is ready to cast. Open Chrome on your device, click the three dots in the top right corner, and select “Cast” from the drop-down menu. Make sure casting is enabled.
Step 2: Enabling Developer Mode
To cast your Quest 2 to Chrome, you’ll need to enable Developer Mode on your headset. Don’t worry; you won’t have to write a single line of code! Here’s how you do it:
- Open the Oculus app on your smartphone and make sure it’s connected to your Quest 2.
- Tap the “Settings” option at the bottom right corner.
- Select your Quest 2 headset from the list of devices.
- Scroll down to find “Developer Mode” and toggle it on.
Step 3: Connecting Your Quest 2 to Chrome
Now that you’ve got Chrome ready and Developer Mode enabled, it’s time to connect your Quest 2 to Chrome.
- Put on your Quest 2 headset and navigate to the home screen. Look for the “Sharing” tab and click on it.
- You’ll see a list of available devices to cast to. Look for your Chrome browser and select it.
- If everything is set up correctly, you should see your Quest 2 display mirrored on your Chrome browser. How cool is that?
Tips for a Better Casting Experience
Casting your Quest 2 to Chrome is a fantastic way to share your VR experiences, but there are a few things you can do to enhance the quality of the casting.
- Close Unnecessary Apps: Before casting, close any unnecessary apps running in the background on both your Quest 2 and your casting device. This will free up resources and ensure smoother performance.
- Keep the Distance: Make sure your Quest 2 is within a reasonable distance from your Wi-Fi router. This will help maintain a stable connection and reduce lag.
- Avoid Obstacles: Try to minimize the number of physical obstacles between your Quest 2 and the Wi-Fi router. Thick walls or other devices can interfere with the signal, so keep the path clear if possible.
Now you’re all set to cast your Oculus Quest 2 to Chrome without using the Oculus app. Show off your VR skills, explore virtual worlds, and have a blast with your friends and family. Happy casting!
Can Facebook Spy on Me Through My Oculus Camera
With the rise of virtual reality and its integration into our everyday lives, it’s no surprise that concerns about privacy and security have also emerged. One burning question on many minds is: can Facebook see what I’m doing through my Oculus camera? Well, let’s dive into this topic and uncover the truth behind the lens.
Understanding Oculus’s Camera Functionality
Before we go any further, let’s clear the air and understand how the Oculus camera actually works. The Oculus camera, built into your VR headset, is primarily used for tracking your movements in the virtual world. Its purpose is to enhance your VR experience, not to act as a secret surveillance device.
The Privacy Policy Fine Print
Now, let’s address the elephant in the virtual room – Facebook’s famous privacy policy. Given that Oculus is owned by Facebook, it’s natural to be a little skeptical about what they might be up to with your Oculus camera. However, Facebook has made it clear that they do not use the camera to spy on your real-world activities.

The Importance of Informed Consent
Facebook has been upfront about the data it collects and how it uses that data to improve its services. When you set up your Oculus device, you are presented with the option to share your VR data with Facebook. It’s essential to take the time to read and understand the terms and conditions before blindly clicking “agree.”
The Truth Behind the Oculus Camera
Rest assured, Facebook isn’t peering into your world through the Oculus camera like some sort of digital voyeur. While it’s true that Facebook collects some data from your Oculus device, such as how you use it and what apps you’re using, their focus is on user experience and improving their services, not on invading your privacy.
Safeguarding Your Privacy
If you still feel uneasy about the idea of Facebook having any access to your Oculus camera, you can take some steps to protect your privacy. One way is to physically cover the lens when you’re not using it. This simple action can provide peace of mind and ensure that you have full control over when and how your camera is active.
Trust, But Verify
Like any technology that connects to the internet, there’s always a slight margin for error and risk. However, Oculus and Facebook have implemented measures to ensure your privacy is safeguarded. It’s important to stay informed and regularly check for updates or changes to their privacy policies. By doing so, you can stay in control of your data and make informed decisions about your virtual reality experience.
In Summary
In conclusion, Facebook isn’t using your Oculus camera to invade your privacy. While it’s natural to have concerns about data collection and privacy, understanding how the camera functions and staying informed about privacy policies will help put your mind at ease. Remember, the Oculus camera’s primary purpose is to enhance your virtual reality experience, not to let Facebook snoop on your real-world escapades. So, put on your Oculus headset, enjoy the immersive virtual world, and let go of any lingering worries about an unwanted audience through your Oculus camera.
Where to Find the Sharing Feature on Oculus Quest 2
So, you’ve got your shiny new Oculus Quest 2 and you’re ready to unleash the power of virtual reality on your friends and family. But wait, where the heck is the sharing feature? Fear not, for I am here to guide you through this mystical realm of Oculus sharing!
Accessing the Sharing Bonanza
To find the sharing feature on your Oculus Quest 2, put on your digital archaeologist hat and venture into the vast expanse of the Oculus menu. Don’t worry, it’s not as daunting as it sounds. Simply put on your headset and brace yourself for an adventure!
-
Enter the Oculus Menu: To begin your epic quest for sharing, press the Oculus button on your controller. It’s the one with three magical lines, like a secret code to unlock awesomeness (well, virtual awesomeness).
-
Navigate to the Sharing Tab: Ahoy, matey! Now, set your eyes on the navigation bar as it unfolds before you. Look for a little icon that resembles an arrow pointing up, as if inviting you to ascend to new heights. Give it a click, and voila! You’ve reached the mythical Sharing tab!
Unleashing the Sharing Potential
Now that you’ve discovered the hidden lair of sharing on your Oculus Quest 2, it’s time to tap into its incredible potential. Prepare yourself for a jaw-dropping range of options that will leave your friends in awe.
1. Casting your VR Experience
Ah, the enchantment of casting your VR experience to another device! With this nifty feature, you can let your buddies spectate your epic adventures or marvel at your virtual masterpieces. To cast your Oculus Quest 2, follow these simple steps:
- Step 1: Put on your headset and navigate to the Sharing tab as we discussed earlier.
- Step 2: Look for the “Cast” option, which is like a crystal ball ready to grant wishes. Click on it, and a list of available devices to cast to will appear.
- Step 3: Select the device of your choice, and watch as the virtual realm unfolds before the eyes of your amazed audience!
2. Sharing Screenshots and Videos
Imagine capturing those jaw-dropping moments in your VR escapades and sharing them with the world. Well, with the Oculus Quest 2, your dreams can become a reality (virtually, of course). Here’s how to share screenshots and videos:
- Step 1: Don your trusty helmet and navigate to the Sharing tab, just as we did for casting.
- Step 2: Look for the “Share” option, which is like a treasure chest waiting to be unlocked. Give it a click, and a range of sharing options will appear before your very eyes.
- Step 3: Choose whether you want to share a screenshot or a video, and select your preferred sharing method. You can use social media platforms or even send it directly to your pals via messaging apps. The choice is yours!
3. Engaging in Multiplayer Shenanigans
What’s the point of having a virtual wonderland if you can’t share it with others? Thankfully, Oculus Quest 2 has your back with its multiplayer capabilities. Prepare to embark on thrilling adventures and engage in multiplayer shenanigans with your friends. Here’s how to get in on the action:
- Step 1: As always, put on your trusty Oculus Quest 2 and journey to the Sharing tab.
- Step 2: Look for the “Invite” option, which is like a beacon shining through the virtual fog. Click on it, and a menu with a variety of multiplayer options will appear before your eager eyes.
- Step 3: From joining friends in existing games to hosting your own virtual gatherings, the choice is yours. Embrace the multiplayer madness and let the fun begin!
The Sharing Adventure Continues!
Armed with this newfound knowledge, you are now ready to conquer the world of Oculus Quest 2 sharing. Cast your VR experiences, share screenshots and videos, and engage in multiplayer merriment with your fellow adventurers. It’s time to unleash the full potential of your virtual reality wonderland and bring laughter, awe, and excitement to all who dare to enter!
Why is my Oculus 2 casting not working
If you’ve been eagerly anticipating a virtual reality extravaganza with your Oculus 2, only to find that the casting feature is being a real party pooper, fear not! You’re not alone in this tech dilemma. Here are some possible reasons why your Oculus 2 casting is giving you a hard time, and how you can troubleshoot the issue.
1. Slow Wi-Fi: The Curse of Lag
Casting your Oculus 2 requires a strong and stable internet connection. Just like a magician needs a little magic, your casting feature needs a reliable Wi-Fi network. If you notice lag or stuttering during casting, it could be due to your internet connection feeling a bit lackluster. Consider channeling your inner IT guru and optimizing your Wi-Fi configuration. A stronger signal might just be the secret ingredient to a smooth casting experience.
2. Firewall Woes: Fear Not the Fire, but the Firewall
Ah, the firewalls – those digital sentinels that guard our devices against malicious forces. But sometimes, they can get a little overzealous and start blocking the good stuff, like Oculus casting. If you’re experiencing issues with casting, it might be worth checking your device’s firewall settings. Make sure that the necessary permissions are granted to allow Oculus casting to pass through unimpeded. No one likes a firewall gatekeeper with an attitude, after all.
3. Outdated Oculus App: Keeping Up with the Oculus Kardashians
As with any tech gadget, updates are essential to keep things running smoothly. If your casting feature isn’t cooperating, it could be a result of an outdated Oculus app. Don’t let your Oculus fall behind the times! Head over to your app store of choice and check if there’s an update waiting for you. Keeping your Oculus app up to date ensures you have the latest and greatest features at your virtual fingertips.
4. Gremlins in the System: Reboot, Rebirth, Resurrect
Sometimes, technology just needs a good old-fashioned reboot. It’s like pressing the reset button on a malfunctioning machine – suddenly, things start working like a charm again. If your Oculus 2 casting isn’t playing nice, try turning off and on your Oculus headset and the device you’re casting to. This magical incantation may just banish any mischievous gremlins that have taken up residence in your virtual realm.
5. Casting App Mischief: A Troublemaker in Disguise
If you’re using a third-party casting app instead of the Oculus app itself, it’s possible that the culprit behind your casting woes lies within the app. Third-party apps can sometimes cause compatibility issues, leading to frustrations and head scratching. Consider uninstalling and reinstalling the casting app to see if that resolves the problem. Sometimes, a fresh start is all it takes to set things right.
6. Resistance is Futile: Seek Help from the Oculus Gods
If all else fails and your Oculus 2 casting remains as elusive as Bigfoot, it’s time to seek guidance from the virtual reality gods themselves. The Oculus support team is there to assist you on your quest for a functional casting feature. Reach out to them for assistance, and they’ll use their magical knowledge to help you overcome any obstacles standing in your way.
How to Connect Your Quest 2 to Your Phone Screen
So, you’ve got your hands on the incredible Oculus Quest 2, but you find yourself wondering how to connect it to your phone screen. Fear not, intrepid adventurer of virtual realms! We’re here to guide you through this mystical journey of technology and connectivity. Prepare to be amazed as we unveil the secrets of casting your Oculus Quest 2 to your phone screen.
Tap Into the Power of Oculus App-less Casting
Yes, you read that right. We can achieve the impossible by casting your Oculus Quest 2 without even using the Oculus app. This workaround will leave you feeling like a technological wizard, impressing friends and family with your newfound casting prowess.
1. Disabling the Oculus App…Oh, the Irony!
To embark on our quest, what we need to do first is disable the very thing we thought we needed in the first place: the Oculus app.
– Step 1: Open the ‘Settings’ menu on your Oculus Quest 2.
– Step 2: Navigate to ‘Device’ and select ‘Casting’.
– Step 3: Disable the Oculus app by tapping on the ‘Settings’ icon and choose ‘Disable App’.
2. Connecting Your Phone and Quest 2: A Match Made in Virtual Heaven
Now that we’ve triumphed over the Oculus app, it’s time to connect our phone and Quest 2. Get ready to unleash the power of casting without any external help!
– Step 1: Launch the Oculus browser on your Quest 2. Yes, we’re using the Oculus browser itself. How ironic!
– Step 2: Head over to the website ‘oculus.com/casting’ using the Oculus browser.
– Step 3: Open your phone’s browser, preferably Chrome or Firefox, and try casting to it. A notification will appear, asking you to accept the connection. Oh, the excitement!
3. Mastering the Art of Casting in Elegance
With your Quest 2 and phone now united in perfect harmony, it’s finally time to luxuriate in the wonders of the Oculus casting experience. Feast your eyes on the seamless real-time display of your virtual exploits!
– Step 1: Open any app or game on your Quest 2 that supports casting during gameplay.
– Step 2: Behold! Your phone screen is now a portal into the virtual realm, showing your every move and epic virtual adventure.
– Step 3: Marvel at your ability to effortlessly showcase your VR magic to an eager audience, even without the Oculus app. They will be in awe of your casting greatness!
So Long, Oculus App – the Quest Continues!
Congratulations, brave soul! You have successfully connected your Quest 2 to your phone screen, defying the constraints of the Oculus app. Now, you can cast to your heart’s content, showcasing your VR prowess to anyone fortunate enough to witness it. Just remember to cherish this newfound power responsibly and maybe even bask in a little smug satisfaction—the satisfaction of knowing that you achieved it all without the Oculus app.
With your Quest 2 casting seamlessly to your phone screen, you’re ready to immerse yourself in the world of virtual reality like never before. Brace yourself for boundless adventures and countless hours lost in the magic of VR. Happy casting!
How to Cast Oculus Quest 2 to Your TV without Chromecast
So, you’ve got your shiny new Oculus Quest 2 and you’re ready to immerse yourself in the world of virtual reality. But what about when you want to share your virtual adventures with friends and family on the big screen? Don’t worry, my VR enthusiast friend, I’ve got you covered. In this guide, I’ll show you how to cast your Oculus Quest 2 to your TV without the need for a Chromecast.
Wireless Mirroring: The Quest to the Big Screen
Are You Chromecast-less? No Problem!
If you don’t have a Chromecast but still want to cast your Oculus Quest 2 to your TV, fear not! There are alternative methods that will allow you to showcase your VR prowess on the big screen. While Chromecast is the popular choice, we’ll explore some other options for the Chromecast-less among us.
Method 1: Your Smartphone to the Rescue!
Did you know that you can cast your Oculus Quest 2 to your TV using just your smartphone? That’s right! If your TV supports casting or is a smart TV, you can use your phone as a magical portal to mirror your virtual reality experience. Simply follow these steps:
Step 1: Get Connected
First things first, make sure your VR headset and smartphone are connected to the same Wi-Fi network. This is crucial for the casting wizardry to work seamlessly.
Step 2: Access the Oculus App
Open the Oculus app on your smartphone. If you don’t have it installed yet, go ahead and download it from your app store. Once it’s ready, launch the app and prepare to embark on your casting adventure.
Step 3: Tap and Cast
Within the Oculus app, navigate to your settings by tapping the gear icon. From there, select “Devices” and then “Quest and Quest 2”. Finally, tap on “Cast” and choose the TV you want to cast to. Voila! Your virtual world will now be projected onto the TV screen for all to see.
Method 2: Good Old Wired Connection
If wireless casting isn’t your cup of tea or you encounter technical issues, fear not, my wired friend. You can still cast your Oculus Quest 2 to your TV using a trusty cable. Here’s how:
Step 1: Get the Right Ingredients
To embark on this wired adventure, you’ll need an HDMI cable and an adapter. Grab your trusty HDMI cable and an adapter that fits into your Quest 2’s USB-C port. Make sure the adapter has an HDMI output.
Step 2: Plug and Play
Connect one end of the HDMI cable to the HDMI output of the adapter, and the other end into an available HDMI port on your TV. Now, plug the adapter into the USB-C port on your Oculus Quest 2. Congratulations, you’ve just formed a wired connection between your VR headset and your TV!
Now, Let the Casting Begin!
With your wired setup or smartphone wizardry in place, you’re ready to cast your Oculus Quest 2 to your TV without a Chromecast. Get ready to dazzle your friends and family with your virtual awesomeness. Whether you choose the wireless or wired method, the magic of casting awaits you.
Who needs a Chromecast when you can cast your Oculus Quest 2 to your TV with these alternative methods? Whether you opt for the smartphone wizardry or the trusty wired connection, you’ll be able to enjoy your virtual reality experiences on the big screen. So go forth, my VR friend, and share your virtual adventures with the world! Cast away!