Are you looking to transform your ceramic pieces into stunning vintage treasures? Adding an antique glaze to your ceramics can give them a weathered, aged look that exudes charm and character. Whether you’re a pottery enthusiast or just a DIY lover, learning how to antique with glaze on ceramic is a fun and creative way to breathe new life into your pottery collection.
In this comprehensive guide, we’ll explore the process of antiquing ceramics with glaze, answering some common questions like, “Can you paint glaze on ceramics?” and “What is the difference between paint and glaze?” We’ll also delve into techniques for achieving a rustic look on your pottery, and tips for distressing and drying brush pottery. So, grab your brushes and let’s dive into the world of antique ceramic artistry!
How to Add Antique Charm to Ceramic Using Glaze
In the ever-evolving world of ceramic artistry, one technique stands the test of time: antiquing with glaze. This process not only adds depth and character to your ceramic pieces but also gives them a vintage allure that is hard to resist. So, if you’re a creative soul yearning to infuse your ceramics with an old-world charm, buckle up and let’s embark on a journey to discover how to antique with glaze on ceramic.
Gathering Your Supplies
Before diving headfirst into the enchanting world of antiquing, it’s essential to gather the right supplies. Here’s what you’ll need:
-
Ceramic Pieces: Choose your beloved ceramic pieces on which you want to work your antiquing magic. It could be a traditional vase, a decorative plate, or even a whimsical sculpture.
-
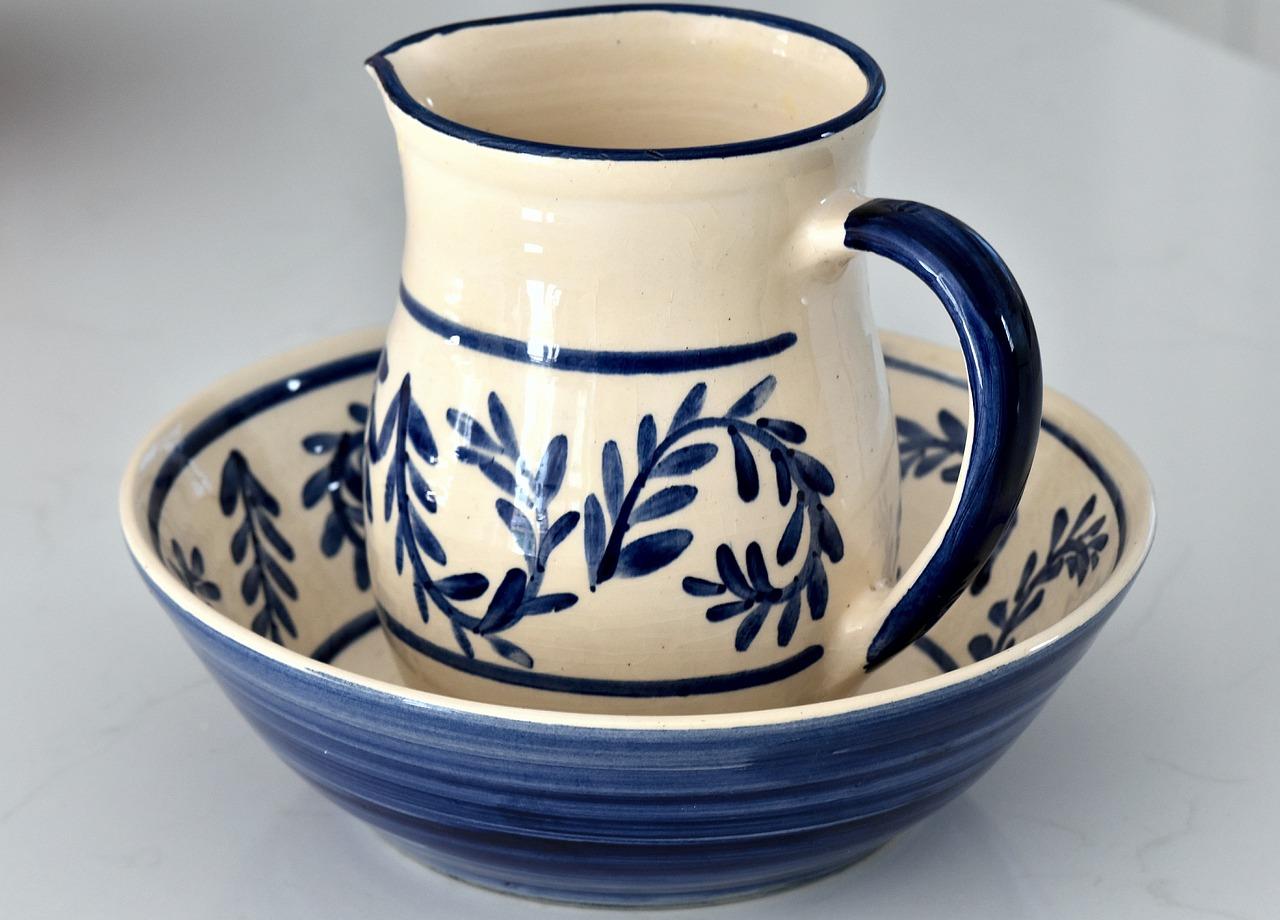
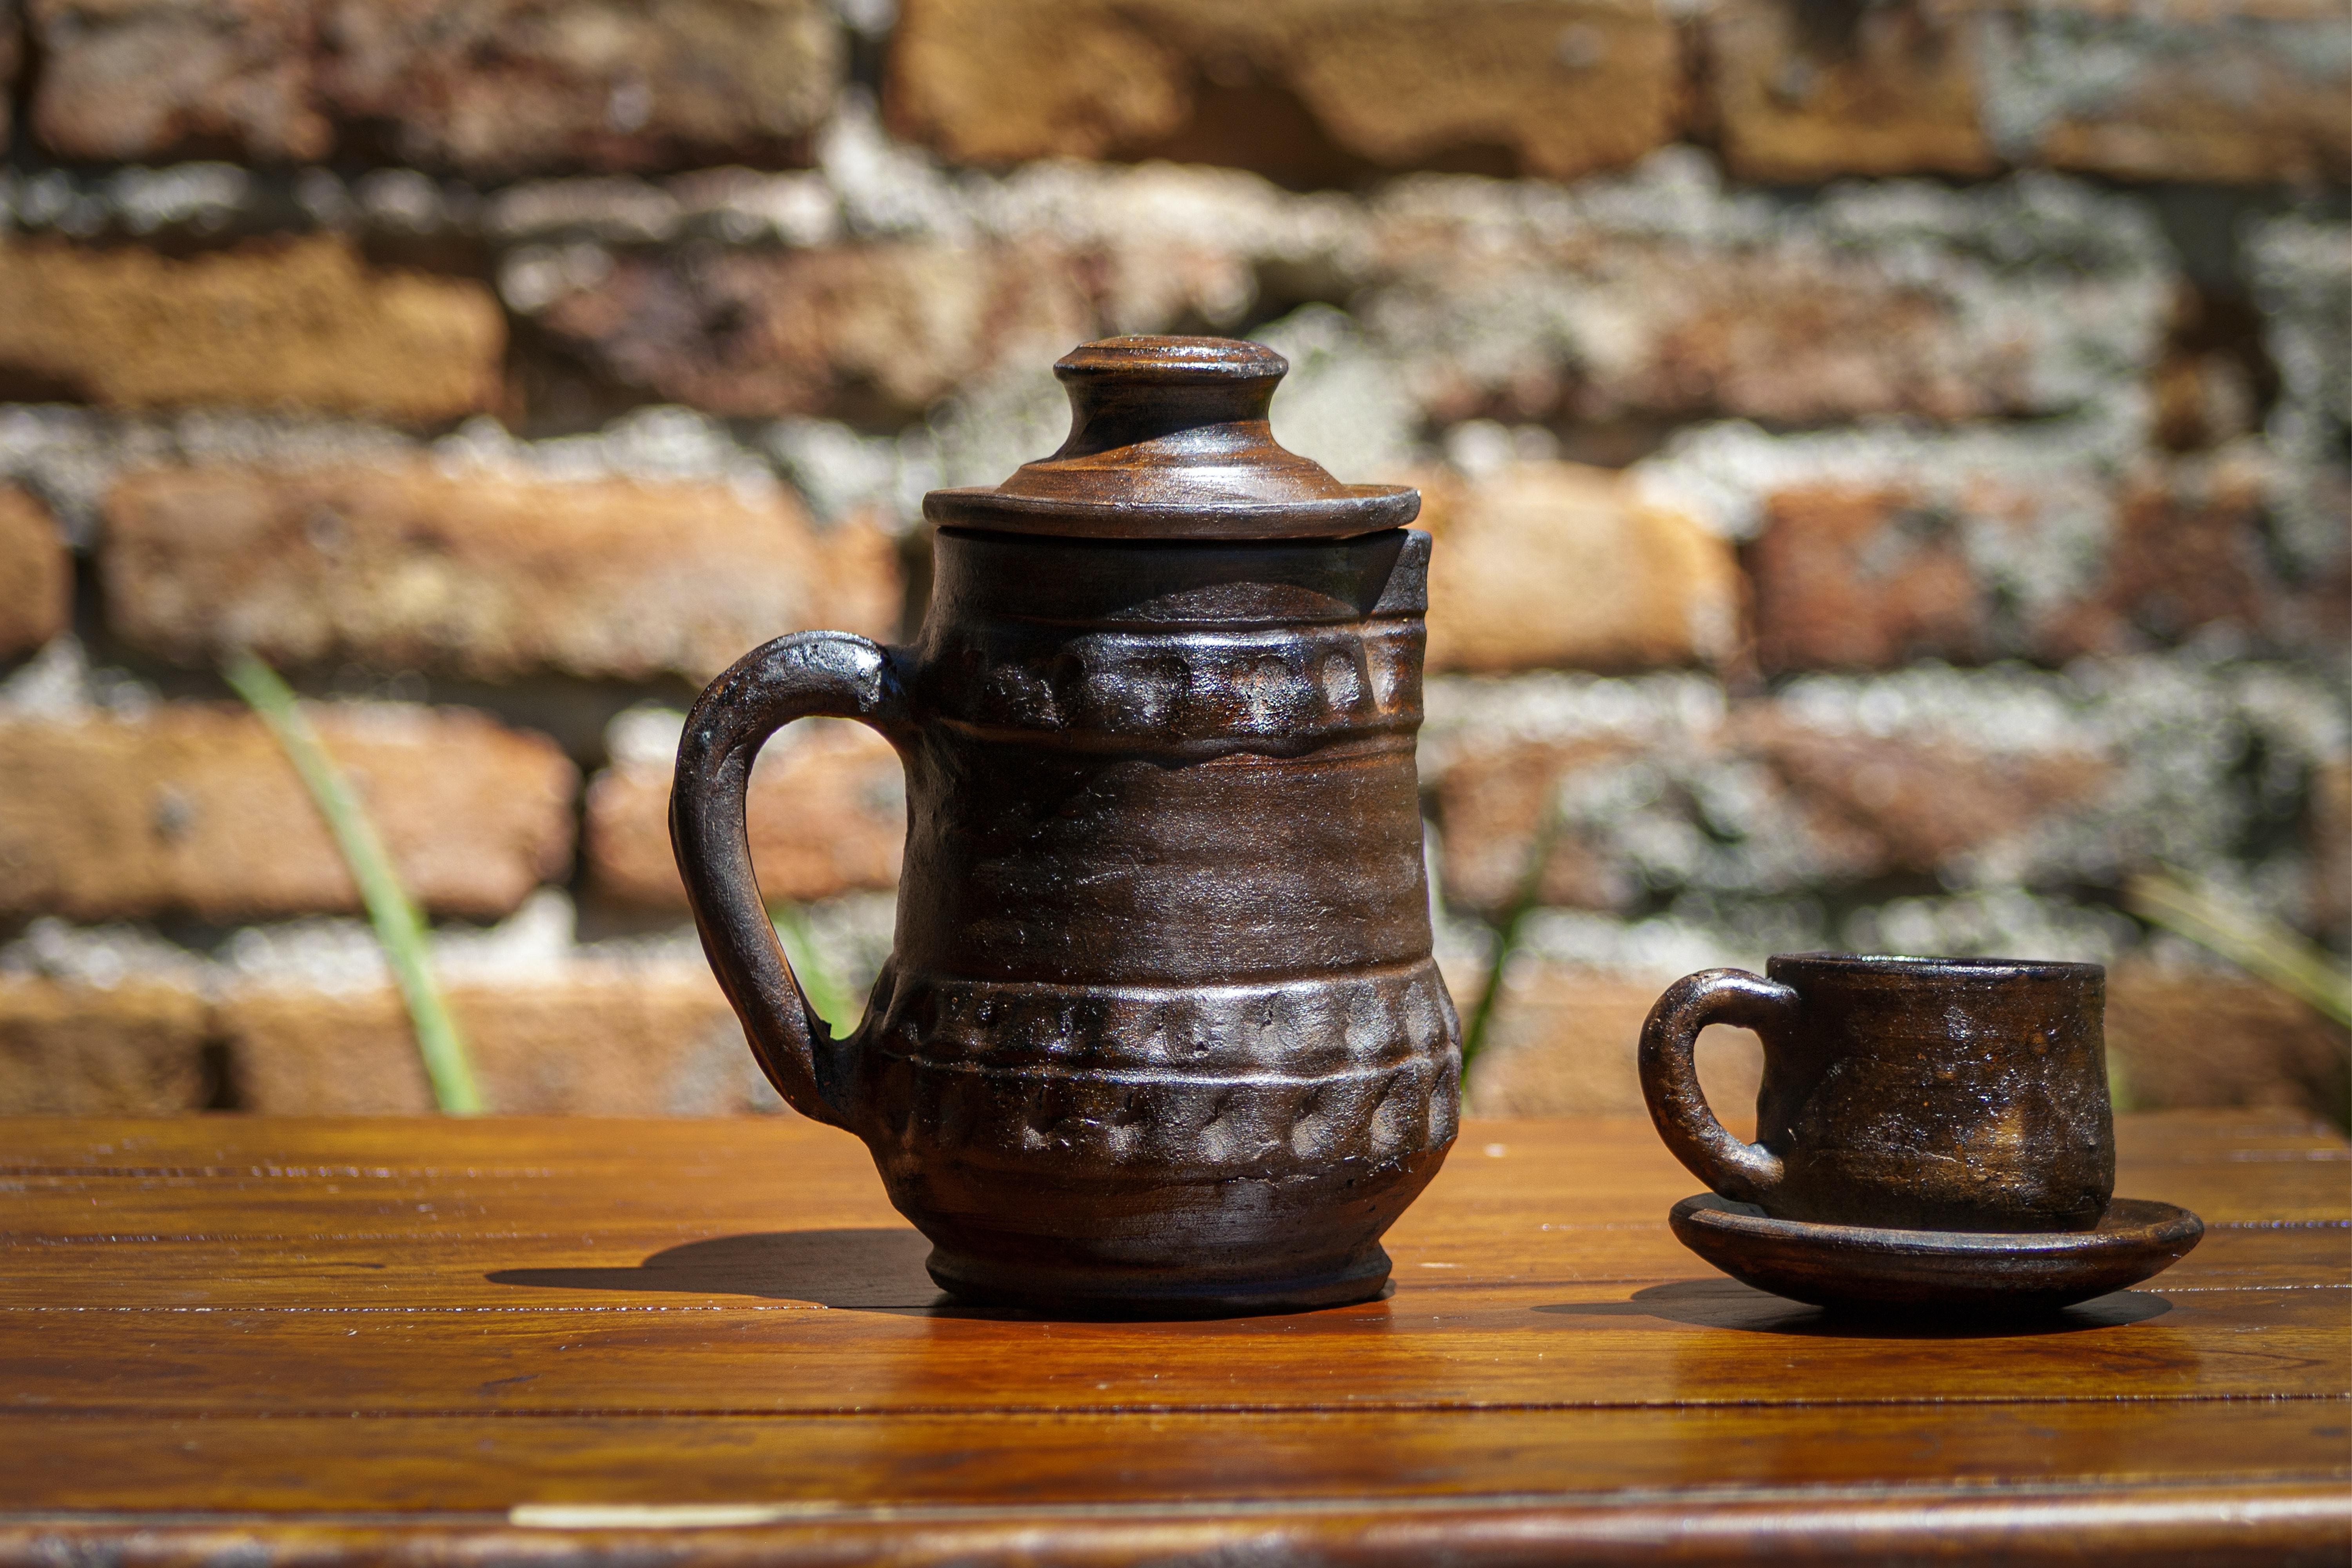
Glaze: Opt for a high-quality glaze that will bring out the desired antiquing effect. Antique white and earthy tones work wonders in capturing the essence of the past.
-
Brushes: Select a variety of brushes suitable for different glazing techniques. Fine brushes will help in intricate detailing, while broader brushes are perfect for smooth, even applications.
-
Protective Gear: Don’t forget to don your mighty armor—a.k.a. gloves and apron—to shield yourself from glaze-related mishaps. After all, we’re here to create art, not wear it.
Preparing the Ceramic Canvas
Now that you have your supplies ready, it’s time to prepare your ceramic canvas for a journey back in time. Follow these simple steps:
-
Clean the Surface: Ensure the surface of your ceramic piece is free from dust, dirt, or any other undesired elements. A quick wipe with a damp cloth or a gentle rinse will do the trick.
-
Apply a Base Coat: Before delving into the antiquing process, apply a base coat of glaze to enhance the overall effect. Think of it as a primer for your ceramic masterpiece.
Applying the Antique Glaze
Let the antiquing commence! This is where the magic really happens. Follow these steps to create that coveted vintage look:
-
Dilute the Glaze: Dilute your chosen glaze with a small amount of water to achieve the desired consistency. This will make it easier to control and work with.
-
Brush on the Glaze: Using a brush, apply the diluted glaze in even strokes across the surface of your ceramic piece. Be mindful of the desired coverage and intensity, as it will determine the final outcome.
-
Remove Excess Glaze: For a more authentic antique effect, gently remove any excess glaze with a damp cloth or sponge. This will highlight the crevices and details of your ceramic piece, adding depth and character.
-
Let It Dry: Patience, dear artists, is a virtue. Allow your piece to air dry for the specified time indicated on the glaze packaging. This is the moment when time seemingly stands still, as anticipation builds for the grand reveal of your antique masterpiece.
Perfecting the Finish
In the pursuit of artistic perfection, a little extra effort often goes a long way. Here are some additional steps to ensure your antiqued ceramic piece truly shines:
-
Bisque Firing: To enhance the durability and luster of your antiqued ceramic piece, consider subjecting it to a bisque firing, if recommended for the glaze you used. This additional step will contribute to its timeless allure.
-
Finishing Touches: To further elevate the antique charm, you can experiment with techniques like sanding, distressing, or adding accents of metallic glaze. These subtle touches can truly make your piece stand out in the annals of ceramic history.
Embrace the Vintage Beauty
Congratulations, brave ceramic adventurer! You have now learned the art of antiquing with glaze on ceramic. Embrace the vintage beauty of your creations, each piece whispering stories from a bygone era. Remember, artistry knows no bounds, so don’t hesitate to experiment, innovate, and infuse your own creative genius into each antiqued masterpiece. Now, go forth and create art that echoes the past while captivating the present.
Please note that the techniques mentioned in this article are based on general practices and may vary depending on the specific glaze and ceramic materials used. Always refer to the manufacturer’s instructions and recommendations for best results.
FAQ: How To Antique With Glaze On Ceramic
Welcome to our comprehensive FAQ guide on how to antique with glaze on ceramic! We know you have plenty of questions, and we’ve got the answers to help you achieve that beautifully aged and rustic look for your ceramics. So, grab your paintbrush and let’s dive in!
Can you paint glaze on ceramics
Absolutely! Glazing ceramic is a fantastic way to add depth and character to your pieces. The glaze will not only protect the surface but also give it that extra pop of color and shine. Remember to apply glaze evenly and follow the manufacturer’s instructions for firing.
How do you make pottery look old
Ah, the art of making things appear older than they really are! To give your pottery that coveted antique charm, there are a few techniques you can try. – Start with a base layer of paint or glaze in a muted shade. Then, apply a darker glaze, allowing it to settle into the crevices and cracks, creating a worn and weathered appearance. – Consider using sandpaper to gently rough up the surface in select areas, revealing the underlying layers for that authentically aged look.
Can you use acrylic paint on ceramic bisque
Indeed, you can! Acrylic paint is a versatile and vibrant option for painting ceramic bisque. Keep in mind, though, that porcelain or other ceramics may require a different type of paint. Make sure to clean the surface properly and apply a primer if needed for better adhesion.
How do you make porcelain look old
Ah, the delicate elegance of porcelain! If you want to give it a touch of antique allure, here’s a simple technique. – Begin by applying a thin layer of acrylic paint in a pale, muted shade. – Once dry, dip a cloth or sponge into a darker shade of paint and gently dab it onto select areas, focusing on edges and crevices. The goal is to create subtle shading that mimics the effect of aging.
What is the difference between paint and glaze
Paint and glaze may seem similar, but they serve different purposes in the world of ceramics. Paint refers to colored liquids that contain pigments and binders, providing coverage and creating designs. On the other hand, glaze is a glass-like coating applied to ceramics before firing. Glaze adds a protective layer, enhances color intensity, and adds a glossy shine.
How do you get a rustic look on pottery
Ah, rustic pottery, the epitome of vintage charm! To achieve that desirable rustic look, follow these steps: – Start with a textured clay body or apply a textured slip to the surface. – Use earthy shades of paint or glaze to create an aged appearance. Remember to apply multiple layers, allowing some to show through for that authentic worn-out look. – Consider adding speckles or subtle cracks using a fine-tipped brush. This will add character and enhance the rustic feel.
How do you antique glaze ceramics
Antiquing with glaze is a delightful way to give your ceramics a timeless appeal. Here’s how you can achieve that vintage masterpiece: – Start by applying a base coat of glaze in your desired color. – Once dry, use a soft cloth or sponge to apply a darker glaze in selective areas. This will create depth and emphasize the details. Remember to wipe away any excess to maintain a natural and balanced appearance.
How do you paint porcelain figurines
Painting porcelain figurines is a marvelous way to bring them to life with your personal touch. Here’s what you need to do: – Clean the figurine thoroughly to remove any dust or oils. – Apply a base layer of paint in a light shade. After it dries, you can start adding details using smaller brushes and more intense colors. – Build up layers slowly, paying attention to shadows and highlights, until you achieve the desired effect. Finish with a protective varnish for longevity.
How do you antique ceramic bisque
Antiquing ceramic bisque is a delightful process that transforms ordinary pottery into timeless treasures. Here’s what you can do: – Begin by selecting a base color for your piece. Apply one or two coats and allow it to dry. – Using a dry brush technique, apply a darker shade of paint to accentuate the texture and details. Focus on recessed areas and raised surfaces to highlight the ceramic’s unique characteristics.
How do you paint distressed pottery
Distressed pottery adds a touch of whimsy and history to your decor. To achieve this distressed look, follow these steps: – Start by applying a base coat of paint in your desired color. – Once dry, gently sand select areas using fine-grit sandpaper. This removes some of the paint, revealing the original surface and creating a naturally aged appearance. – To enhance the distressed effect further, consider adding additional layers of paint in complementary hues, allowing them to partially show through.
How do you make a vintage vase look old
Creating a vintage look for a vase is like turning back time for a touch of nostalgia. Here’s how to achieve that: – Start by cleaning the vase surface thoroughly. – Apply a base layer of paint or glaze in a soft, muted shade and let it dry completely. – Use a light sandpaper to gently distress select areas, focusing on edges and corners. This will give the vase a chic, timeworn appearance. Remember, less is more when it comes to distressing.
Do you need to prime ceramic before painting
Ah, the importance of proper preparation! While not always necessary, priming your ceramic piece before painting can improve adhesion and durability. It creates a smooth surface for paint to grip onto, resulting in a longer-lasting finish. So, give your ceramics the love they deserve and consider priming before painting.
Can you bake acrylic paint on ceramic
As tempting as it sounds to have your paint bake alongside a batch of delicious cookies, it’s not recommended to bake acrylic paint on ceramic. Instead, let your creative masterpiece air dry or use a heat-set method recommended by the paint manufacturer. This ensures the colors stay vibrant and the paint adheres to the surface properly.
How do you dry brush pottery
Dry brushing is a fantastic technique for adding subtle highlights and texture to pottery. Follow these steps to master the art of dry brushing: – Dip a dry brush lightly into your paint of choice. – Remove excess paint by brushing it onto a paper towel until only a small amount remains on the bristles. – Gently brush the surface of the pottery using light, sweeping motions. The goal is to apply a thin layer of paint that will accentuate the texture and details without fully covering the base color.
Can you antique with acrylic paint
Absolutely! Acrylic paint is a versatile medium that allows you to experiment and achieve an antique finish. Using layers of muted colors, dry brushing, or adding shading with a darker paint, you can give your creations a beautifully aged appearance. Just remember to allow ample drying time between layers for the best results.
What kind of paint do you use on ceramics
When it comes to painting ceramics, you have a few options. Acrylic paint is a popular choice due to its versatility and easy cleanup. However, if you’re looking for a more permanent and traditional option, consider using ceramic paint specifically formulated for use on pottery. Whichever paint you choose, make sure it’s compatible with ceramics and follow the manufacturer’s instructions for the best results.
What kind of paint will stay on ceramic mugs
Ah, the trusty ceramic mug, our daily companion! To ensure your designs stay intact on ceramic mugs, use a paint specifically made for ceramics. Look for paints labeled as food-safe and dishwasher-safe, as they have been formulated to withstand the rigors of daily use. Also, consider baking your mug according to the paint manufacturer’s instructions to help set the design.
That wraps up our comprehensive FAQ guide on how to antique with glaze on ceramic. We hope you found the answers you were looking for and are ready to embark on your artistic journey. Remember, the world of ceramics is your canvas – so go ahead and create something truly extraordinary!