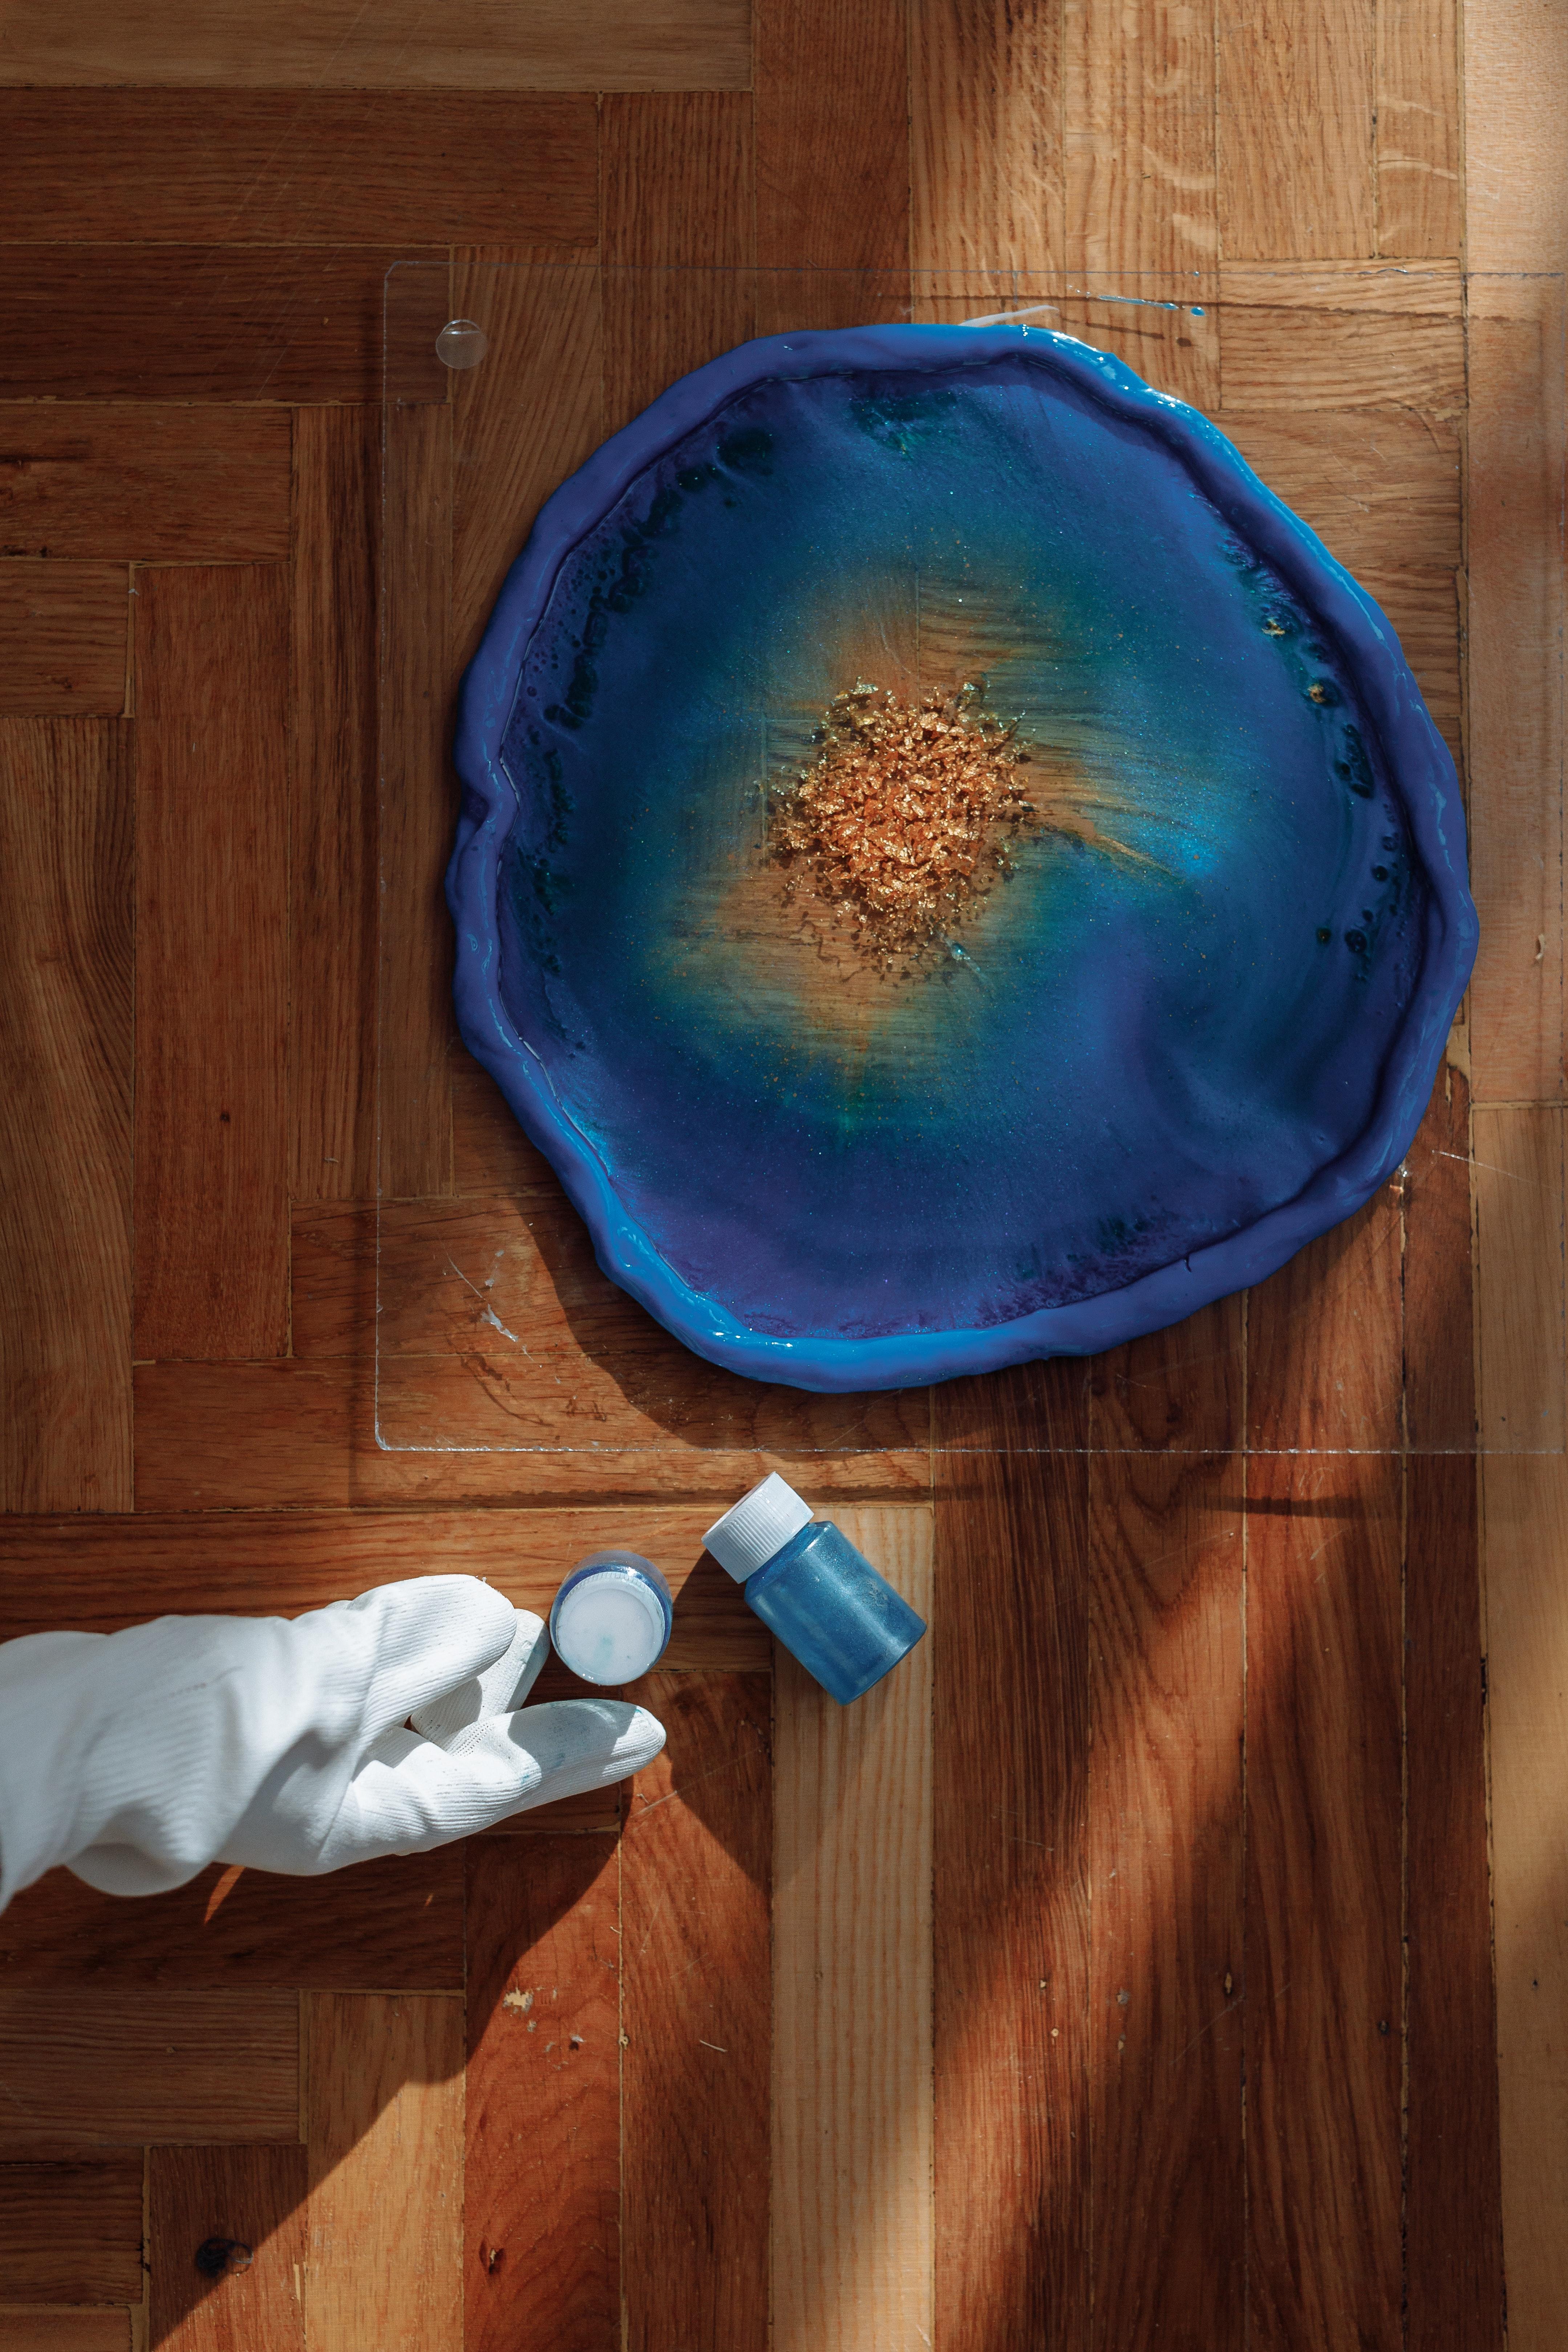
Have you ever dabbled in the world of resin art or DIY projects? If so, you might be familiar with the process of using deep pour resin. Deep pour resin allows for thicker layers, making it perfect for creating stunning, multi-dimensional artworks, river tables, and epoxy countertops. But one question that often comes up is, how long does deep pour resin take to cure?
In this article, we’ll delve into the fascinating world of deep pour resin and explore the factors that affect its curing time. We’ll also address common concerns such as why resin may not harden, become thick, or remain tacky. So, if you’re ready to dive into the world of resin and create amazing pieces, keep reading to learn everything you need to know about the curing process of deep pour resin. Let’s get started!
How Long Does Deep Pour Resin Take To Cure
If you’ve ventured into the world of crafting and woodworking, you may have come across the marvelous substance known as deep pour resin. Not only does it provide a glossy and luxurious finish to your projects, but it also allows you to create stunning depths and textures that will leave any art enthusiast or DIY aficionado in awe. But, as with any creative endeavor, it’s important to know the ins and outs to achieve the best results. One question that often pops up when working with deep pour resin is, “How long does it take to cure?” So, let’s dive into this sticky situation and find out!
The Waiting Game Begins: Patience is Key
When it comes to deep pour resin, patience is indeed a virtue. Unlike its quick-drying counterparts, this remarkable substance takes a bit more time to fully cure. You see, deep pour resin is specially formulated for those ambitious projects that require thickness and depth beyond what regular resin can offer. As a result, the curing process takes a wee bit longer. So, buckle up and get ready for the waiting game!
Set Your Timer: Understanding the Variables
As much as we’d like to give you a precise answer to the question, “How long does deep pour resin take to cure?” – it’s not that simple. Several variables come into play, and it’s important to understand them to give your resin the optimal environment for curing. Factors such as temperature, humidity, and the type of resin you’re using will influence the curing time.
Temperature: Not Too Hot, Not Too Cold
Resin curing is a delicate dance between temperature and time. If the room is too cold, you might be waiting for what feels like an eternity for your resin to cure. Conversely, if the room is too hot, your resin might cure too quickly, leading to potential brittleness and imperfections. The sweet spot for temperature ranges between 70°F and 80°F (21°C to 27°C). So, make sure to keep your workspace cozy and comfortable, just like a warm cup of cocoa on a winter’s day.
Humidity: Finding the Right Balance
Humidity, oh humidity! It can be a real challenge, whether it’s wreaking havoc with our hair or influencing our resin curing time. The ideal humidity range for curing deep pour resin falls between 40% and 60%. Too much humidity can cause cloudiness and an extended curing time, while too little can lead to the dreaded curse of air bubbles. It’s a fine balance, my friend, just like knowing when to add that extra sprinkle of salt to your french fries.
Type of Resin: The Plot Thickens
Just when you thought you had a handle on things, the type of resin swoops in and adds another layer to the curing process. Different resins have different properties and, as a result, different curing times. It’s essential to check the instructions provided by the manufacturer to see the recommended curing time for the specific type of deep pour resin you’re using. Think of it as a little secret recipe that will ensure your artistic endeavor bakes to perfection.
The Finishing Touch: The Curing Timeline
Now that we’ve covered the variables that contribute to the curing time of deep pour resin, you must be wondering: “But how long do I need to wait?” On average, deep pour resin takes anywhere from 24 to 72 hours to cure. However, this timeframe can vary depending on the factors we discussed earlier. Remember, my fellow artist, patience is not just a virtue, it’s a skill that will be rewarded with stunning, professional-looking results.
Summary
In the world of deep pour resin, waiting for the curing process can feel like an eternity. However, by understanding the variables that influence the curing time and creating the optimal environment for your resin, you’ll be well on your way to creating masterpieces that would make Michelangelo himself green with envy. So, embrace the waiting game, sip that cup of cocoa, and watch in awe as your resin cures and transforms into a thing of beauty.
FAQ: How Long Does Deep Pour Resin Take To Cure
Why is my resin not hardening?
There could be a few reasons why your resin isn’t hardening. One possibility is that you may not have mixed the resin and hardener in the correct ratio. It’s important to follow the manufacturer’s instructions carefully to ensure proper curing. Another factor could be the temperature in your workspace. If it’s too cold, the resin may not cure as quickly or at all. Make sure you’re working in a temperature-controlled environment that meets the recommended temperature range for curing.
Why is my resin thick?
If your resin is coming out thicker than expected, it could be due to a couple of reasons. One reason could be that the resin and hardener were not mixed thoroughly enough. It’s important to mix them together until they are completely blended. Another possibility is that the resin has been stored for too long or hasn’t been stored properly. Resin can become thick and viscous over time, especially if it’s exposed to air or extreme temperature fluctuations.
Why is my UV resin still tacky?
UV resin gets its curing kick from ultraviolet light, but if it’s still tacky after curing, there are a few things that might have gone wrong. First, check if you’ve applied a thick layer of resin. UV light may have difficulty penetrating through a thick layer, resulting in incomplete curing. Additionally, make sure you’ve given the resin enough exposure to UV light. If it’s still not curing properly, try using a stronger UV light source or moving closer to the light. Lastly, check the expiration date of your UV resin. Like all good things, UV resin has a shelf life, and using expired resin may affect curing.
Why is my resin not smooth?
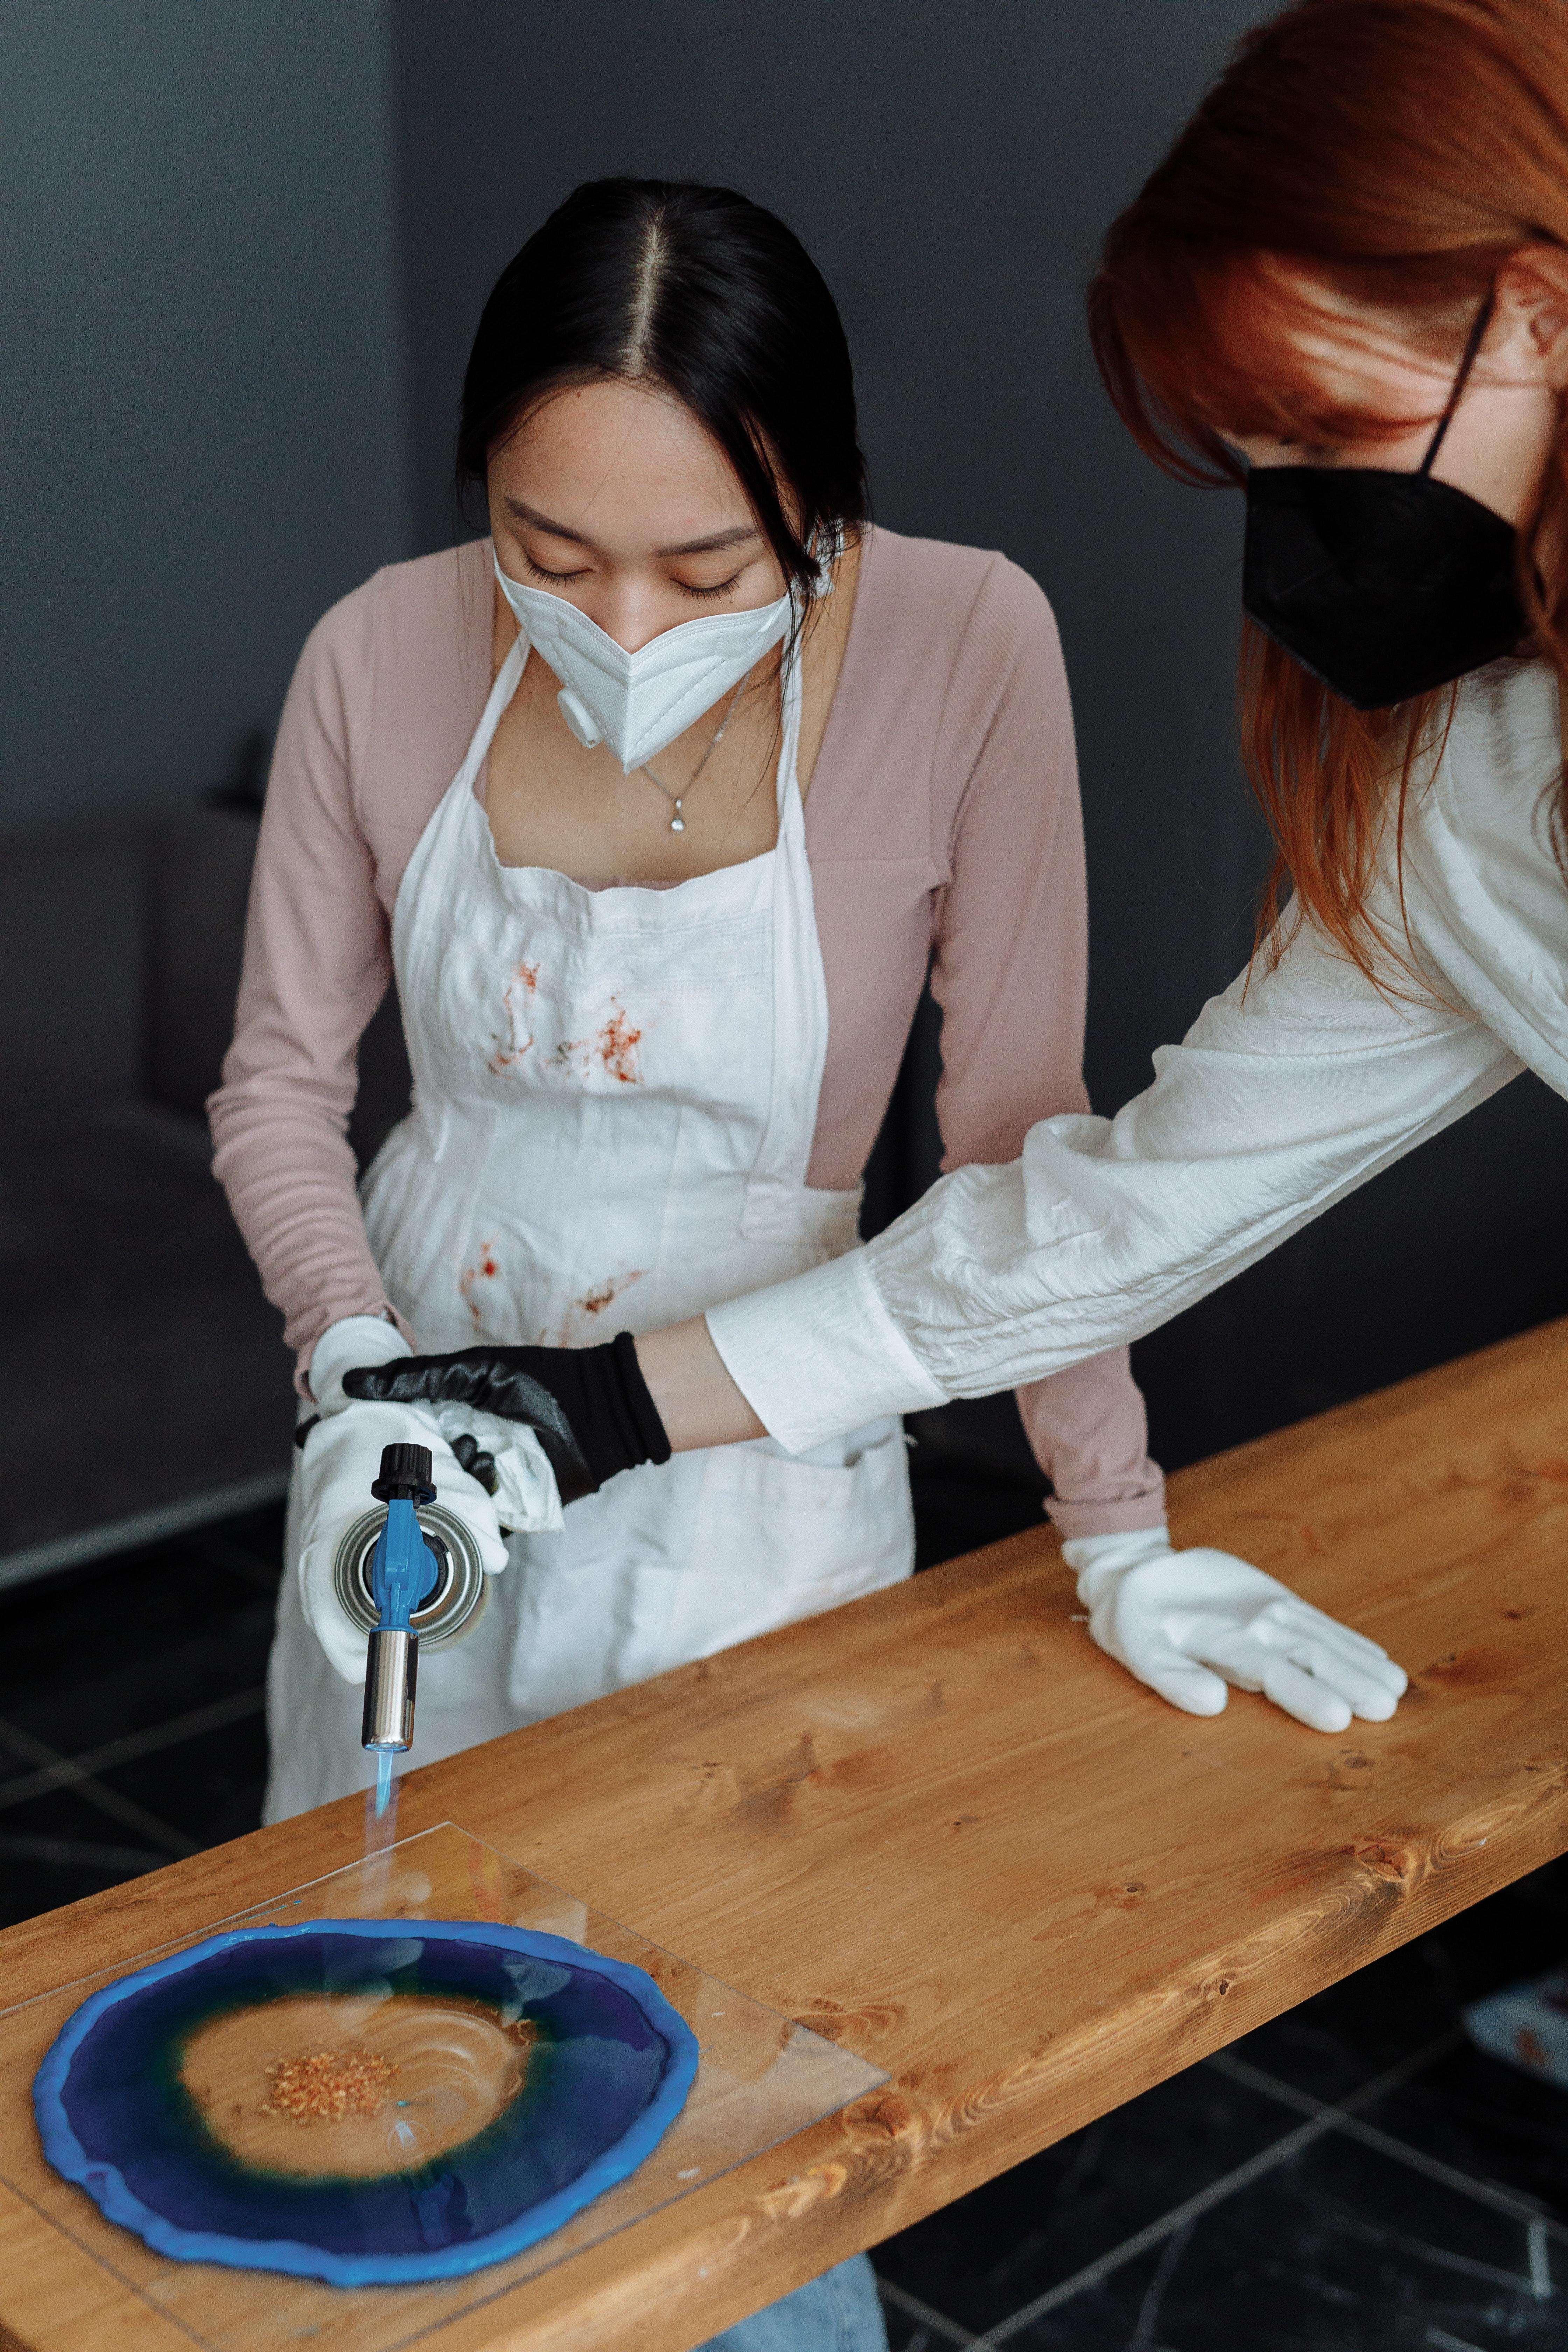
If your resin surface is not as smooth as you’d like, there are a few things you can try. First, make sure you’re pouring the resin into a clean and level mold. Any debris or unevenness in the mold can transfer to the resin surface. Second, try using a heat gun or a small torch to gently heat the resin surface. This can help to eliminate any bubbles or imperfections. Lastly, make sure you’re following the manufacturer’s instructions for the resin you’re using. Different resins have different working times and techniques for achieving a smooth finish.
What happens if you pour resin too deep?
Pouring resin too deep can lead to a variety of problems. One issue is excessive heat buildup during the curing process. Deep pours generate more heat, and if not properly managed, this can cause the resin to crack or warp. Additionally, deep pours take longer to cure, and the extended curing time can increase the risk of dust or other particles settling on the surface. This can result in an uneven or flawed finish. To avoid these issues, it’s essential to follow the manufacturer’s guidelines for maximum pour depths and use appropriate techniques such as layering or using a heat gun to control heat buildup.
When can I take my resin out of the mold?
The curing time for resin will vary depending on the specific product you are using. As a general rule of thumb, most resins can be demolded within 24 to 48 hours. However, it’s crucial to consult the manufacturer’s instructions for the resin you have chosen to ensure the best results. Keep in mind that demolding too early can result in a sticky or soft finish. Patience is key here. Allow the resin enough time to cure fully before removing it from the mold to achieve the best results.
Does tacky epoxy ever cure?
Yes, tacky epoxy can cure eventually, but it may take longer than expected. A tacky or sticky surface is usually a sign of incomplete curing. Factors such as temperature, humidity, or incorrect mixing ratios can prolong the curing process. To speed up the cure time, you can try increasing the temperature and ensuring proper ventilation in your workspace. Additionally, double-check that you’re accurately measuring and thoroughly mixing the epoxy components. If the tackiness persists, consult the manufacturer for specific guidance on troubleshooting and curing tacky epoxy.
How long does pour-on resin take to cure?
The curing time for pour-on resin can vary depending on the specific product, but most pour-on resins will cure to a touch-dry state within 24 to 48 hours. However, it’s important to note that the resin may still be vulnerable and require additional time to fully cure and reach its maximum hardness. The curing time can also be affected by factors such as temperature, humidity, and the thickness of the pour. Make sure to refer to the manufacturer’s instructions for precise curing times and recommendations.
How long does it take for two-part resin to cure?
The curing time for two-part resin is generally longer than that of pour-on resin. It can take anywhere from 24 to 72 hours for two-part resin to cure fully. The exact curing time depends on various factors, such as the specific resin brand and type, ambient temperature, and the size and thickness of the project. When working with two-part resin, it’s crucial to carefully follow the manufacturer’s instructions for accurate mixing ratios and curing times. Patience and allowing ample time for the resin to cure will help you achieve the best results.
Can you pour epoxy two inches thick?
While it is theoretically possible to pour epoxy two inches thick, it is not recommended without proper precautions. Pouring epoxy in thick layers can generate significant heat during the curing process, which can cause the resin to crack or warp. To mitigate the risks, it’s advisable to pour epoxy in multiple layers with each layer being no thicker than the manufacturer’s recommended maximum pour depth. This allows for better heat dissipation and reduces the likelihood of unwanted side effects. Always consult the manufacturer’s guidelines and instructions for the specific epoxy product you are using.
How do I make resin cure faster?
If you’re in a hurry and want your resin to cure faster, there are a few things you can try. First, make sure you’re working in a warm environment within the recommended temperature range specified by the manufacturer. Warmer temperatures generally speed up the curing process. Second, consider using a faster-curing resin formula. Some brands offer resins specifically designed to cure more quickly. Additionally, you can use a heat gun to gently warm the surface of the resin, but be cautious not to overheat or scorch it. Remember, while expediting the cure time, it’s still important to allow the resin sufficient time to fully cure and harden.
Why did my deep pour epoxy crack?
Cracking in deep pour epoxy can occur due to several factors. One possible cause is excessive heat generated during curing. Deep pours produce more heat as the chemical reaction takes place, and if the heat is not adequately managed, it can cause the epoxy to crack or warp. Another reason could be inadequate mixing or incorrect ratio measurements during the resin preparation, leading to an incomplete or weak cure. Uneven cooling during the curing process or sudden temperature fluctuations can also contribute to cracking. To prevent cracking, follow the manufacturer’s guidelines, use proper techniques for heat dissipation, and consider using epoxy formulas specifically designed for deep pours.
Do resin rings break easily?
Resin rings can be relatively strong and durable if properly made and cared for. The strength of a resin ring depends on factors such as the type and quality of resin used, the curing process, and the overall design of the ring. However, it’s important to keep in mind that resin is a relatively brittle material compared to metals like gold or silver. Resin rings may be more prone to scratching, cracking, or breaking if subjected to excessive force or impact. Treat your resin ring gently, avoid exposing it to harsh chemicals or extreme temperatures, and remove it when engaging in activities that could potentially damage it.
Will epoxy set in cold weather?
Epoxy can be more challenging to work with and cure in cold weather. Low temperatures can significantly slow down the curing process and affect the overall results. It’s generally recommended to work with epoxy at temperatures above 60°F (15°C) for optimal curing. In colder conditions, the epoxy may become thicker, making it harder to mix and pour. It can also take longer to cure, extending the overall drying time. If you must work with epoxy in cold weather, consider using a slow-curing epoxy formula, pre-warm the epoxy components (if safe to do so), and provide additional warmth to the workspace using heaters or heat lamps to facilitate the curing process.
How do you fix resin that didn’t cure?
If your resin hasn’t fully cured or remains sticky, fixing it can be a challenge. One option is to try gently sanding the surface with fine-grit sandpaper to remove the sticky layer. Be careful not to sand too aggressively, as this can damage the underlying layers or create an uneven surface. After sanding, you can try reapplying a thin layer of properly mixed and measured resin, following the manufacturer’s instructions, and allowing it to cure fully. If the problem persists, it’s best to consult the resin manufacturer or an experienced professional for guidance on how to salvage your project.
Will a heat gun help cure resin?
A heat gun can be a useful tool when working with resin, as it can help eliminate bubbles and expedite the curing process. By gently applying heat to the resin surface, a heat gun can help to encourage the release of trapped air bubbles and promote a smoother finish. However, it’s important to use caution when using a heat gun and avoid applying excessive or concentrated heat to one area for too long, as this can cause the resin to warp, bubble, or crack. Always keep the heat gun moving, maintain a safe distance, and refer to the manufacturer’s guidelines for the recommended temperature range and technique when using a heat gun for resin projects.
Why is my epoxy rubbery?
If your epoxy has a rubbery or flexible texture instead of being hard and rigid, it could be due to a couple of reasons. One possibility is that the epoxy resin and hardener were not mixed correctly. Ensure that you are accurately measuring and thoroughly combining the resin and hardener in the recommended ratio. Another factor may be insufficient curing time or low curing temperatures. Epoxy requires adequate curing time and the proper temperature range to harden properly. Ensure that your workspace meets the manufacturer’s specified temperature recommendations and allow sufficient time for complete curing. If the issue persists, consult the manufacturer for further troubleshooting or guidance.
Why is my resin still bendy?
If your resin remains bendy or flexible after the recommended curing time has passed, it is likely due to an incomplete cure. Incomplete curing can occur for several reasons, including inaccurate mixing ratios, low curing temperatures, or insufficient curing time. Ensure that you are accurately measuring and thoroughly mixing the resin and hardener components. Make sure that your workspace is within the recommended temperature range specified by the resin manufacturer. Additionally, allow the resin sufficient time to cure fully according to the manufacturer’s instructions. If the resin remains bendy, it may be necessary to remove it and start the curing process again using fresh materials.
Can I use a hairdryer on resin?
While it is possible to use a hairdryer to apply heat to resin, caution should be exercised. Hairdryers can generate uneven heat and may blow dust or debris onto the resin surface, causing imperfections. If you choose to use a hairdryer, keep it on a low heat setting, maintain a safe distance from the resin surface, and keep the airflow moving to minimize the risk of overheating or distorting the resin. It’s generally recommended to use a heat gun or a purpose-built heat source for resin projects, as these provide more control and even heat distribution. Always refer to the manufacturer’s guidelines and instructions for the recommended techniques and tools when working with resin.